

May 1, 2026
How to Make Flat Photos Look More Alive


How to Make Flat Photos Look More Alive
A flat photo feels lifeless. The colors merge together, the face lacks dimension, and the background seems to swallow the subject. This happens because bad lighting and basic camera lenses strip away the natural shadows that give a picture its depth. The worst way to fix it is by throwing a bright, heavy filter over the image. A beautiful result requires restoring contrast and separating the subject from the background properly.
To make a flat photo look alive without making it look artificial, you must rebuild its foundation first. Using Citrus, navigate to Enhance > Colors & Lighting to restore depth and true color. Do this before attempting any specific beauty edits, or the result will look pasted on.
Standard editors usually fail flat photos because they just crank up the brightness. This washes out the skin and removes whatever dimension was left. If your picture is also suffering from a lack of focus, you may need to learn how to unblur a face before the true energy of the picture can be seen. Real restoration understands that shadows are just as important as highlights.
Why standard smartphone lenses erase your facial depth
Cameras automatically try to expose everything perfectly. When they do this in dull lighting, they erase the natural contrast that shapes your face. This flattening effect is a huge reason why people feel they look worse in photos than in the mirror. If you want a result that actually looks human, you have to bring back the depth that the lens removed.
- Using an exposure slider that washes out the entire picture
- Melting the subject into a muddy background
- Applying generic filters that turn skin tones gray
- Erasing the natural shadows that shape the jawline and eyes
- Correcting the overall lighting balance first
- Creating separation between the face and the background
- Restoring rich, true colors without shifting the skin tone
- Stopping the correction while the shadows still look realistic
If your photo is bright but you look like a cardboard cutout, you missed the mark. Bringing a picture to life requires a smart sequence. Choosing an ai face enhancer that still looks real is the key to getting results that feel genuine.
Restore contrast without losing your natural warmth. A smart edit keeps reality intact.
How to bring flat-looking selfies to life in 5 careful steps
Choose a photo where the image lost all its energy
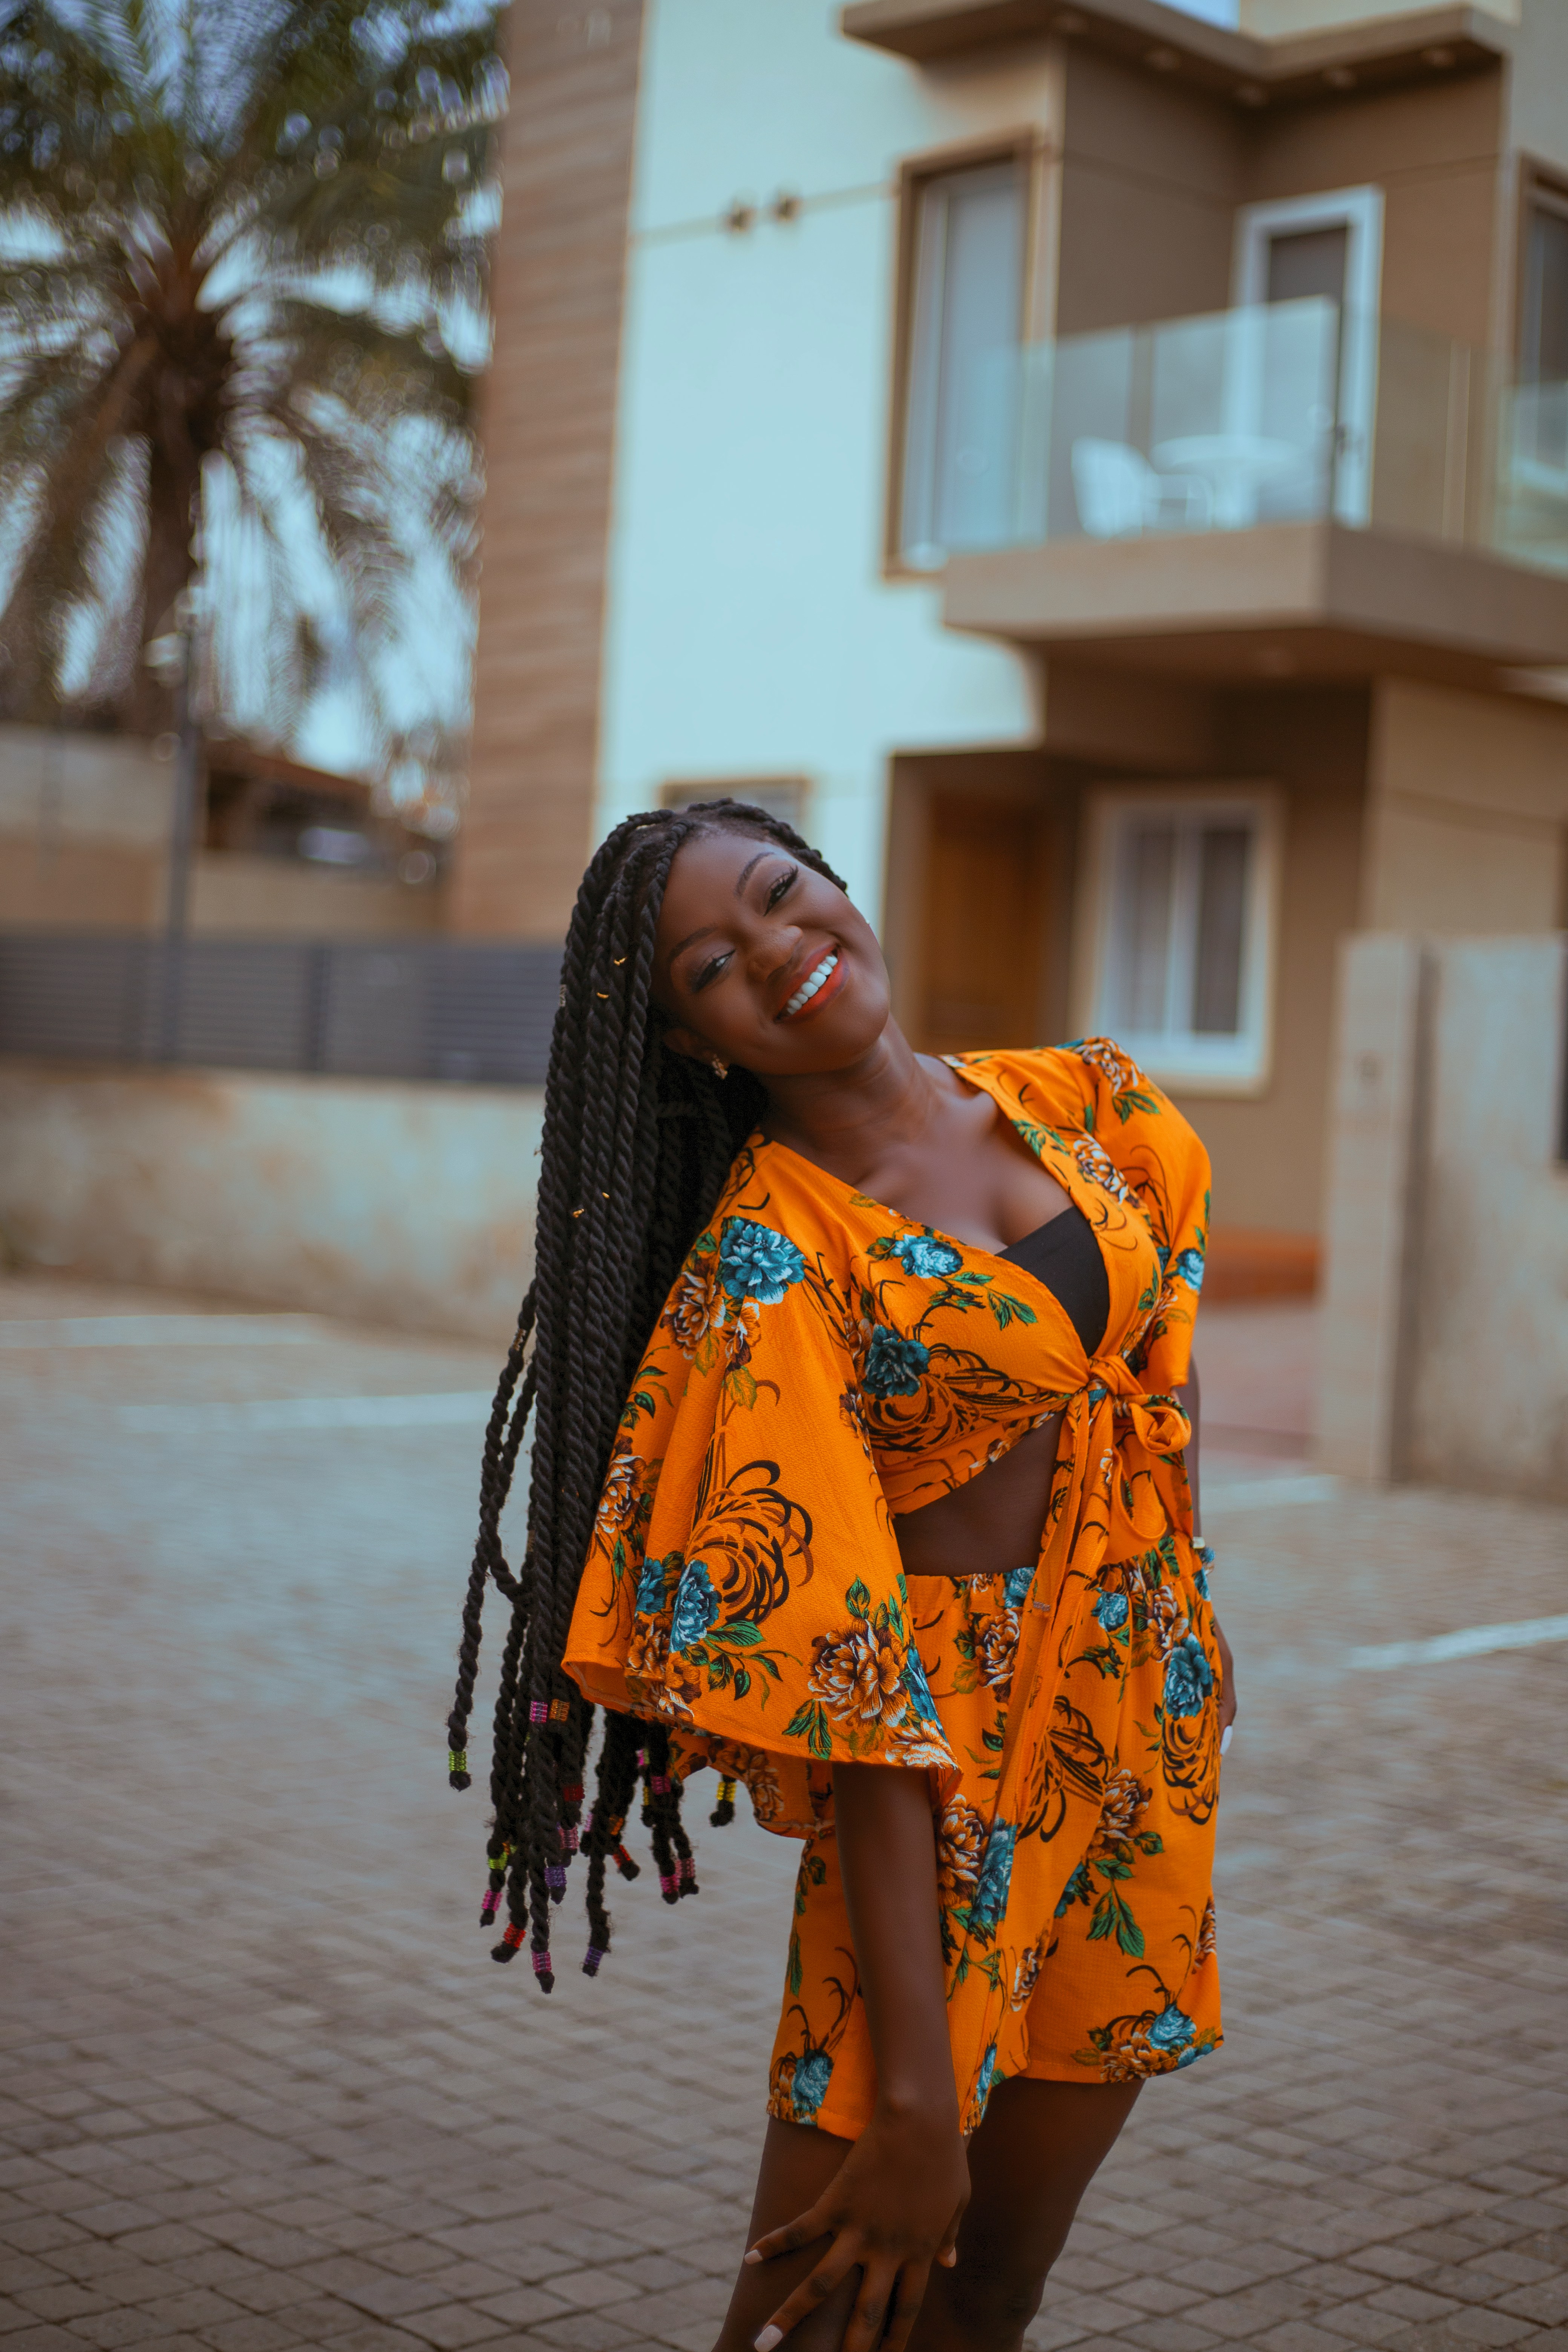
Find the picture where the lighting was weak or the environment looked dull. You do not need a perfectly crisp shot to start. If you are dealing with flat-looking selfies, you simply need an image where you desperately want to inject some vitality back into the scene.
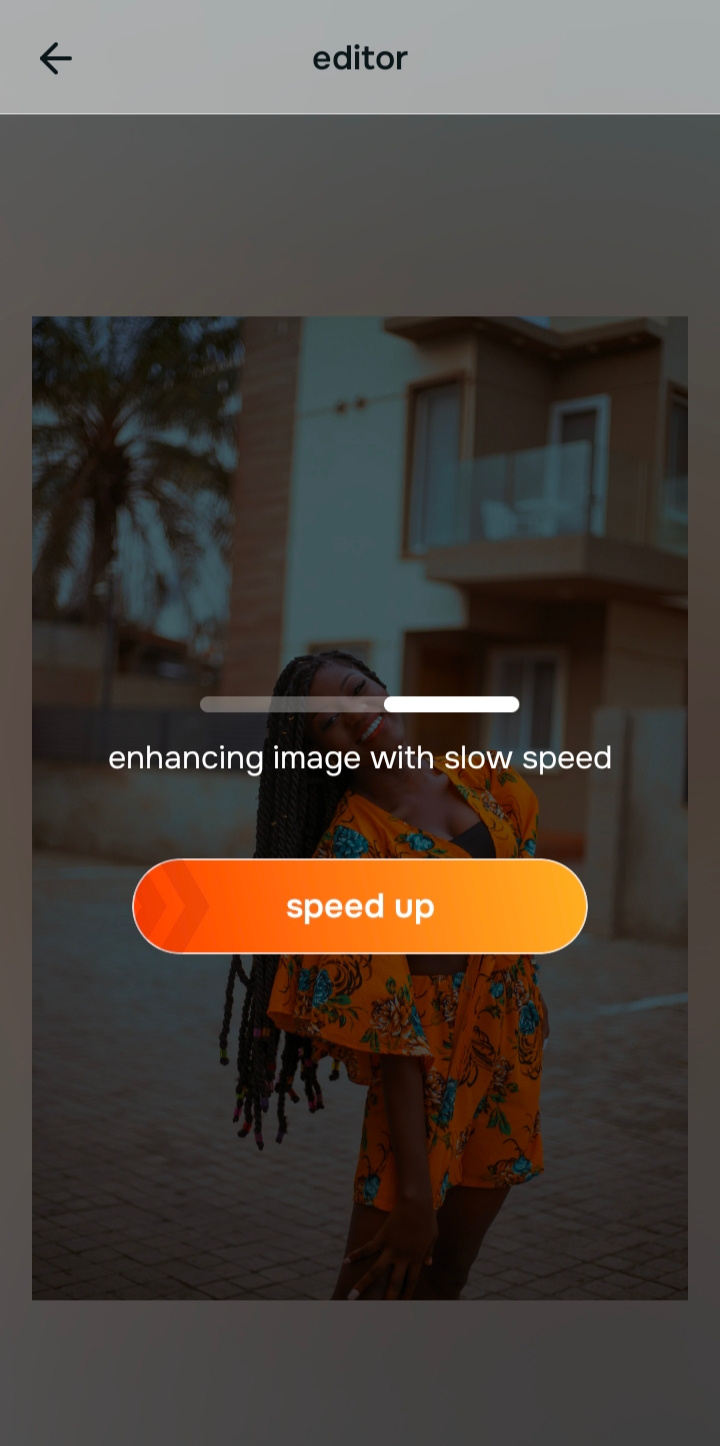
Let the instant preview process the baseline contrast
Citrus will show you a first correction immediately. This matters because adjusting the baseline can often reveal that poor light balance was the main issue. A high quality editor reads the contrast levels before doing anything else.
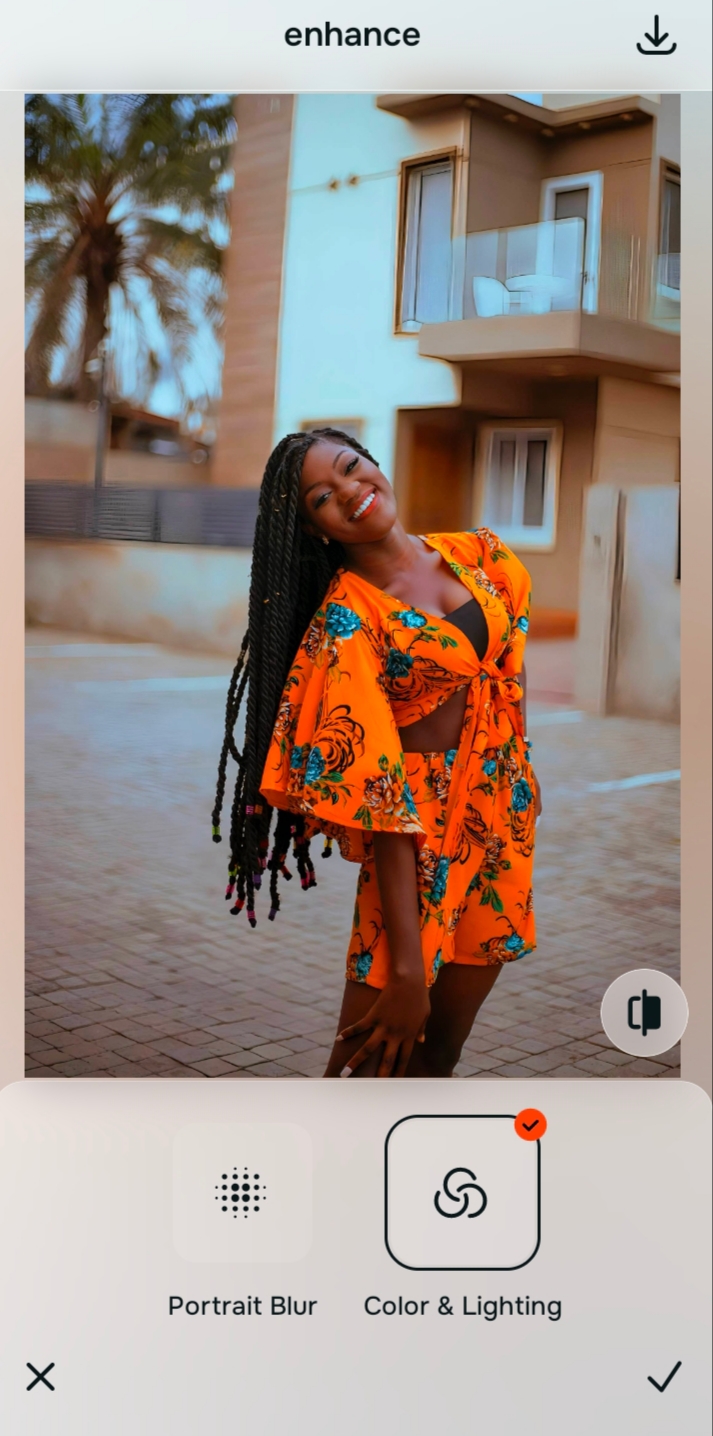
Use Enhance to fix Colors & Lighting and Depth
This is the mandatory first step for dull photos. Tap Enhance and select Colors & Lighting. It removes the gray wash and brings back realistic dimension. To add cheekbone definition in selfies, you must first clear the muddy contrast that hides your bone structure.

Always fix bad contrast before applying an aesthetic filter. Use the Enhance options to rescue a gray picture first.
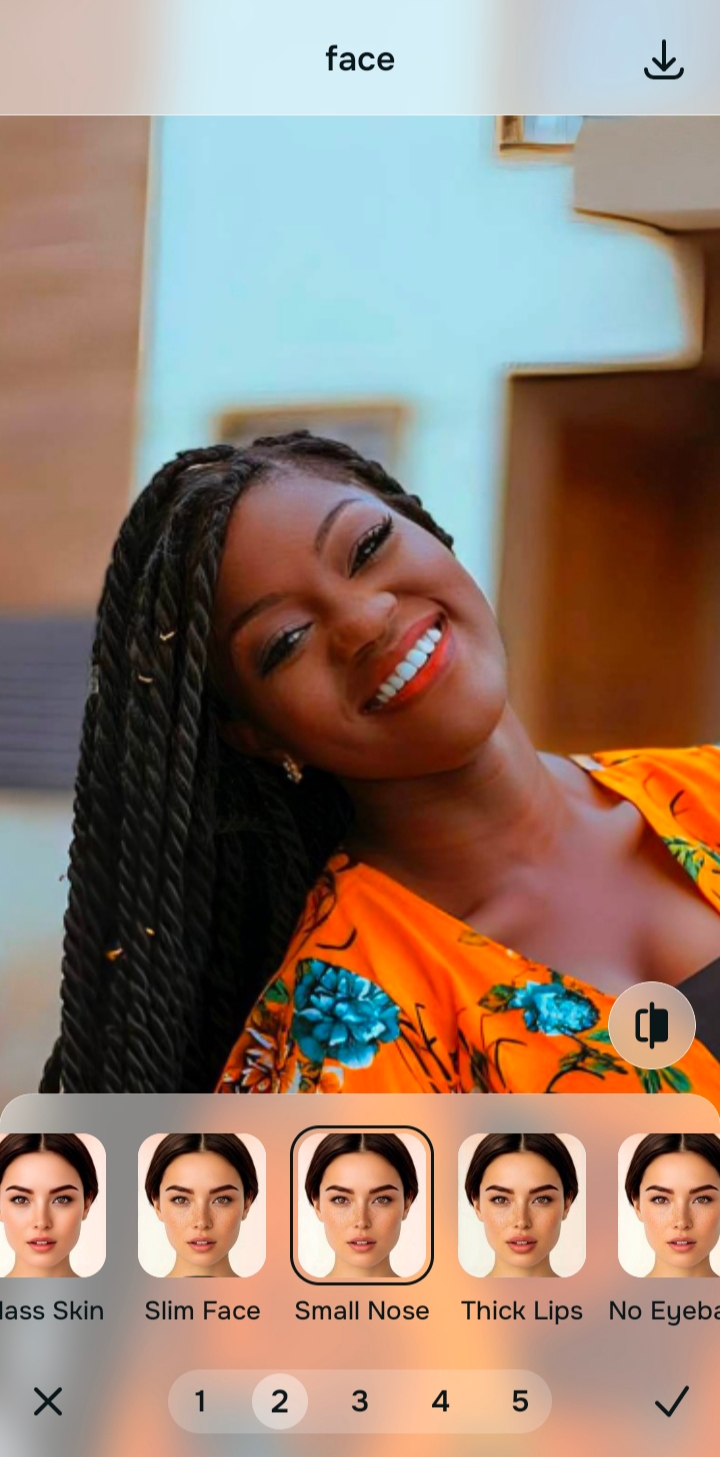
Apply Face tools only to add localized highlights
Once the foundation is solid, you can add subtle dimension back to your features. Navigate to Face and tap a specific tool. If you want to make eyes look bigger in pictures, you should first ensure the lighting around the eyes is lifted and clear.
Compare and save the version that keeps the image looking natural
The ultimate test is vitality. Does the photo look alive? A believable result depends on knowing when to stop. If you are using a tool to make lips look fuller, for instance, save the photo before the features start looking heavily manipulated.

Why does your photo look flat in the first place?
Choose the description that fits best. Your starting point changes depending on whether you are fighting poor lighting or a lack of finishing polish.
Which Citrus tool restores natural dimension to your pictures
Different problems require entirely different tools. The goal is to get the best possible result by matching the tool to the actual problem. This keeps the workflow simple and prevents you from forcing edits that ruin the photo. This is the best ai photo enhancer for natural-looking results because it lets you handle these stages separately.
| Tool | What it helps fix | When to use it |
|---|---|---|
| Enhance Start here | Overall softness, weak light, muddy contrast, low-energy quality | Use this first when the whole image feels wrong. Choose Colors & Lighting to restore contrast or Portrait Blur for a cleaner background. |
| Looks | Photos that are technically balanced but still need a stronger overall impression | Use this after Enhance, or instead of Enhance when the real issue is not the lack of depth but a vibe that feels underwhelming. |
| Face | One specific distraction such as dry skin, missing hydration, or flat facial features | Use this last, after the broader image already feels fair. It works best as a targeted correction, like Face → Glass Skin, not the starting point. |
“The most natural edit restores the shadows and highlights the camera failed to capture, rather than painting a fake glow over the top.”
Why recovering shadow detail beats heavy brightening filters
There is a clear reason heavy beauty filters make flat photos look worse. They act as a smoothing layer over the entire image. When you aggressively blur a picture that already lacks depth, you turn the face into a featureless mask.
Real visual impact comes from properly balancing a capture. This is a superior approach to facetune vs one-tap natural enhancers because it respects the underlying light physics of the scene. Tools that respect depth are always superior to generic presets.