

April 15, 2026
How to Add Cheekbone Definition in Selfies (Enhance Your Jawline)
")

How to Add Cheekbone Definition in Selfies
Searches like how to add cheekbone definition in selfies, how to make cheekbones stand out in photos, and how to sharpen face shape without looking fake usually come from the same frustration. The selfie is not terrible. It just looks flatter than real life. Front cameras soften structure, indoor light swallows contour, and the face can lose that lifted definition that was obvious in the mirror. The fix works best when it stays believable. You want stronger cheekbone definition, not a different face.
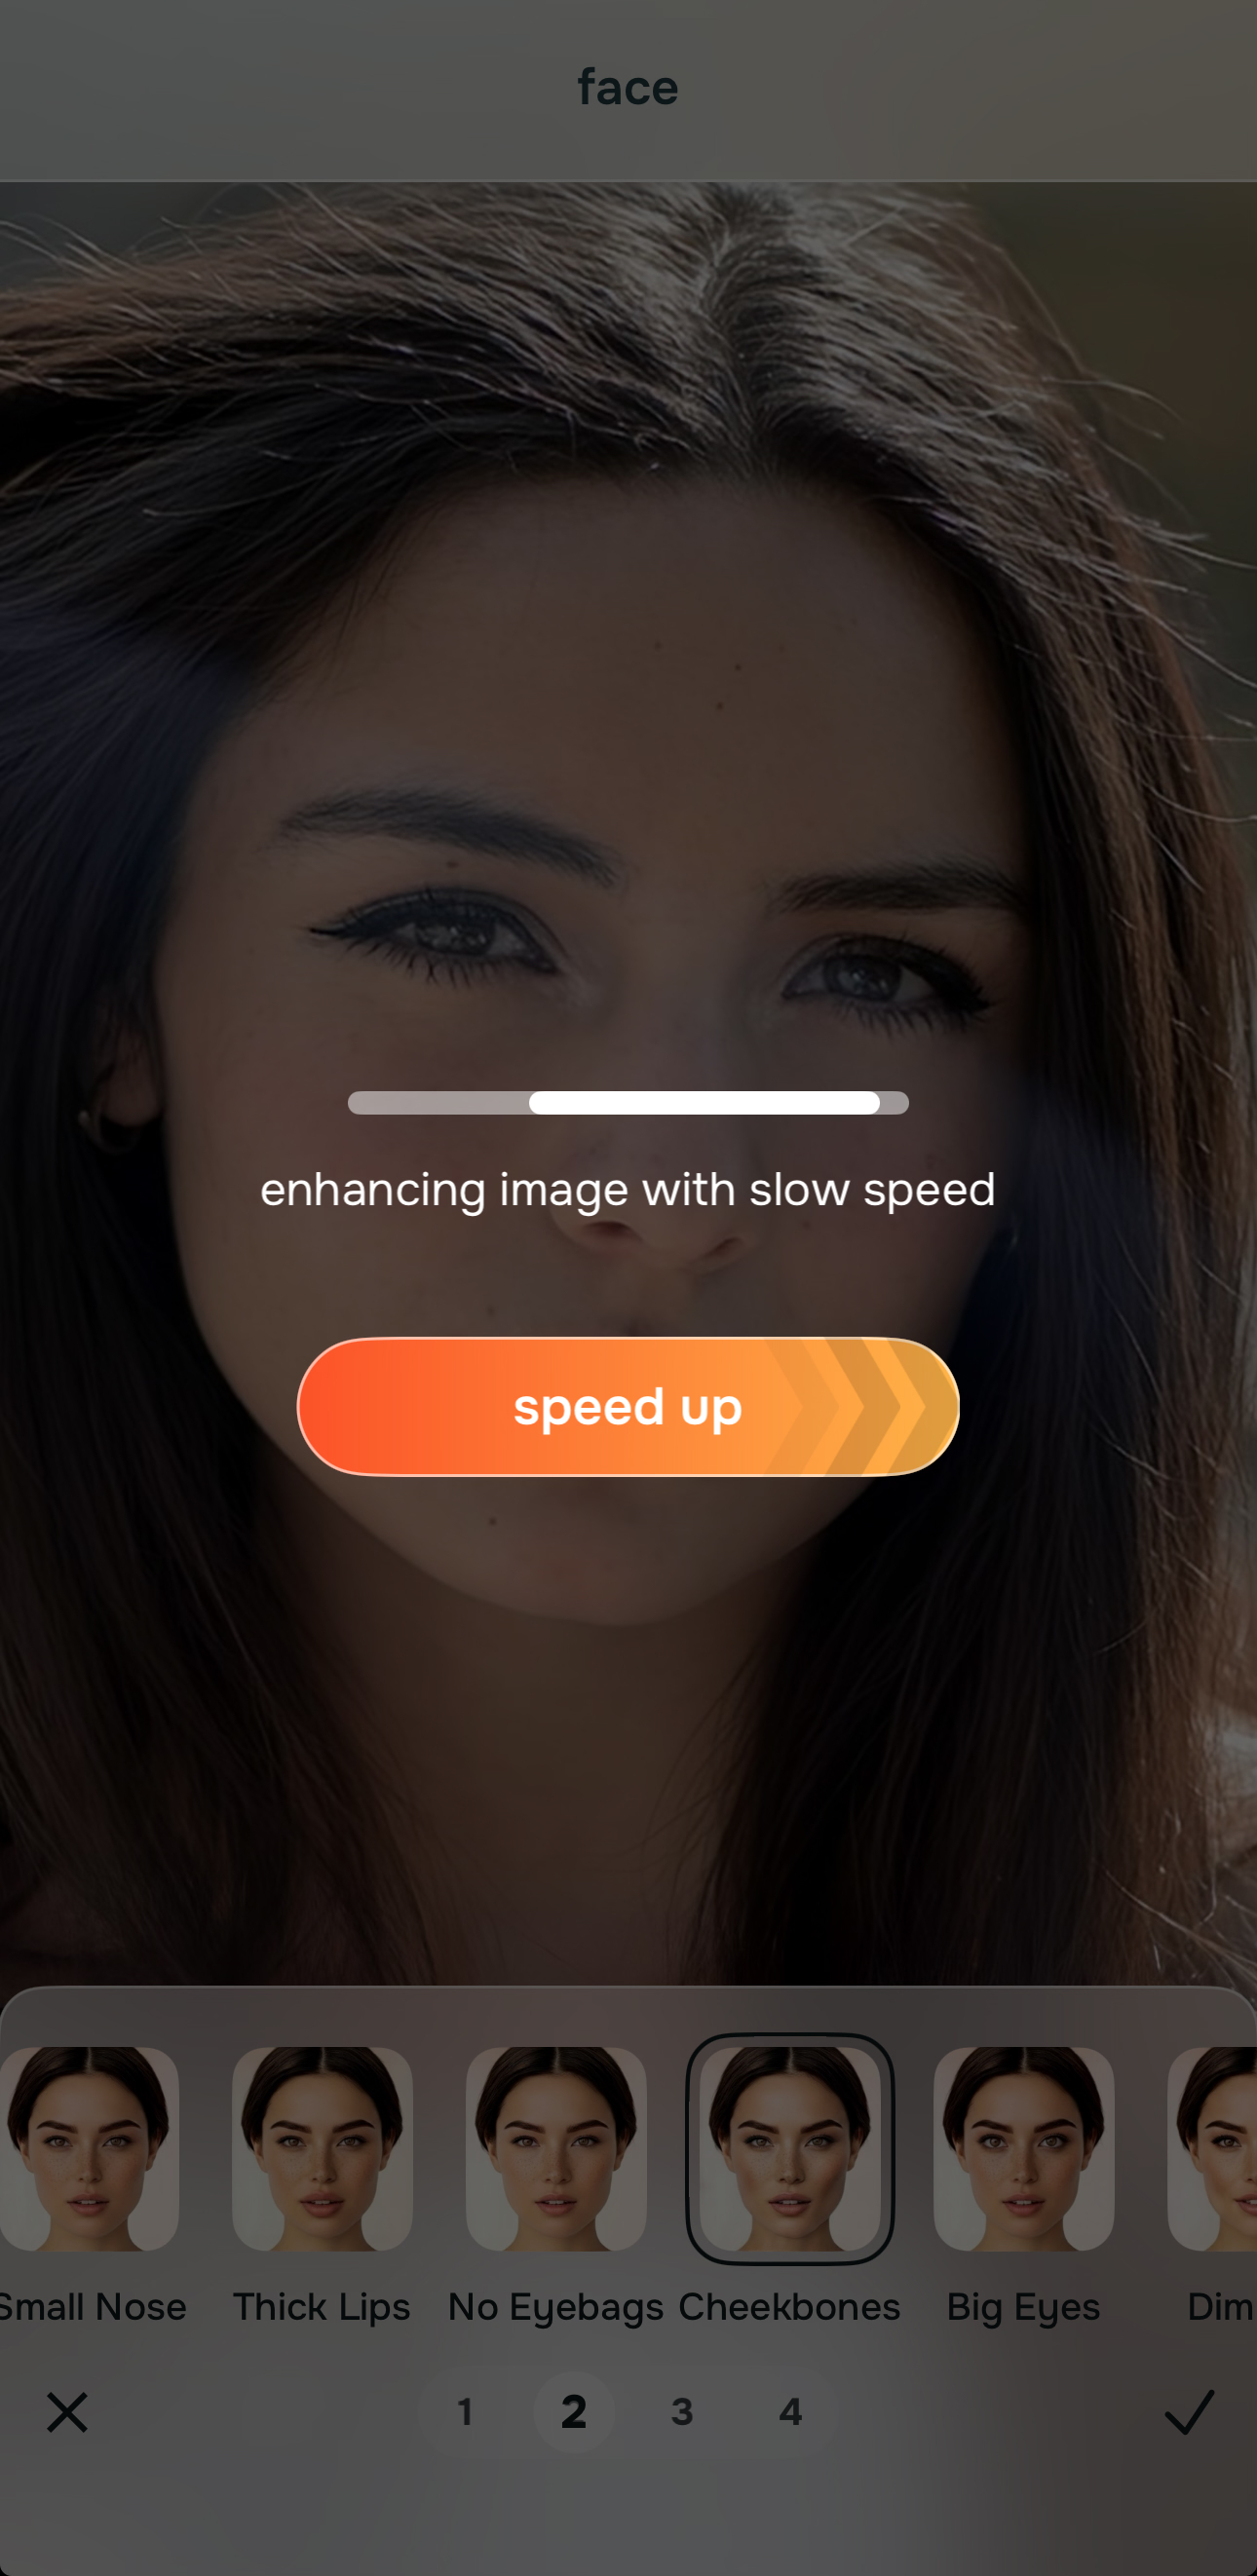
If your selfie mainly needs more cheekbone definition, the correct Citrus path is Face → Cheekbones. That said, not every flat-looking selfie should start there. If the whole image looks dull, soft, or badly lit, begin in Enhance. If the selfie is technically better but still needs a stronger overall impression, try Looks. Use Face → Cheekbones when the photo already feels mostly right and the missing piece is specifically cheekbone structure.
That order matters. People often overedit face shape when the real issue is weak capture. A slightly muddy selfie can trick you into thinking the cheeks need sculpting, even when the image really needs more life overall. That is the same reason readers move between guides on better selfies without Photoshop and more specific face fixes. The problem feels facial, but sometimes it starts with the whole photo.
Why cheekbones disappear in selfies even when your face looks defined in person
Selfies flatten more than people realize. Front cameras sit close, perspective shifts facial balance, and indoor lighting often fills the face from the wrong direction. Instead of gentle structure, the photo records a smoother, wider, or lower-energy version of what was actually there. Cheekbone definition gets lost first because it depends on subtle light and shape cues, not just sharpness.
- Flat front-camera lighting that wipes out natural facial structure
- Soft or low-energy image quality that makes the whole face read heavier
- Editing the face too hard, which creates an obvious sculpted effect
- Trying to fix one feature when the whole selfie actually needs help first
- Improve the full image first if light, softness, or color are the main issue
- Use overall polish before touching one facial structure detail
- Apply Face → Cheekbones only when the selfie already feels close
- Stop once the face looks lifted and balanced, not visibly edited
This is also why people searching for real-looking face enhancement or comparing natural enhancers with louder tools often end up caring less about intensity and more about trust. A selfie can have stronger cheekbones and still look like a real photo. That is the sweet spot.
Test cheekbone definition the controlled way. Fix the selfie first, then sharpen the facial structure only if it still needs it.
How to add cheekbone definition in selfies without making your face look edited
Look at the whole selfie before deciding the cheeks are the problem
A lot of people zoom straight into their face and miss what the full photo is doing. If the selfie looks gray, soft, weakly lit, or generally flatter than real life, then the missing definition might be a photo problem first and a cheekbone problem second. That is the same pattern behind many better-looking selfie searches. The face feels off, but the image itself set it up that way.
Ask one simple question before editing. Does the selfie need better structure, or does it need a better photo underneath the structure? That answer changes your starting point.

Start in Enhance if the selfie looks dull, soft, or less alive than the real moment
If the entire image feels flat, go to Enhance first. Use Colors & Lighting when the selfie needs balance, life, and better visual energy. Use Portrait Blur when the subject needs cleaner separation and the background is making the face feel less defined.

Use Enhance first when the problem is overall. Better light and stronger photo quality often bring back facial structure before you even touch Face.
This step is easy to skip, and that is exactly why some cheekbone edits turn artificial. Readers coming from clear blurry photos naturally already know that cleaner overall quality usually beats stronger feature editing.
Use Looks if the selfie is cleaner now but still feels flat in its overall impression
Sometimes the photo is no longer dull, yet the face still does not feel lifted enough. That is the moment for Looks, not instant feature sculpting. Looks helps when the selfie needs a better finish overall, not just one correction. It is the smarter move when the photo feels technically better but emotionally still underwhelming.
This step matters in face-shape topics because overediting often starts from impatience. People see a better image and immediately begin reshaping the face. A calmer pass through the overall impression can keep the final cheekbone adjustment much more believable.
Go to Face and choose Cheekbones when cheekbone definition is the specific missing piece
This is the exact path for the topic. Open Face, then choose Cheekbones. Use it when the selfie already feels mostly right and what is still missing is clearer upper-face structure, a more lifted contour, or a little more definition through the cheek area.
Face → Cheekbones is a specific correction, not the starting point for every flat selfie. That is the discipline that keeps it natural. If the whole selfie still feels weak, this path will usually do too much too soon. If the selfie already looks fair and balanced, it can add just the right amount of shape.

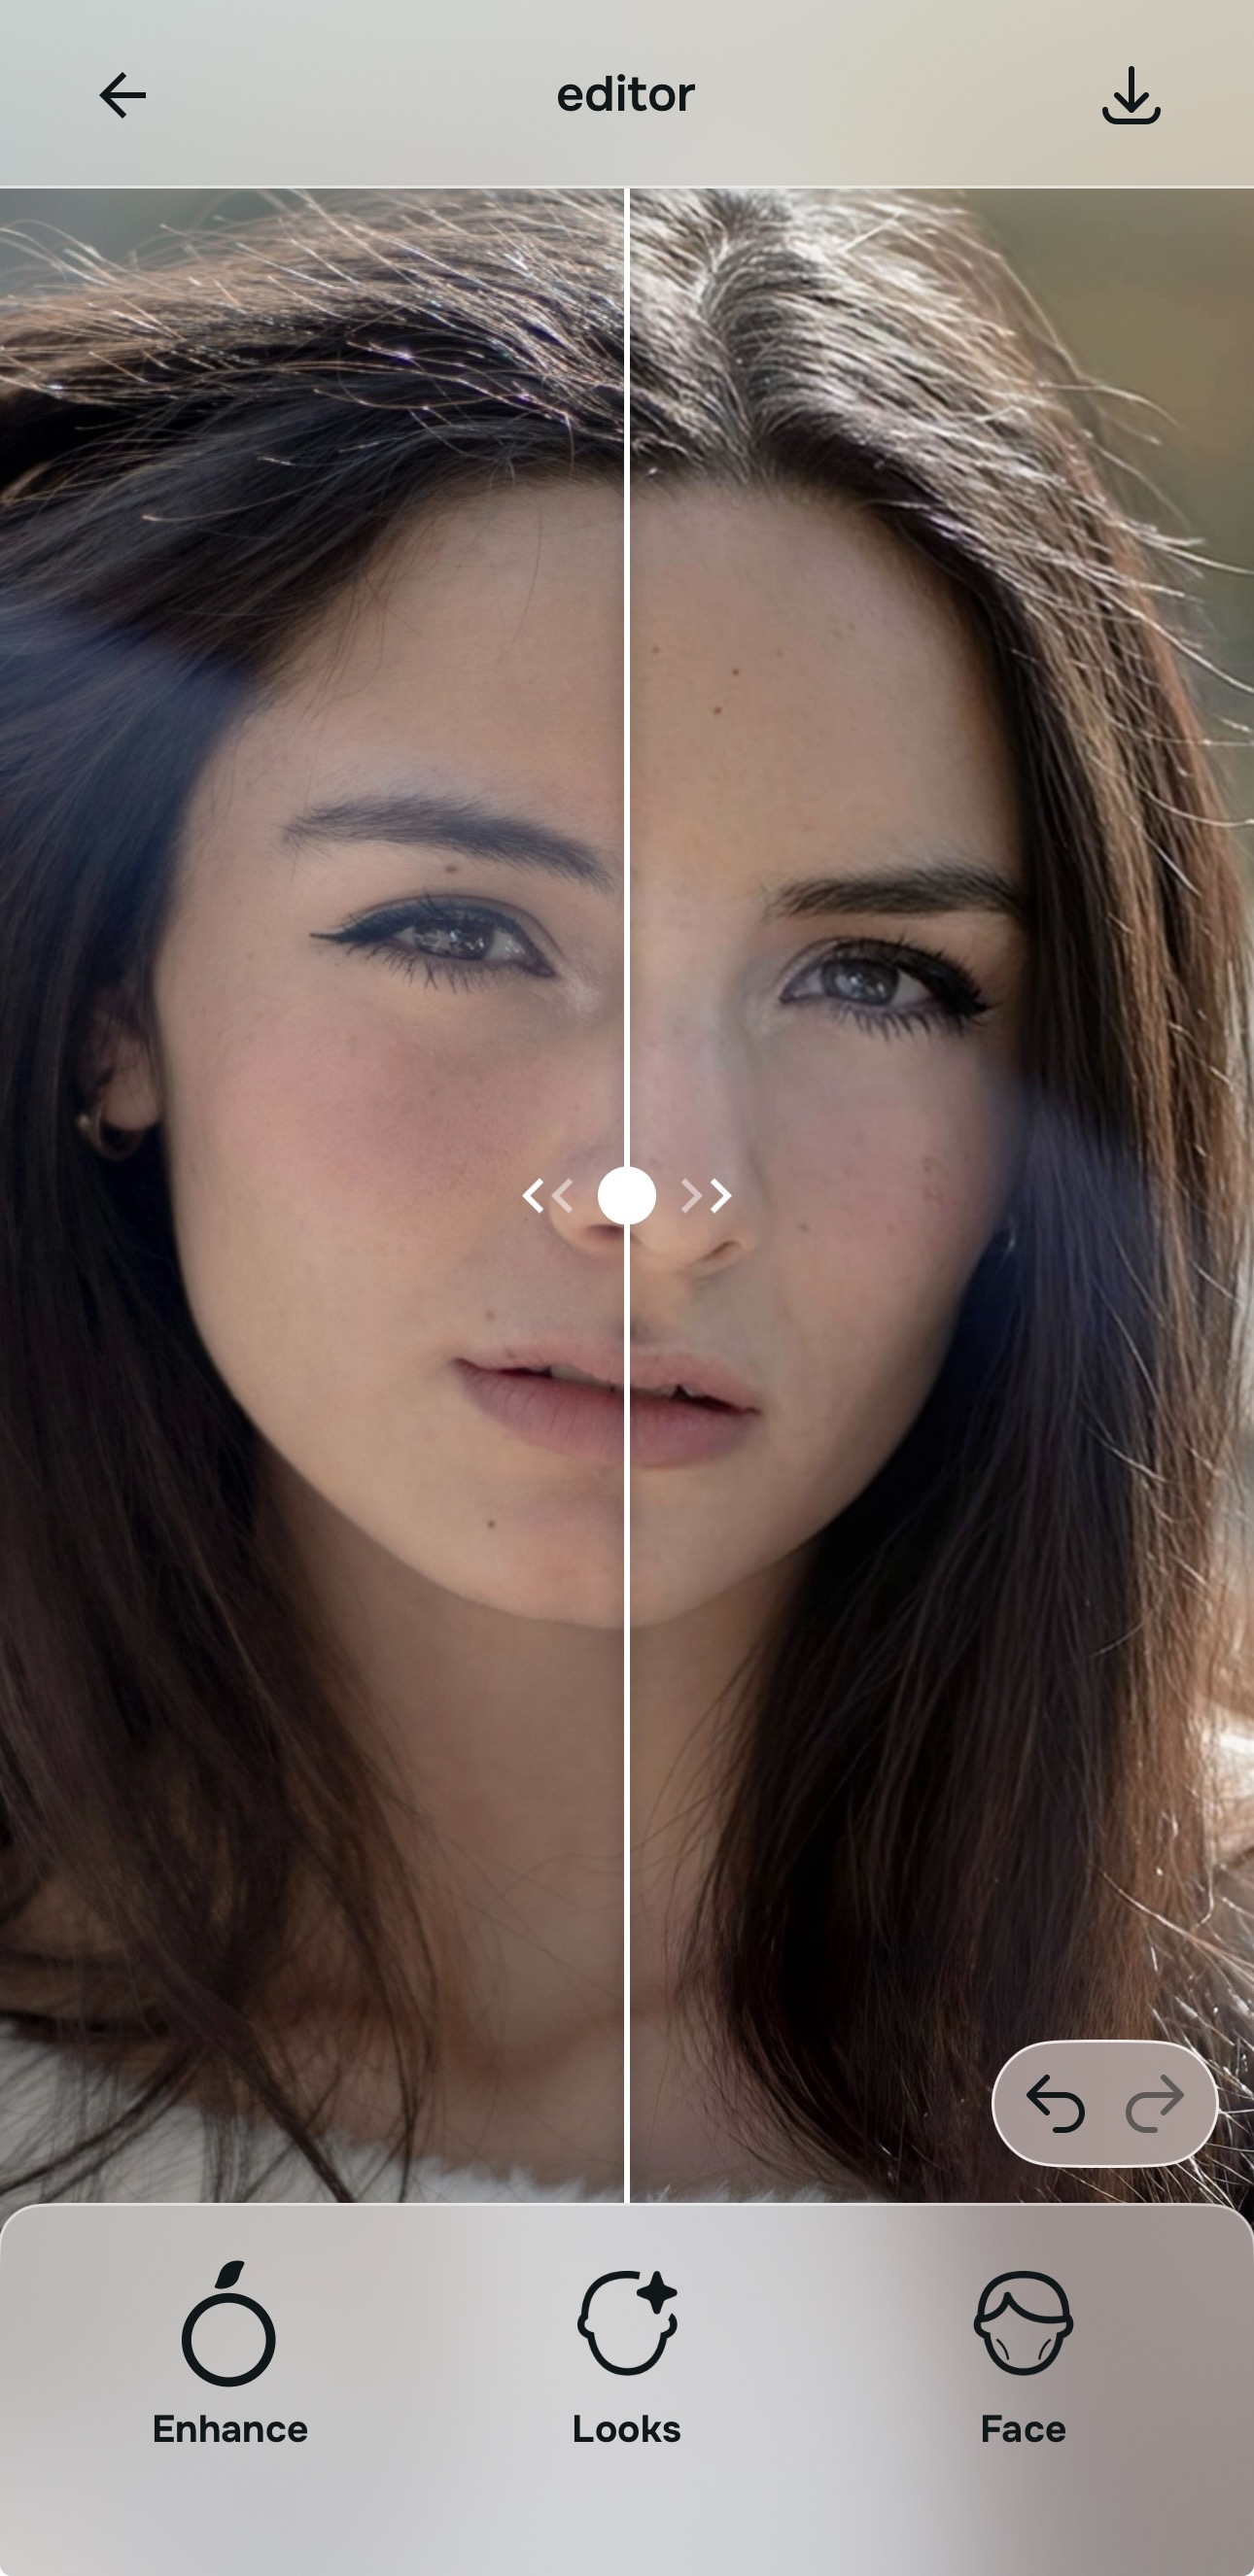
Stop the moment the selfie looks more lifted, not more altered
The final checkpoint is simple. Does the face look more defined, or does it look edited? Strong cheekbones in selfies should read as believable facial structure that the camera failed to capture well, not as an added effect. Once you feel the selfie has regained shape, stop there.
This is where natural workflows beat heavy editing apps. The best result is usually the one that helps the face read better without becoming the first thing people notice. That same restraint is why comparison-minded readers drift toward guides like Remini vs natural enhancers when they get tired of edits that look loud instead of true.
What is the real reason your cheekbones are not showing up in selfies?
Pick the one that sounds closest. The smartest starting point changes depending on whether the problem is overall selfie quality, overall impression, or specifically cheekbone structure.
Which Citrus tool does what for cheekbone definition in selfies
The easiest way to keep cheekbone edits natural is to match the tool to the real problem. That keeps the workflow clean and prevents a structure fix from turning into a full-face makeover.
| Tool | What it helps fix | When to use it |
|---|---|---|
| EnhanceStart here | Overall softness, weak light, flat color, low-energy selfie quality, or portrait separation problems that make the face lose structure | Use this first when the whole selfie feels unfair. Choose Colors & Lighting for balance and life, or Portrait Blur when better subject separation will help the face read cleaner. |
| Looks | A selfie that is technically improved but still lacks a stronger overall finish or attractive impression | Use this after Enhance when the image needs broad polish before you decide whether any facial structure correction is still needed. |
| Face | One remaining facial issue such as missing cheekbone definition, tired eyes, or another localized concern | Use this last. For this topic, go specifically to Face → Cheekbones when the selfie already feels believable and you want more cheek area definition without changing the whole face. |
“The most flattering cheekbone edit is usually the one that restores structure the camera flattened, not the one that tries to invent a new face.”
How to tell when cheekbone enhancement looks natural versus obviously edited
Natural cheekbone definition makes the face look more lifted, a little more awake, and a little more structured. It does not suddenly make the face look hollow, carved, or aggressively sculpted. The selfie should still belong to the same lighting, the same skin, and the same expression.
One useful test is to look away for a second and come back. If the first thing you notice is stronger shape, that can be good. If the first thing you notice is that the face looks edited, the correction went too far. Readers exploring face fixes without overediting are usually trying to learn exactly that line. The answer is rarely “more.” It is usually “better placed.”
The best cheekbone result tends to be quiet. It helps the cheek area read more clearly, supports the natural face shape, and works with the rest of the image instead of fighting it. That is why the order of operations matters so much. Full image first. Overall impression next. Targeted cheekbone definition last.
