

April 15, 2026
How to Unblur a Face in a Photo Without Overediting


How to Unblur a Face in a Photo Without Overediting
A blurry face photo usually does not need beautifying. It needs the image to recover detail, shape, and balance without tipping into the waxy, sharpened, fake-looking result that ruins trust in the picture. The mistake most people make is going too hard on the face first. The smarter fix is to restore the overall image, then decide whether the portrait still needs separation, a better overall impression, or one small facial correction. That is how a blurry photo starts looking clear again while still looking human.
The cleanest way to unblur a face photo is to fix the photo before trying to fix the face. Start with the overall image quality, then check whether the portrait still needs more separation or whether one feature still distracts you. In Citrus, that usually means beginning in Enhance, checking Colors & Lighting or Portrait Blur first, then moving to Looks or Face only when the image is already cleaner. That order protects the result from looking fake.
People search for face unblur tools because the photo feels close to usable, yet the face never lands. It looks soft, weak, slightly muddy, or lost in the frame. That problem often overlaps with what people hate in a photo enhancer for blurry pictures, where the image becomes technically sharper but emotionally worse.
The real goal is credible clarity. The face should read better, the portrait should feel cleaner, and the final image should still look like a real photo instead of an app showing off.
Why blurry face photos go wrong in the first place
A face photo can feel blurry for several different reasons, and that is exactly why random editing fails. Sometimes the whole photo is soft. Sometimes the subject blends into the background. Sometimes the image gets cleaner, yet the person still looks dull, flat, or slightly off. That is why people often bounce between tools after reading roundups about the best AI photo enhancer for natural-looking results and still do not get a result they trust.
- Sharpening the face too early before the whole image has been cleaned up
- Using aggressive beauty edits to hide softness instead of fixing the capture problem
- Forcing “clarity” with hard contrast that makes skin, edges, and features feel artificial
- Editing one facial feature when the real issue is overall quality or weak portrait separation
- Starting with the overall image when the whole photo looks soft or muddy
- Using portrait separation when the face gets lost into the background
- Polishing overall impression only after the photo already looks cleaner
- Saving specific face edits for the end, only when one detail still bothers you
That sequence matters. It is the difference between a repaired photo and an overcorrected one.
Fix the image first, then decide what the face still needs. That is the safer path when clarity matters more than obvious editing.
How to unblur a face in a photo without making it look fake
Open the photo that feels close to good but still misses on the face
Pick the image that almost works. The pose is right. The expression is usable. The problem is that the face feels softer than it should, slightly lost, or less alive than the real moment.
Do not start with a hopeless image. Start with the one that only needs a fairer translation. That is where this workflow wins.
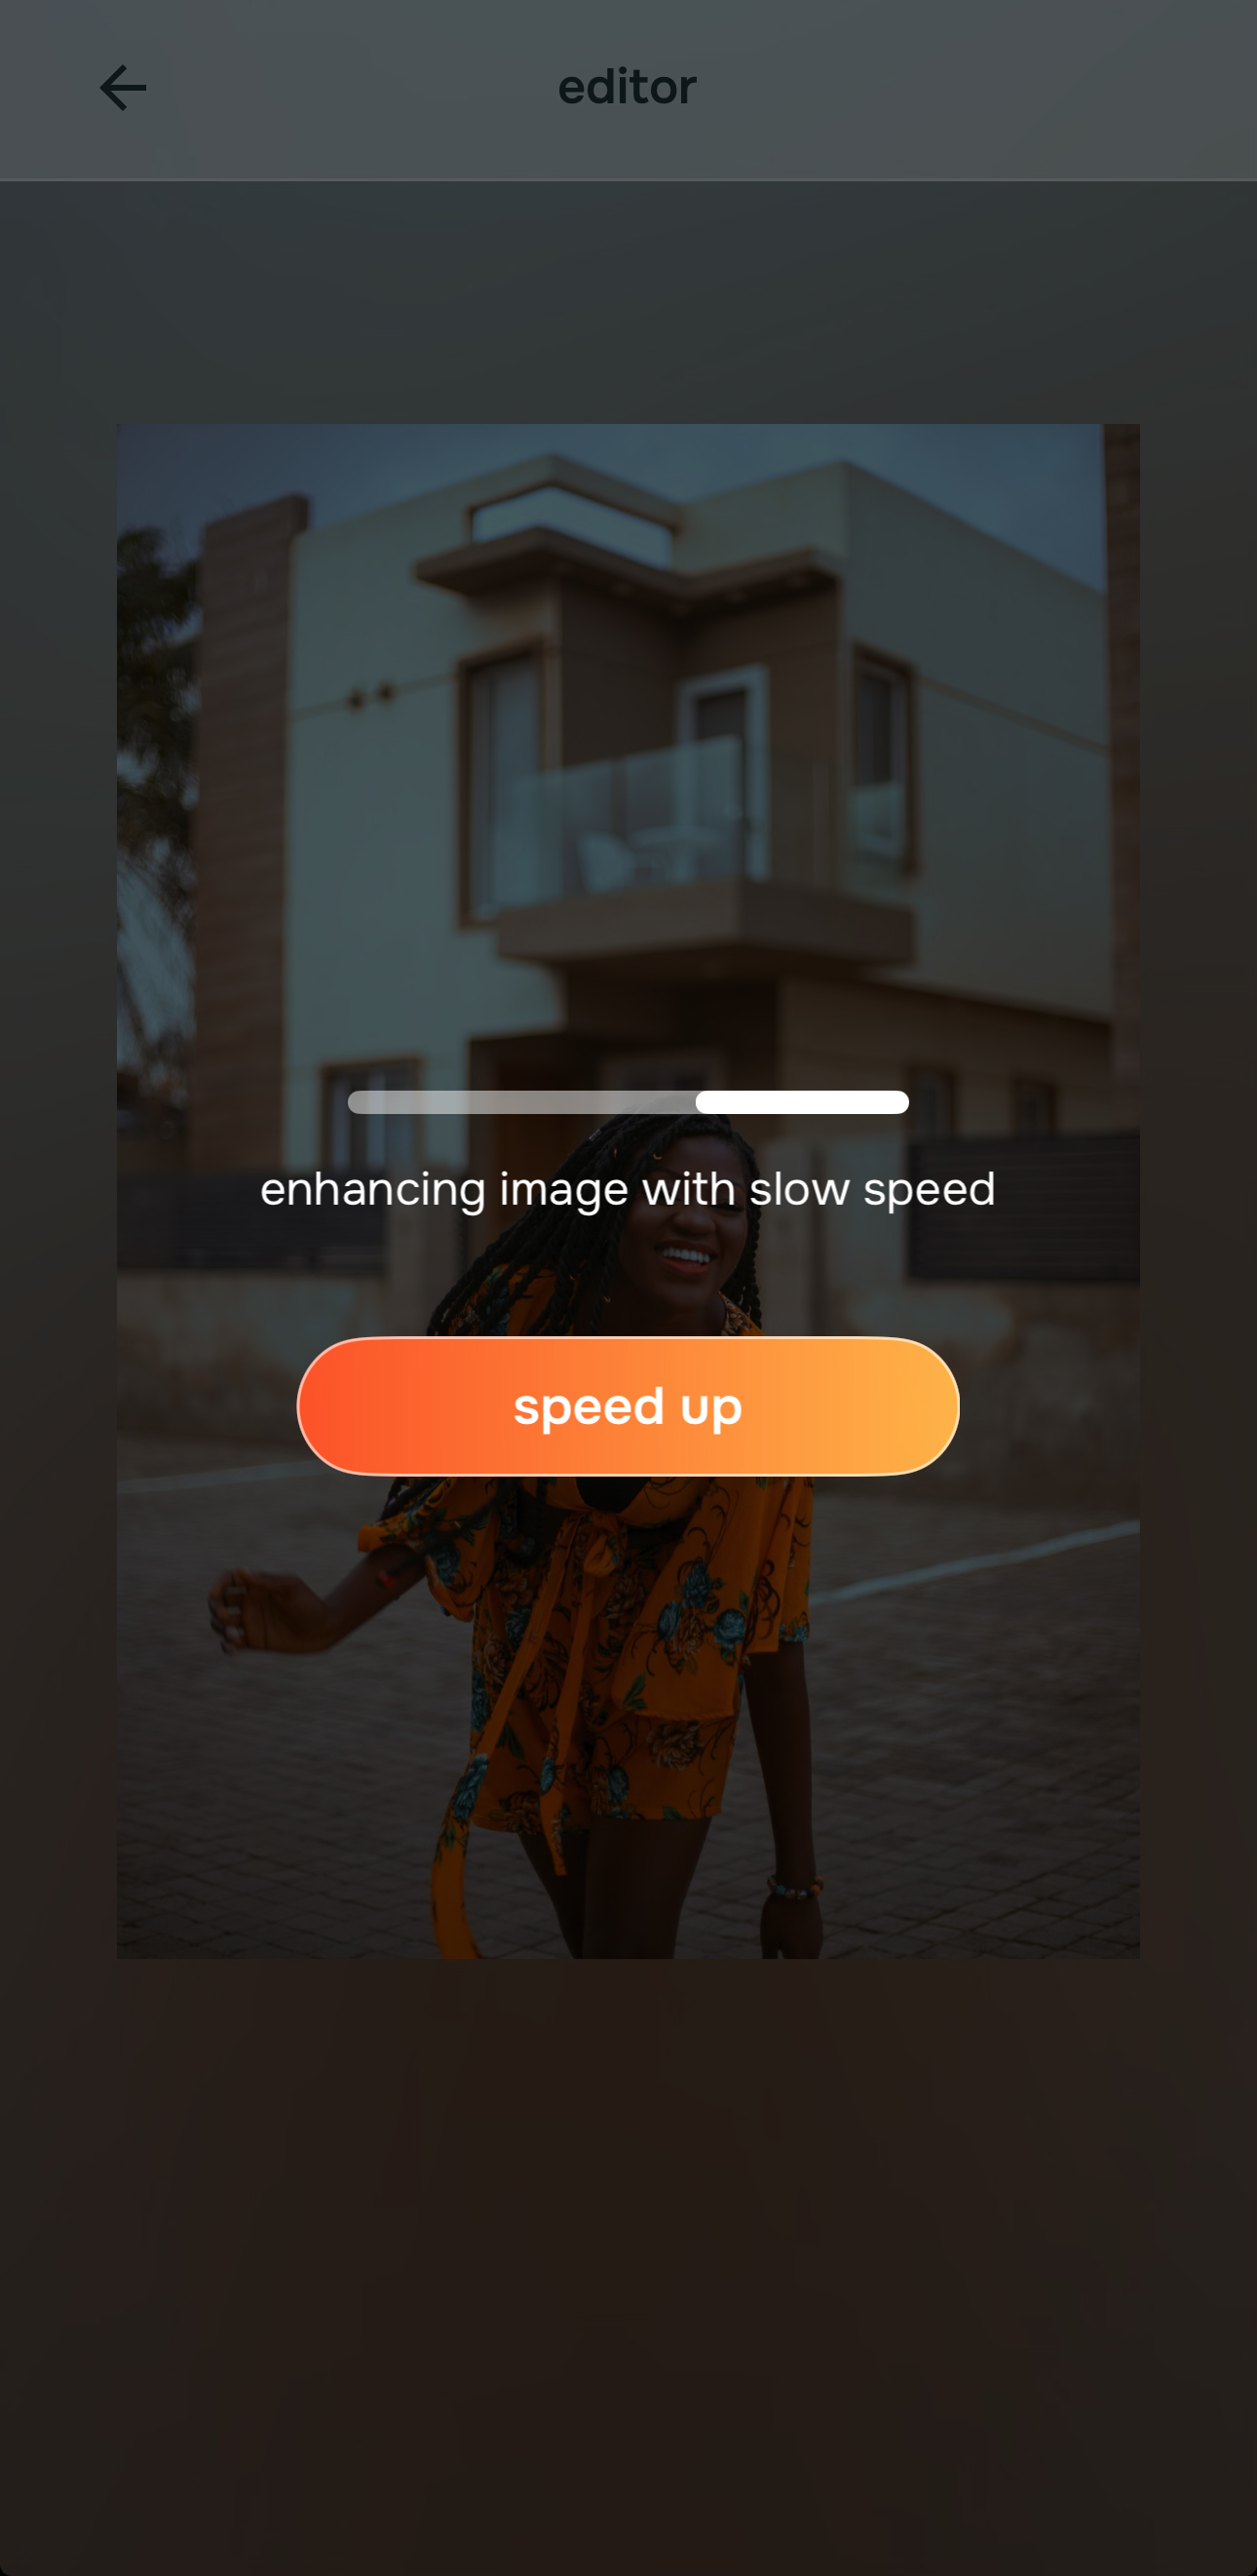
Begin in Enhance when the whole image is soft, muddy, or low-detail
This is the part many people skip, and then the edit falls apart. When the blur is overall, the smartest first move is Enhance. That is where Citrus handles broad photo quality problems.
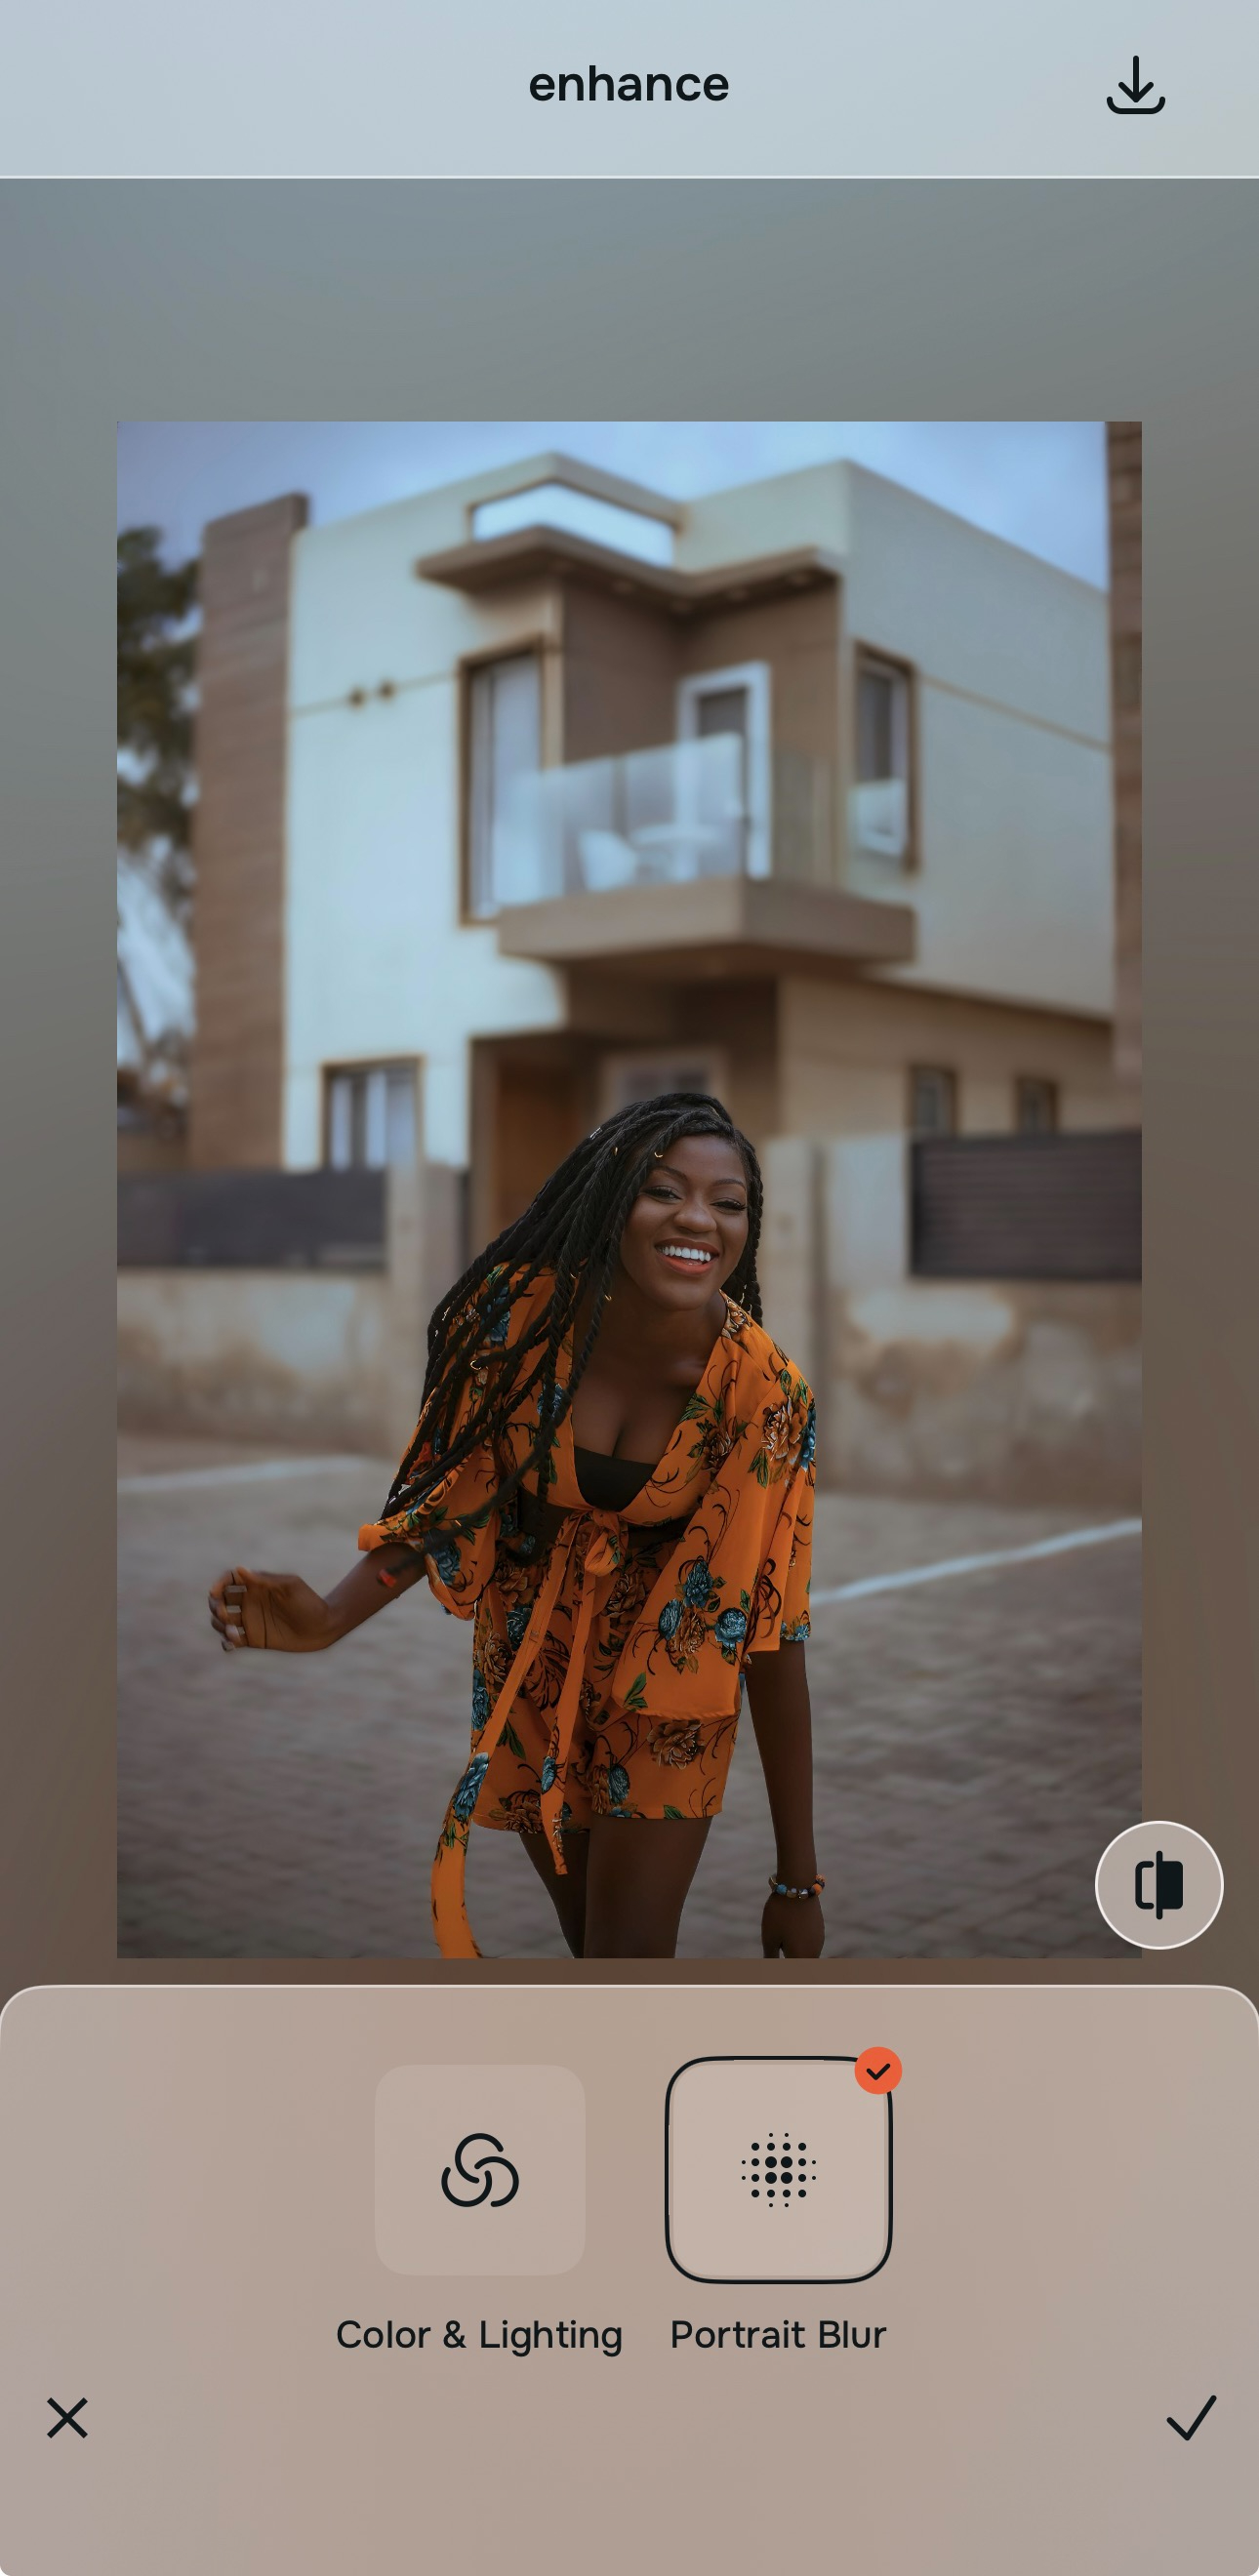
Use Colors & Lighting when the image needs better balance, tone, and life. Use Portrait Blur when the subject needs cleaner separation from the background and a stronger portrait look. People who care about clear selfies often run into the same issue covered in selfie enhancers for better-looking photos, where the real fix starts with the image, not the face.
Check the improved preview before touching the face at all
Once the image is cleaner, stop and look again. A surprising number of blurry face photos stop being a face problem after the overall photo improves. The face reads better simply because the image now has more structure, better light, and cleaner depth.

Citrus is available on web, Google Play, and the App Store. Start with the quickest route, then move into the full app when you want more control over the path.
Only keep going if the photo still needs help. That pause is what protects the result from overediting.
Move to Looks for overall impression or Face for one specific issue
Once the image is cleaner, ask a narrower question. Does the face still need a better overall impression, or is there one detail pulling attention away from the photo?
If it is the overall impression, go to Looks. If it is one specific feature, go to Face. That is a much safer route than forcing a full facial makeover. It also lines up with the logic behind an AI face enhancer that still looks real, where the image stays believable because the correction is targeted.
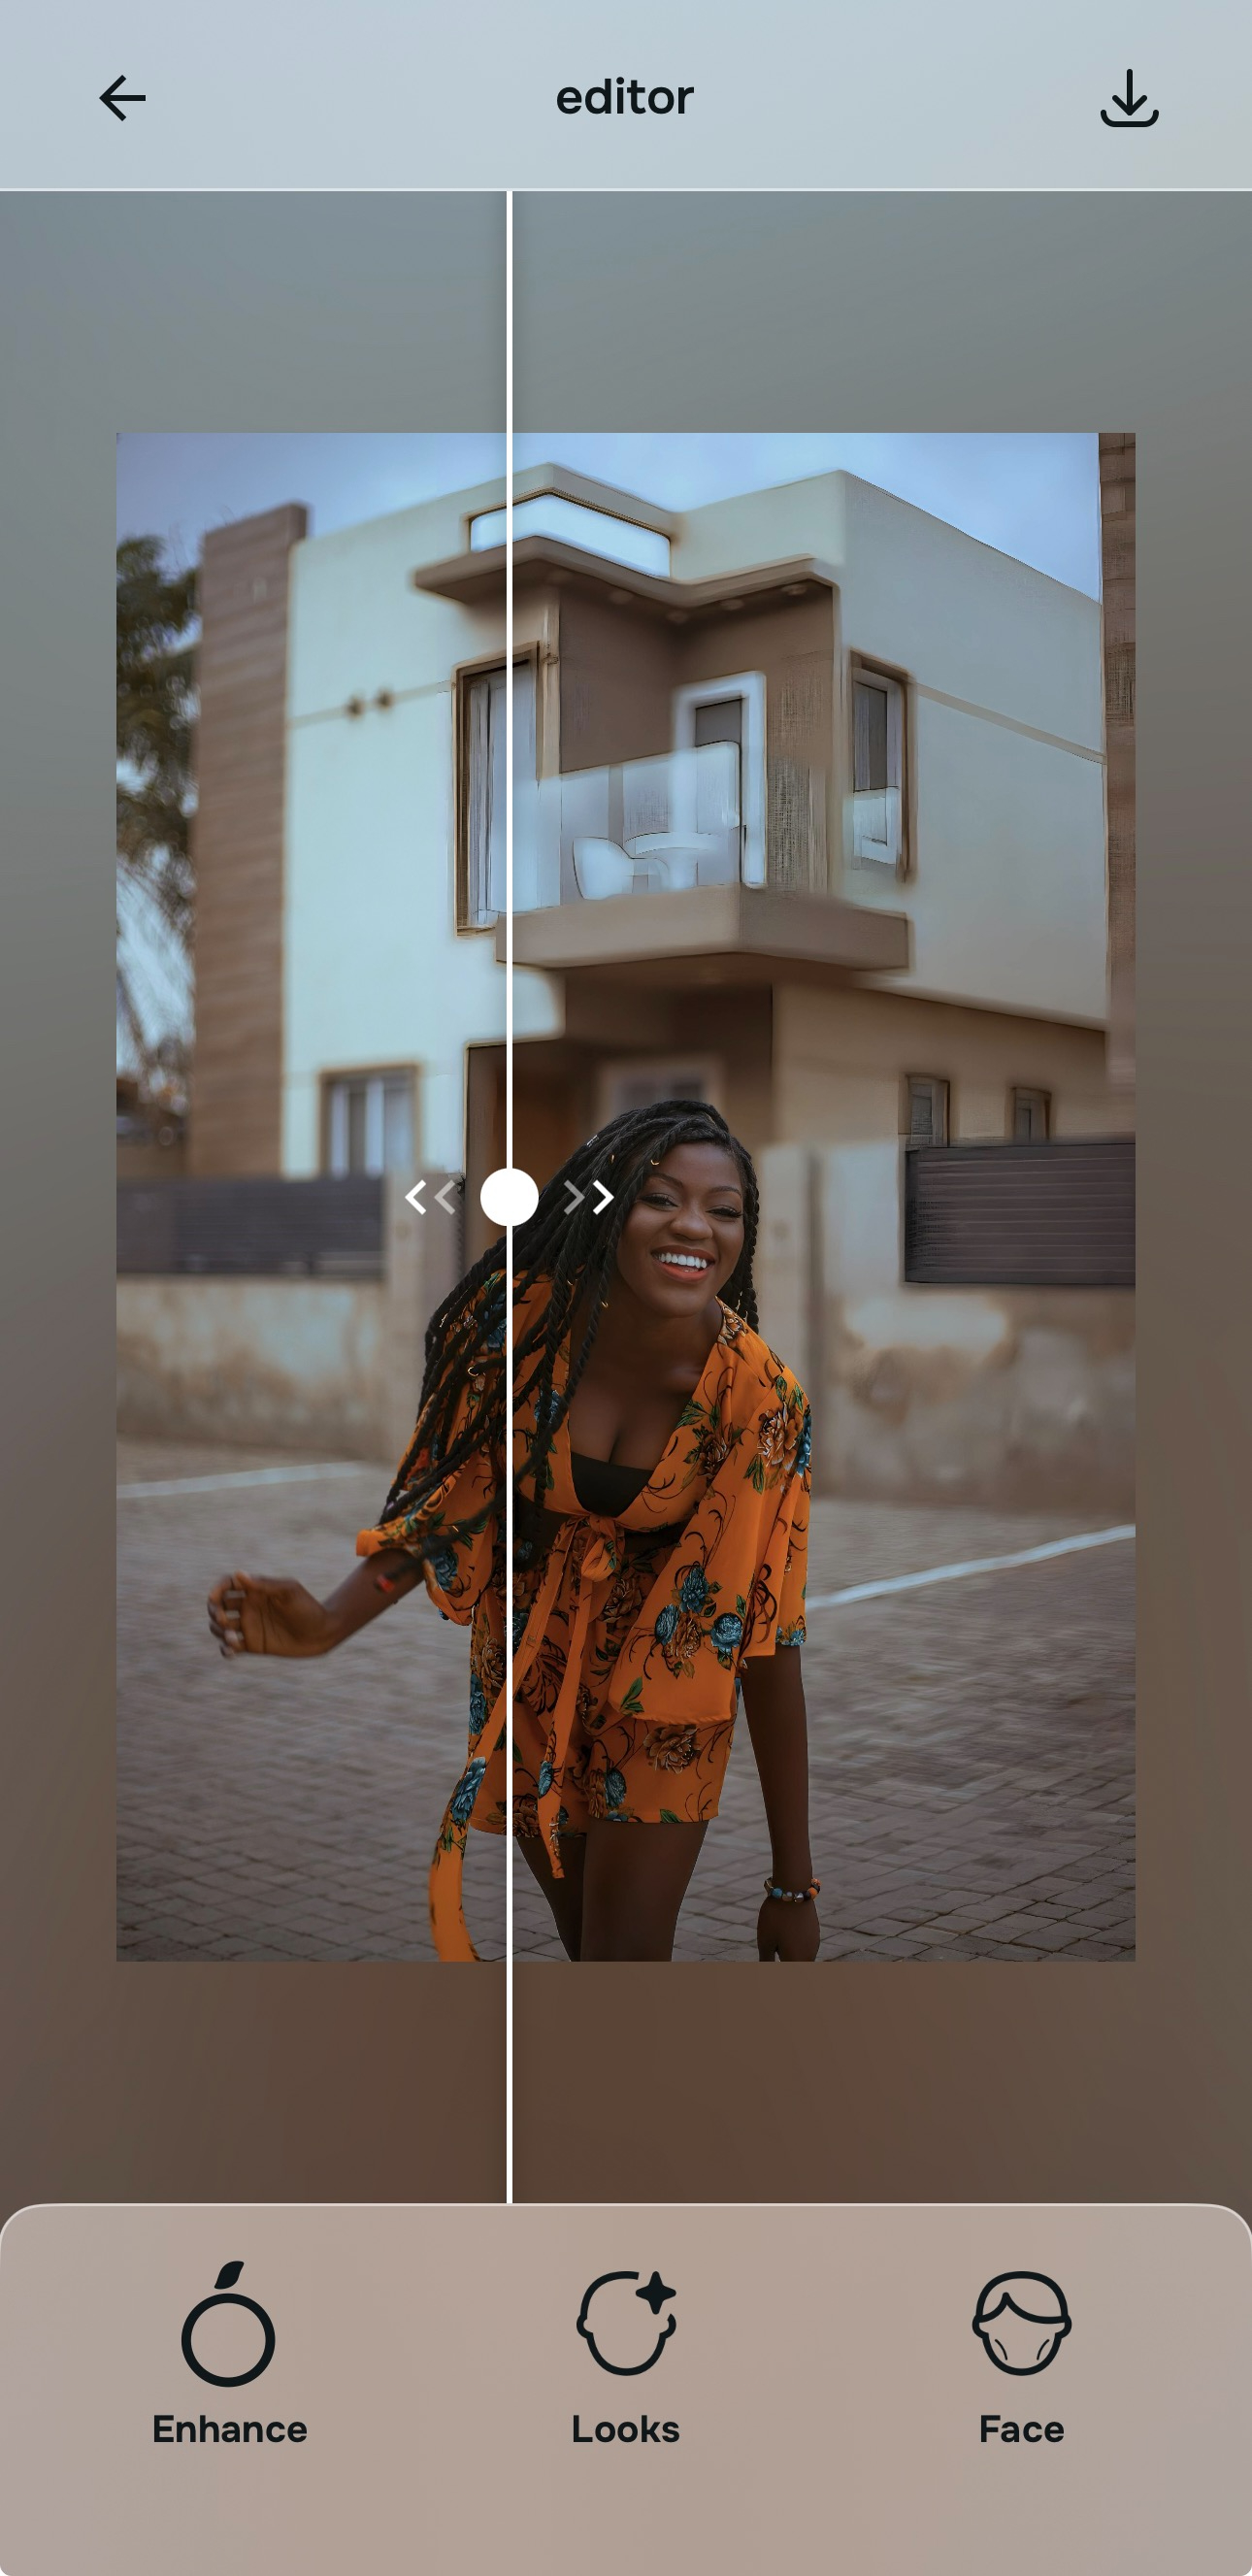
Compare the final result against the original and save the version that still feels human
The last check is simple. The face should read more clearly. The photo should feel more intentional. But nothing should scream “edited.”
The winning result is the one that removes the camera problem without replacing it with an app problem. That standard is what separates a useful unblur from an obvious overedit. The broader version of that same logic is what makes a guide on making blurry photos clear again without making them look fake matter so much in the first place.
What is the real reason your blurry face photo feels wrong?
Pick the one that sounds closest. The smartest starting point changes depending on whether the problem is overall quality, weak portrait separation, a flat final impression, or one last facial distraction.
Best starting point: Start in Enhance. When the whole image looks soft or low-detail, the problem is overall quality. Use Enhance first, then decide whether Colors & Lighting or Portrait Blur makes the face read better.
Best starting point: Go to Enhance > Portrait Blur. This is the strongest route when the face is getting swallowed by the background and the portrait needs cleaner subject separation.
Best starting point: Stay in Enhance and use Colors & Lighting. The image usually needs better balance, tone, and life before anything more specific.
Best starting point: First clean the overall image in Enhance, then move into Looks for overall impression or Face for a specific feature. That keeps the result believable.
What Citrus should do here versus what usually goes wrong elsewhere
The fastest way to lose trust in a face photo is to make clarity feel synthetic. Good tools help the face read better. Weak tools turn clarity into an effect. That difference matters even more when the reader came here looking for a face unblur fix and not a makeover.
| What a good result should do | Citrus path | Overdone tools |
|---|---|---|
| Improve the overall image before touching facial details | ✓ Starts in Enhance | ✕ Jumps straight to face edits |
| Use portrait separation when the subject gets lost into the background | ✓ Portrait Blur path | ✕ Fake sharpness with no depth |
| Allow an overall impression upgrade without forcing a feature change | ✓ Looks path | ✕ Pushes every face toward the same finish |
| Save specific face corrections for the end | ✓ Face path only when needed | ✕ Overedits the face too early |
Which Citrus tool does what when a face photo feels blurry
The easiest way to stay believable is to match the problem to the right part of the app. People often say “unblur the face” when they really mean one of four different things. This table keeps the workflow honest.
| Tool | What it helps fix | When to use it |
|---|---|---|
| EnhanceStart here | Overall softness, muddy quality, weak detail, a photo that needs general repair before anything else | Use this first when the whole image feels underpowered, not just the face. |
| Colors & Lighting | Flat tone, weak balance, low life, a cleaned image that still feels dull | Use this when the photo needs better energy and clarity through improved balance. |
| Portrait Blur | Weak subject separation, portraits where the face blends into a busy background | Use this when the portrait needs stronger focus and a more professional look. |
| Looks | Overall impression, softer polish, a better final feel after the image is already cleaner | Use this after Enhance when the result is clearer but still does not feel finished. |
| Face | One specific facial issue that still distracts after the photo quality is corrected | Use this last, only when the image is already in good shape and one detail still needs help. |
“The best face unblur result is the one that fixes the photo problem first and leaves the person looking like a person.”