

April 11, 2026
Best AI Photo Enhancer for Natural-Looking Results


Best AI Photo Enhancer for Natural-Looking Results
The best AI photo enhancer for natural-looking results does not try to replace your face, your skin, your light, or your mood. It fixes what the camera translated badly and leaves the rest alone. That is what most people are actually searching for when they want better selfies, portraits, or everyday photos. They do not want plastic skin, sharpened edges, and fake beauty-filter energy. They want a photo that still feels like them, only cleaner, brighter, and more honest to real life.
The best AI photo enhancer for natural-looking results is one that corrects bad capture without creating a fake finish. The smartest workflow is usually to start with the original photo, check the first preview, then fix lighting, color, and subject separation first. Only after that should you touch anything more cosmetic. A natural result should look more like you in better conditions, not like a different person.
That is the line most photo apps miss.
They promise enhancement, but what they often deliver is overcorrection. Skin gets smeared. Contrast gets pushed too hard. Facial features stop feeling believable. The photo may look edited in a dramatic way, but it does not look better in a trustworthy way.
Natural-looking enhancement is a different standard. It is not about doing more. It is about knowing what should stay untouched and what should be quietly improved.
What makes an AI photo enhancer look natural instead of fake
When people search for the best AI photo enhancer, they are usually trying to solve one of two problems. Either the photo looks worse than real life, or the apps they tried made it look less human. The difference between a believable result and an obvious edit usually comes down to this.
- Smoothing skin until texture disappears and the face loses all realism
- Whitening, sharpening, or reshaping everything at once instead of fixing the real issue
- Using heavy beauty filters when the real problem was poor light or weak capture
- Pushing the face away from how it actually looked in the moment
- Correcting lighting, color, and balance before touching anything more cosmetic
- Using targeted one-tap fixes only when the photo clearly needs them
- Keeping detail, shape, and texture so the image still feels like a real photo
- Stopping the moment the photo looks closer to real life instead of more processed
That is why natural-looking AI enhancement is less about dramatic transformation and more about intelligent restraint. The strongest result is usually the one that makes people think the photo was simply captured better in the first place.
See what a cleaner, more natural version looks like in one tap. Start with the photo you thought was almost good enough.
How to get natural-looking results without overediting
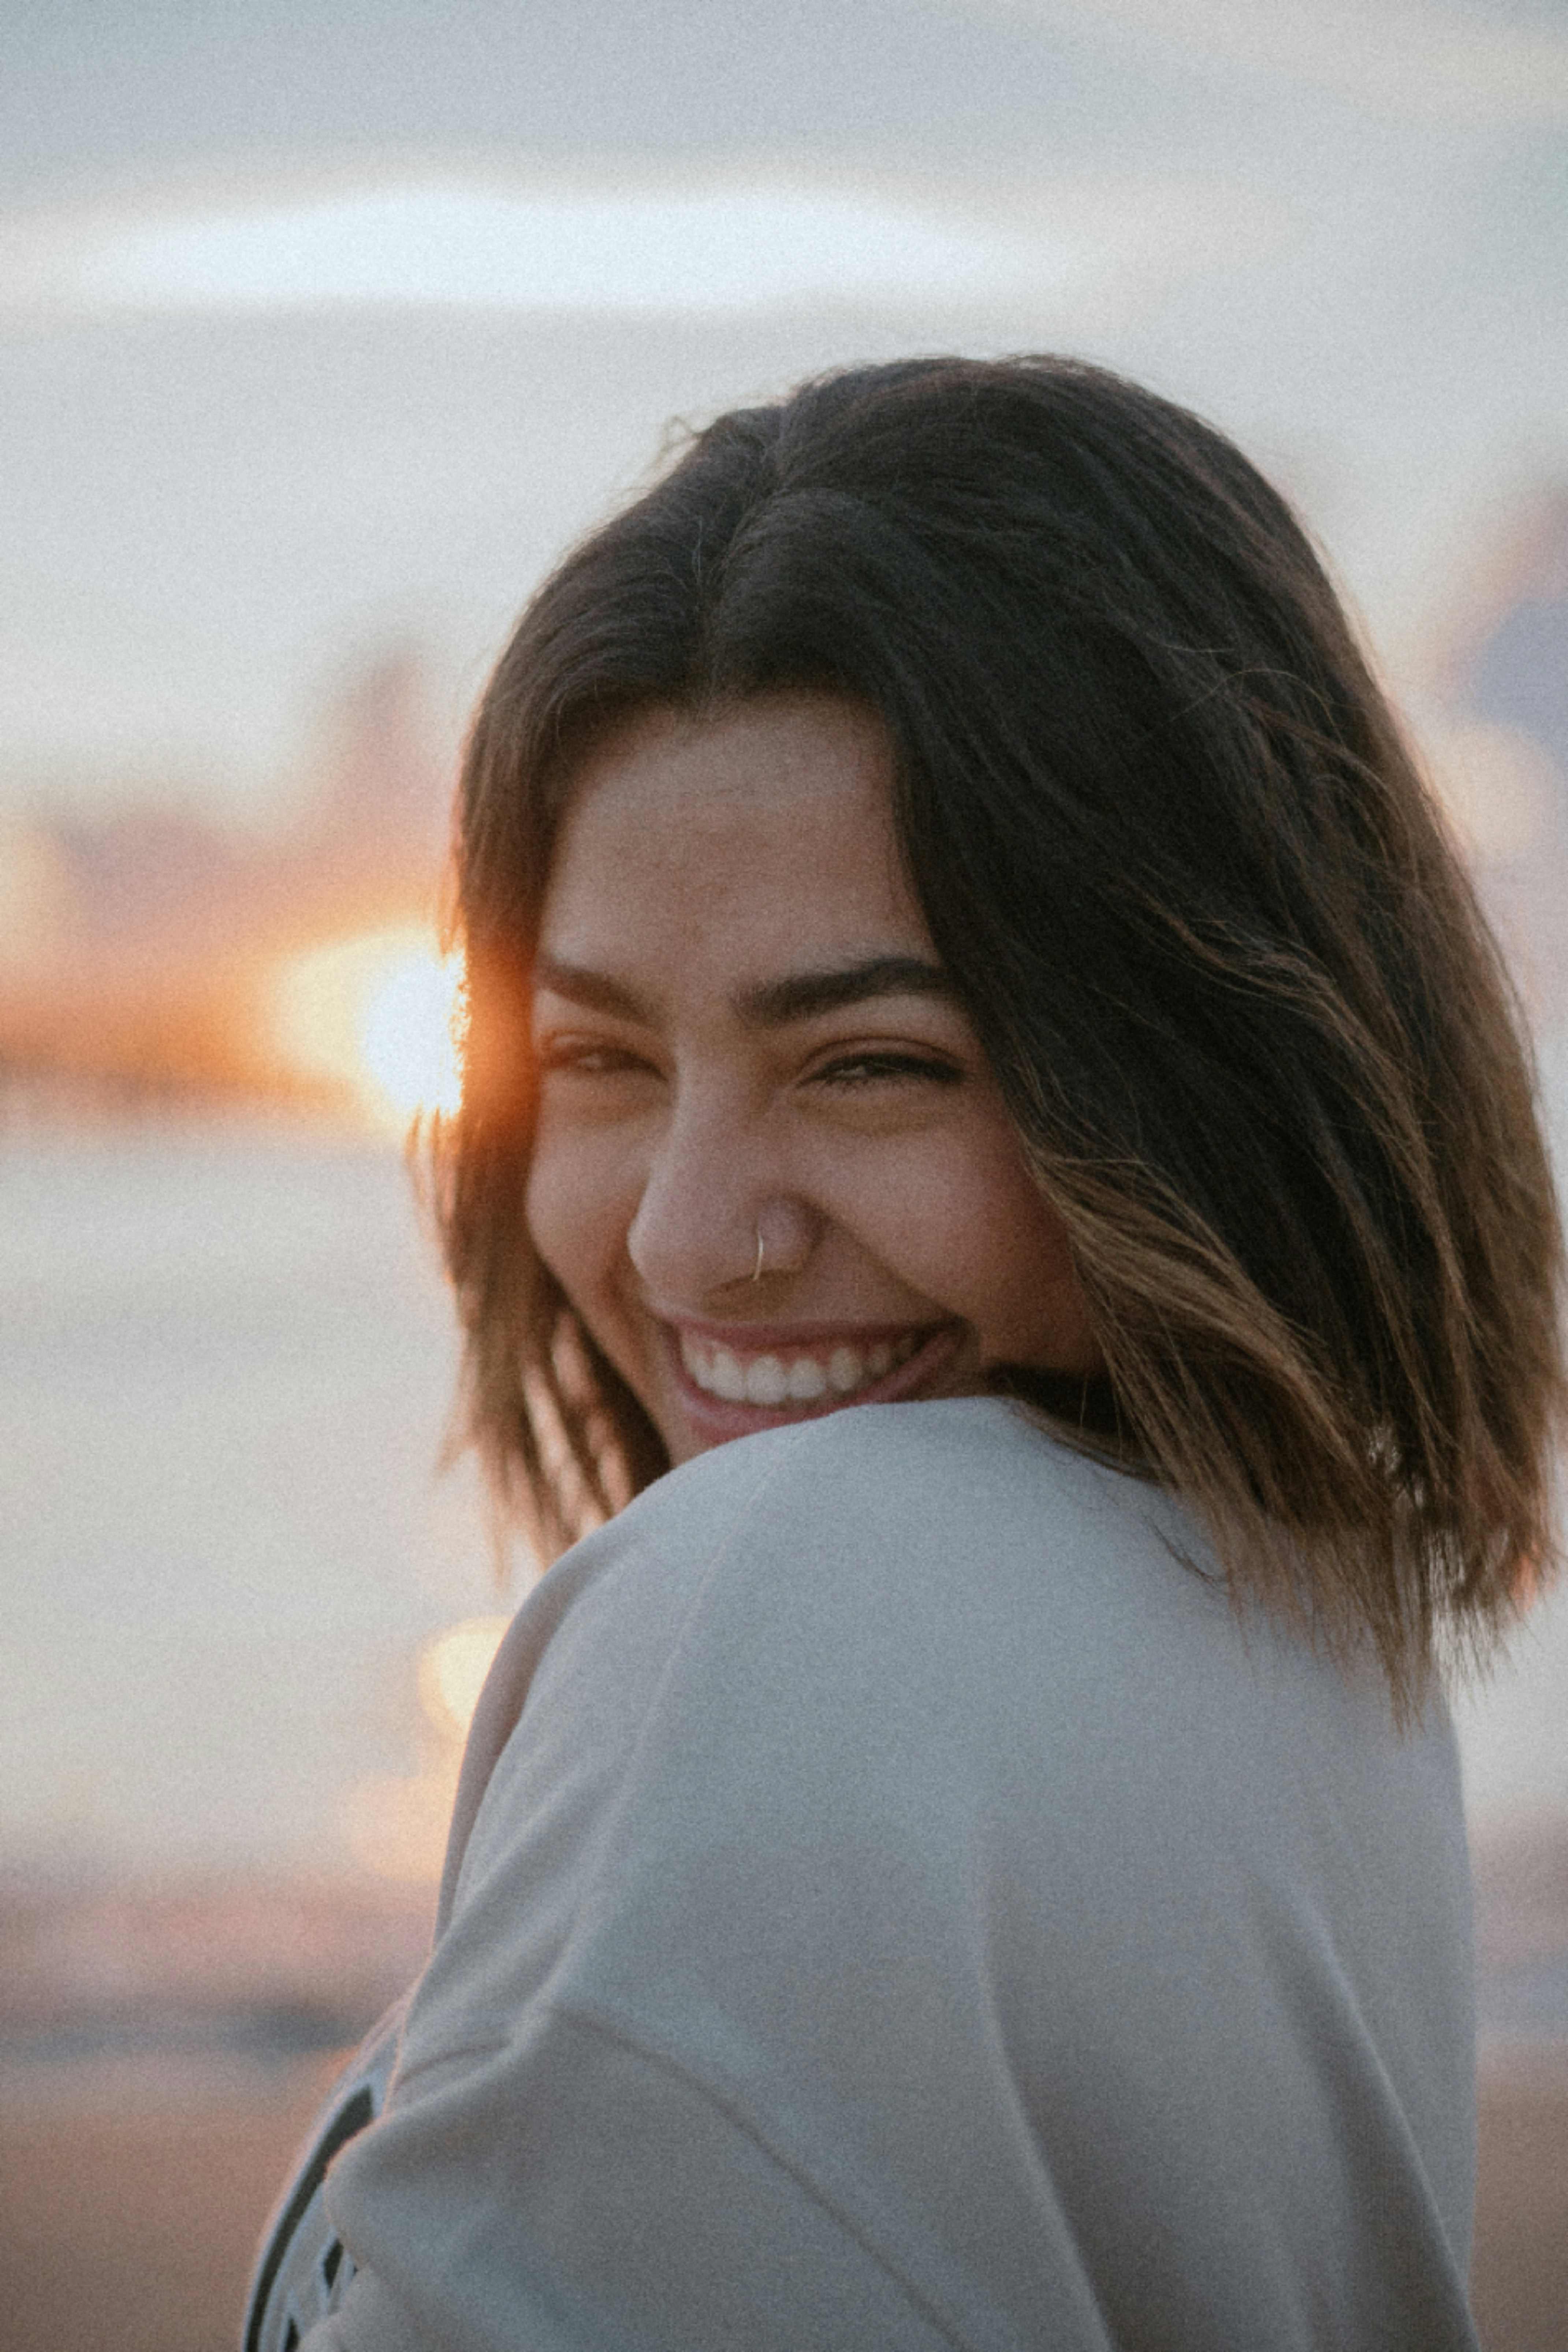
Open the app and choose the photo that looks close, but not quite right
Start with the image that feels almost usable but still misses the mark. Maybe the light is flat. Maybe the face looks dull. Maybe the photo is clean, but it does not carry the same life the real moment had.
That kind of photo is exactly where natural-looking enhancement matters most. You are not trying to rescue a disaster with tricks. You are trying to remove the small camera mistakes that got in the way.
The best test photo is often not your worst one. It is the one that should have worked.
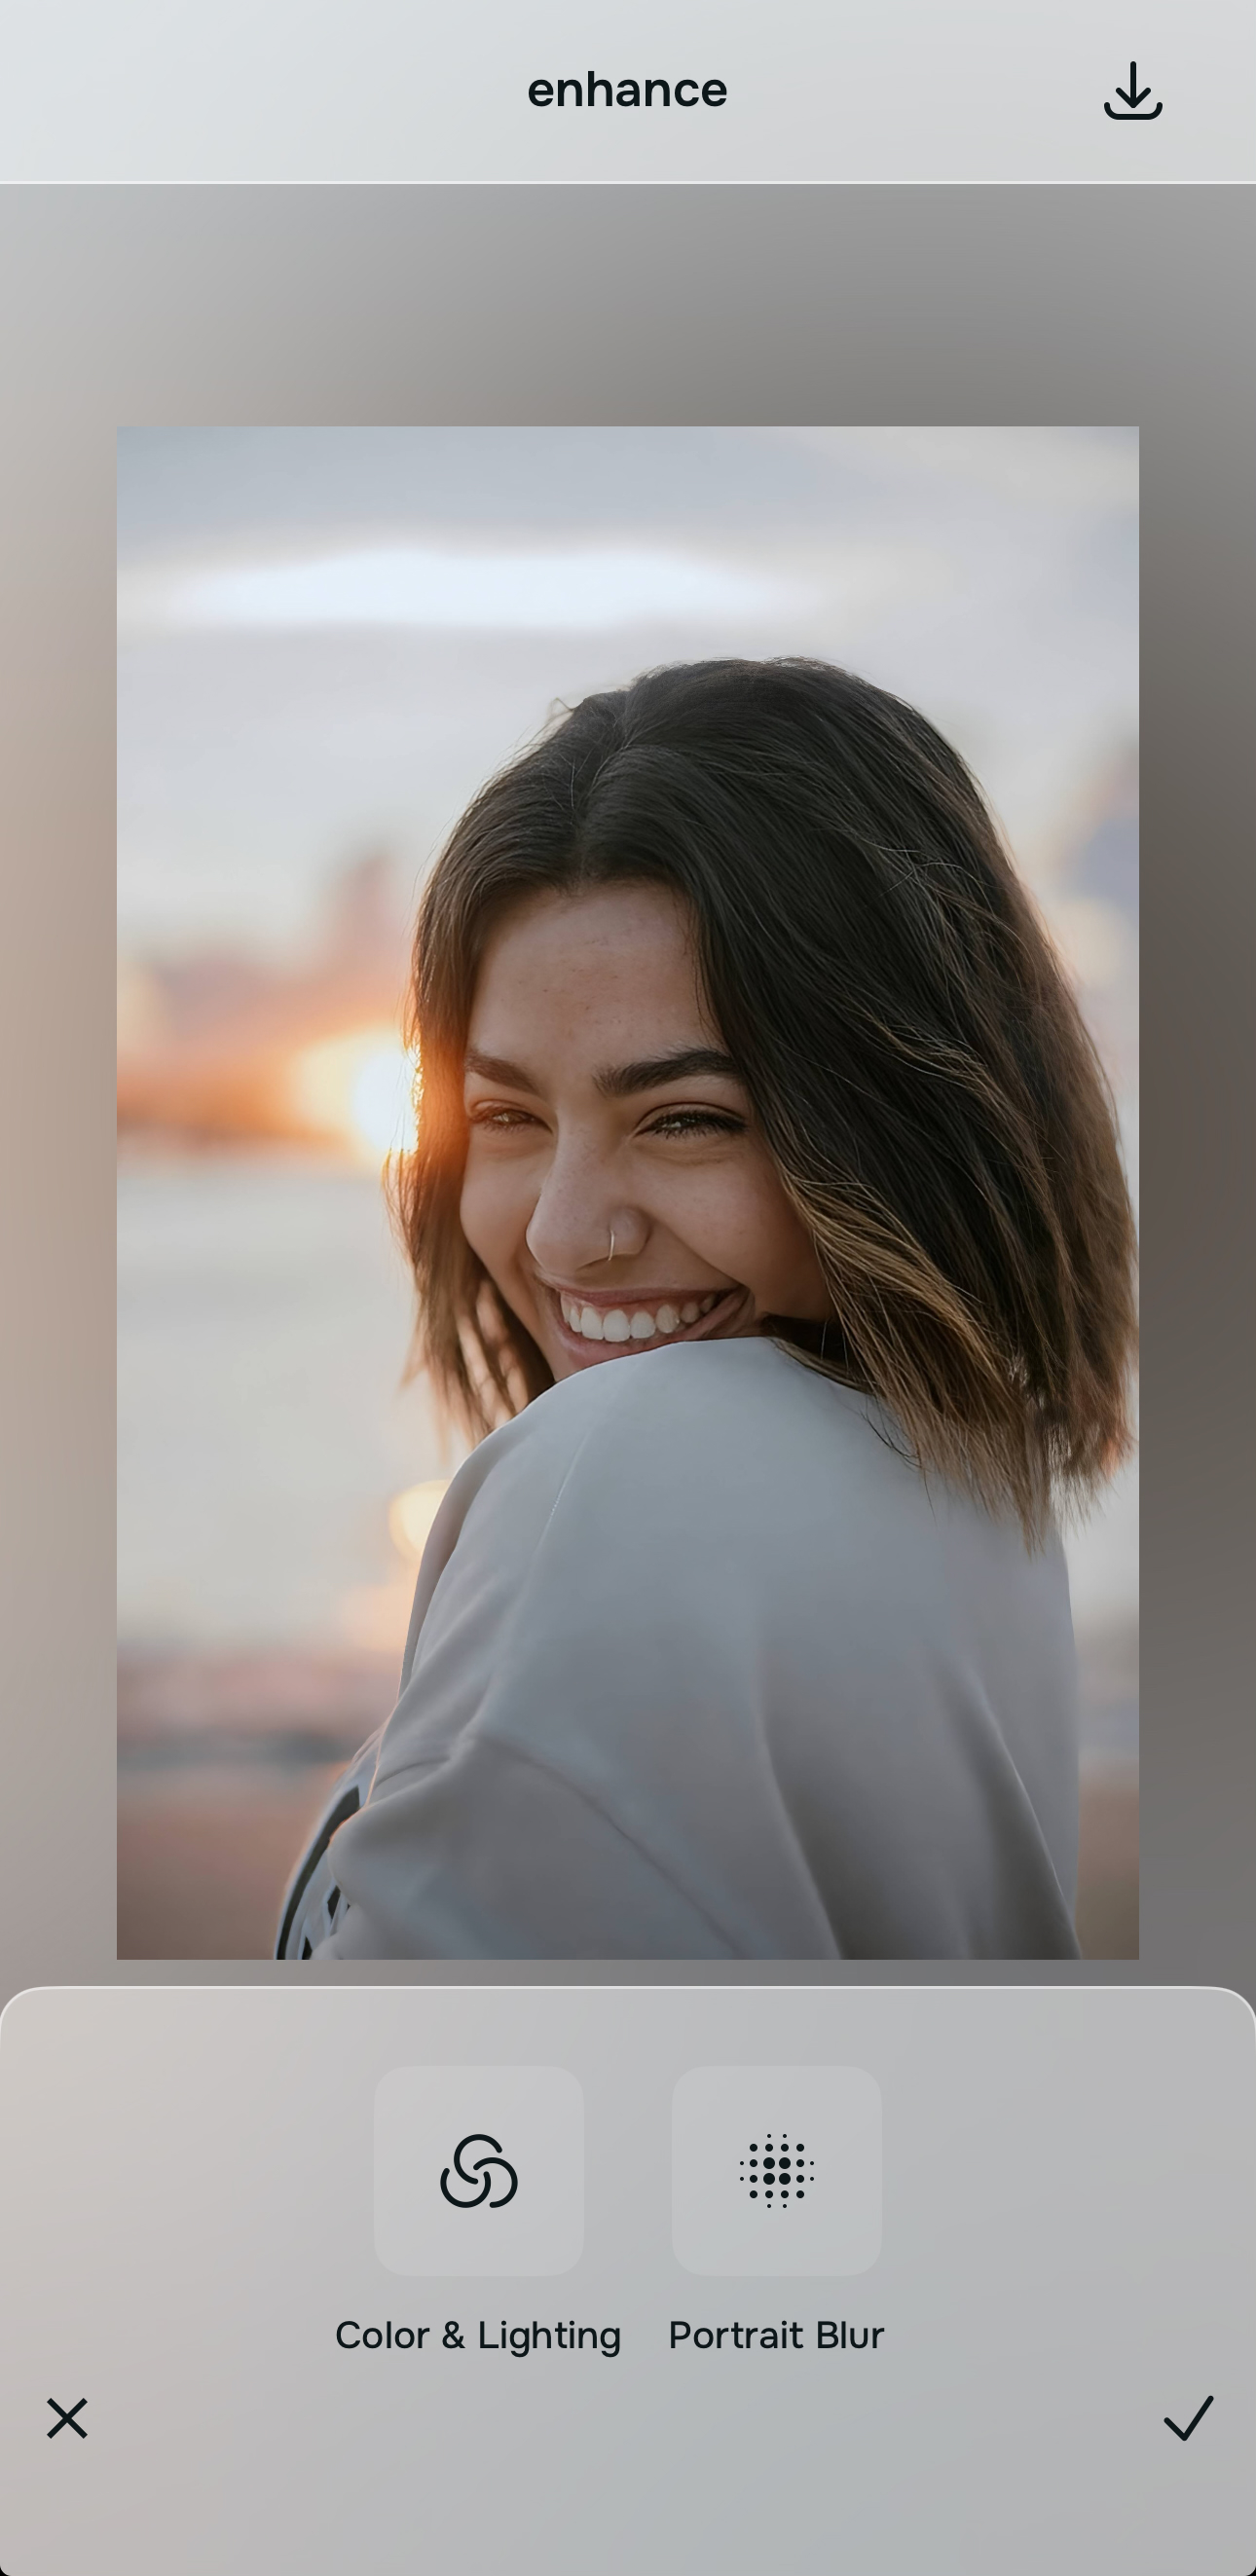
Let the first preview tell you how much the photo really needs
Once the photo is selected, let the preview load before deciding anything else. A lot of images need less intervention than people think.
The preview gives you a baseline. It helps you see whether the image mainly needed better balance, cleaner light, or just a smarter starting point. For many everyday selfies and portraits, that first preview already removes the dead, muddy, or uneven feeling that made the original look weaker.
Natural-looking enhancement starts with seeing how little may actually need to change.

Fix the photo itself first when the real problem is dull light or weak balance
If the image feels dull, flat, too warm, too dark, or just less alive than real life, start with the path that corrects color and lighting.
This is the smartest first move for natural results because it addresses the photo itself before it touches the face. A lot of people think they need a beauty effect when they actually need better light translation and cleaner balance.

Start with the light problem, not the face problem. That single decision is often what separates a believable result from an overedited one.
If the background is fighting the subject, use Portrait Blur next. That can help the main subject feel cleaner without making the face itself look processed.
Only go deeper when there is one specific thing the photo still gets wrong
If the image already looks balanced but still needs a small, targeted improvement, that is when you move deeper. Use the softer style path only if you want a more polished finish. Use the face path only when there is a clear facial detail the camera exaggerated and you want to correct it lightly.
This is where people usually overdo it in other apps. They stack too many effects because the editor makes them feel like they should. The strongest workflow is usually one problem, one fix, then stop and compare.
Natural-looking results come from discipline as much as from technology.
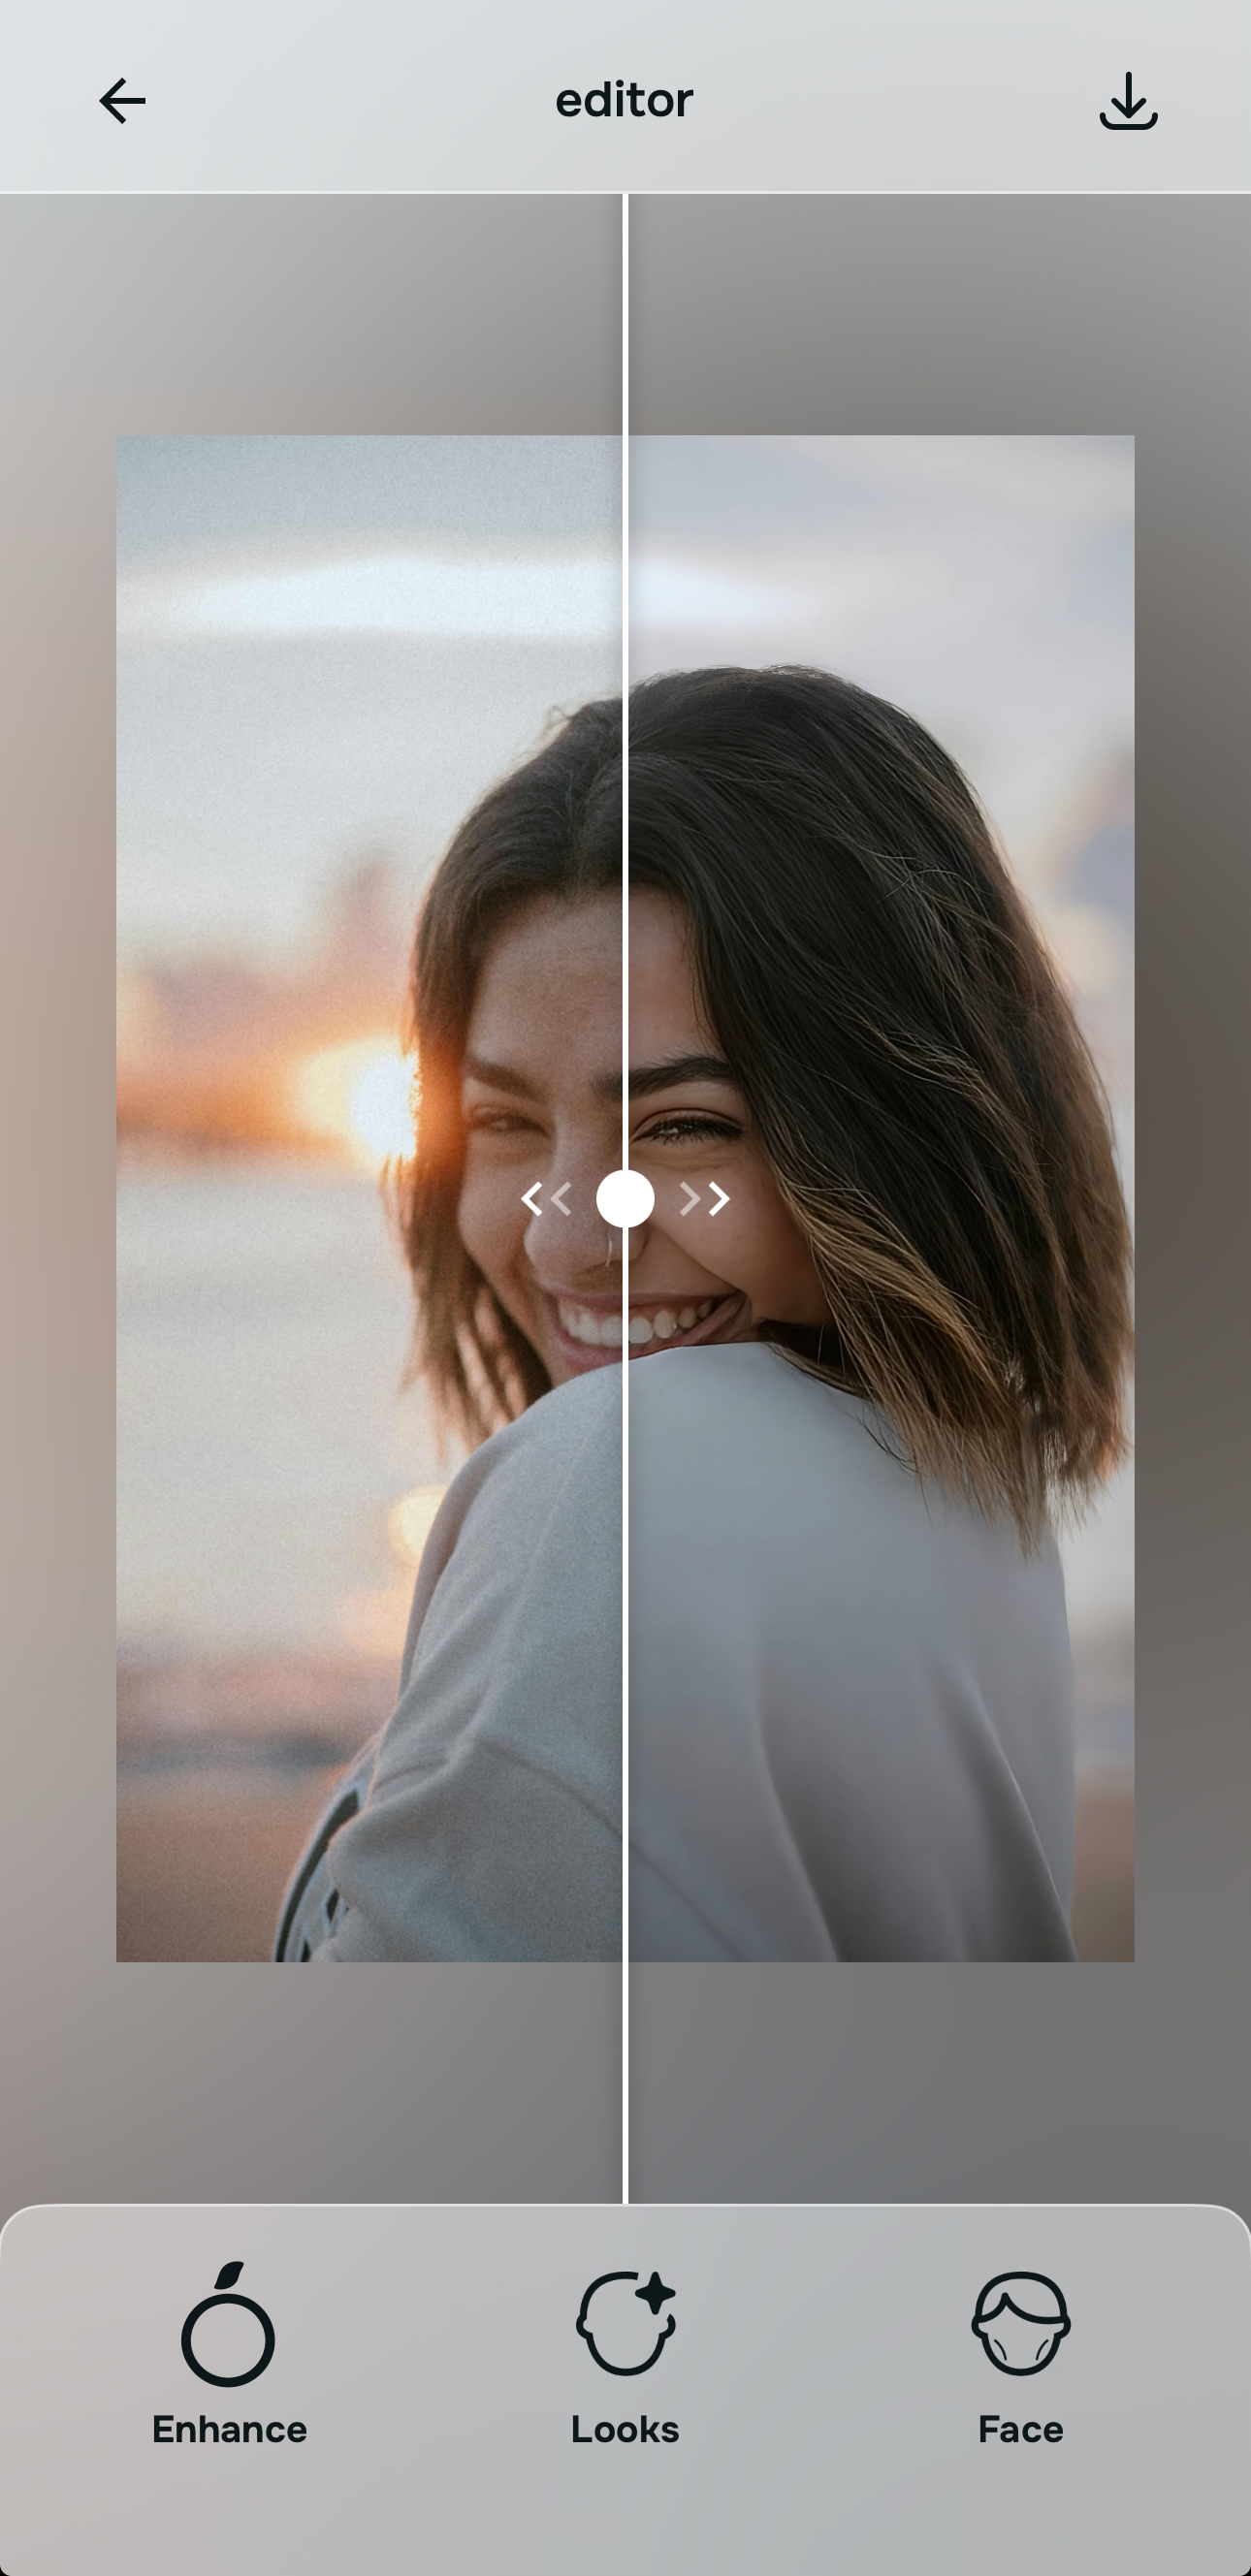
Compare the result against real life, not against filtered internet standards
Before saving, ask one question: does this look more like me in good conditions?
That is the standard that matters. Not “does this look glamorous enough.” Not “does this look heavily enhanced.” A natural result should keep your proportions, your character, and your human detail while removing what the camera handled badly.
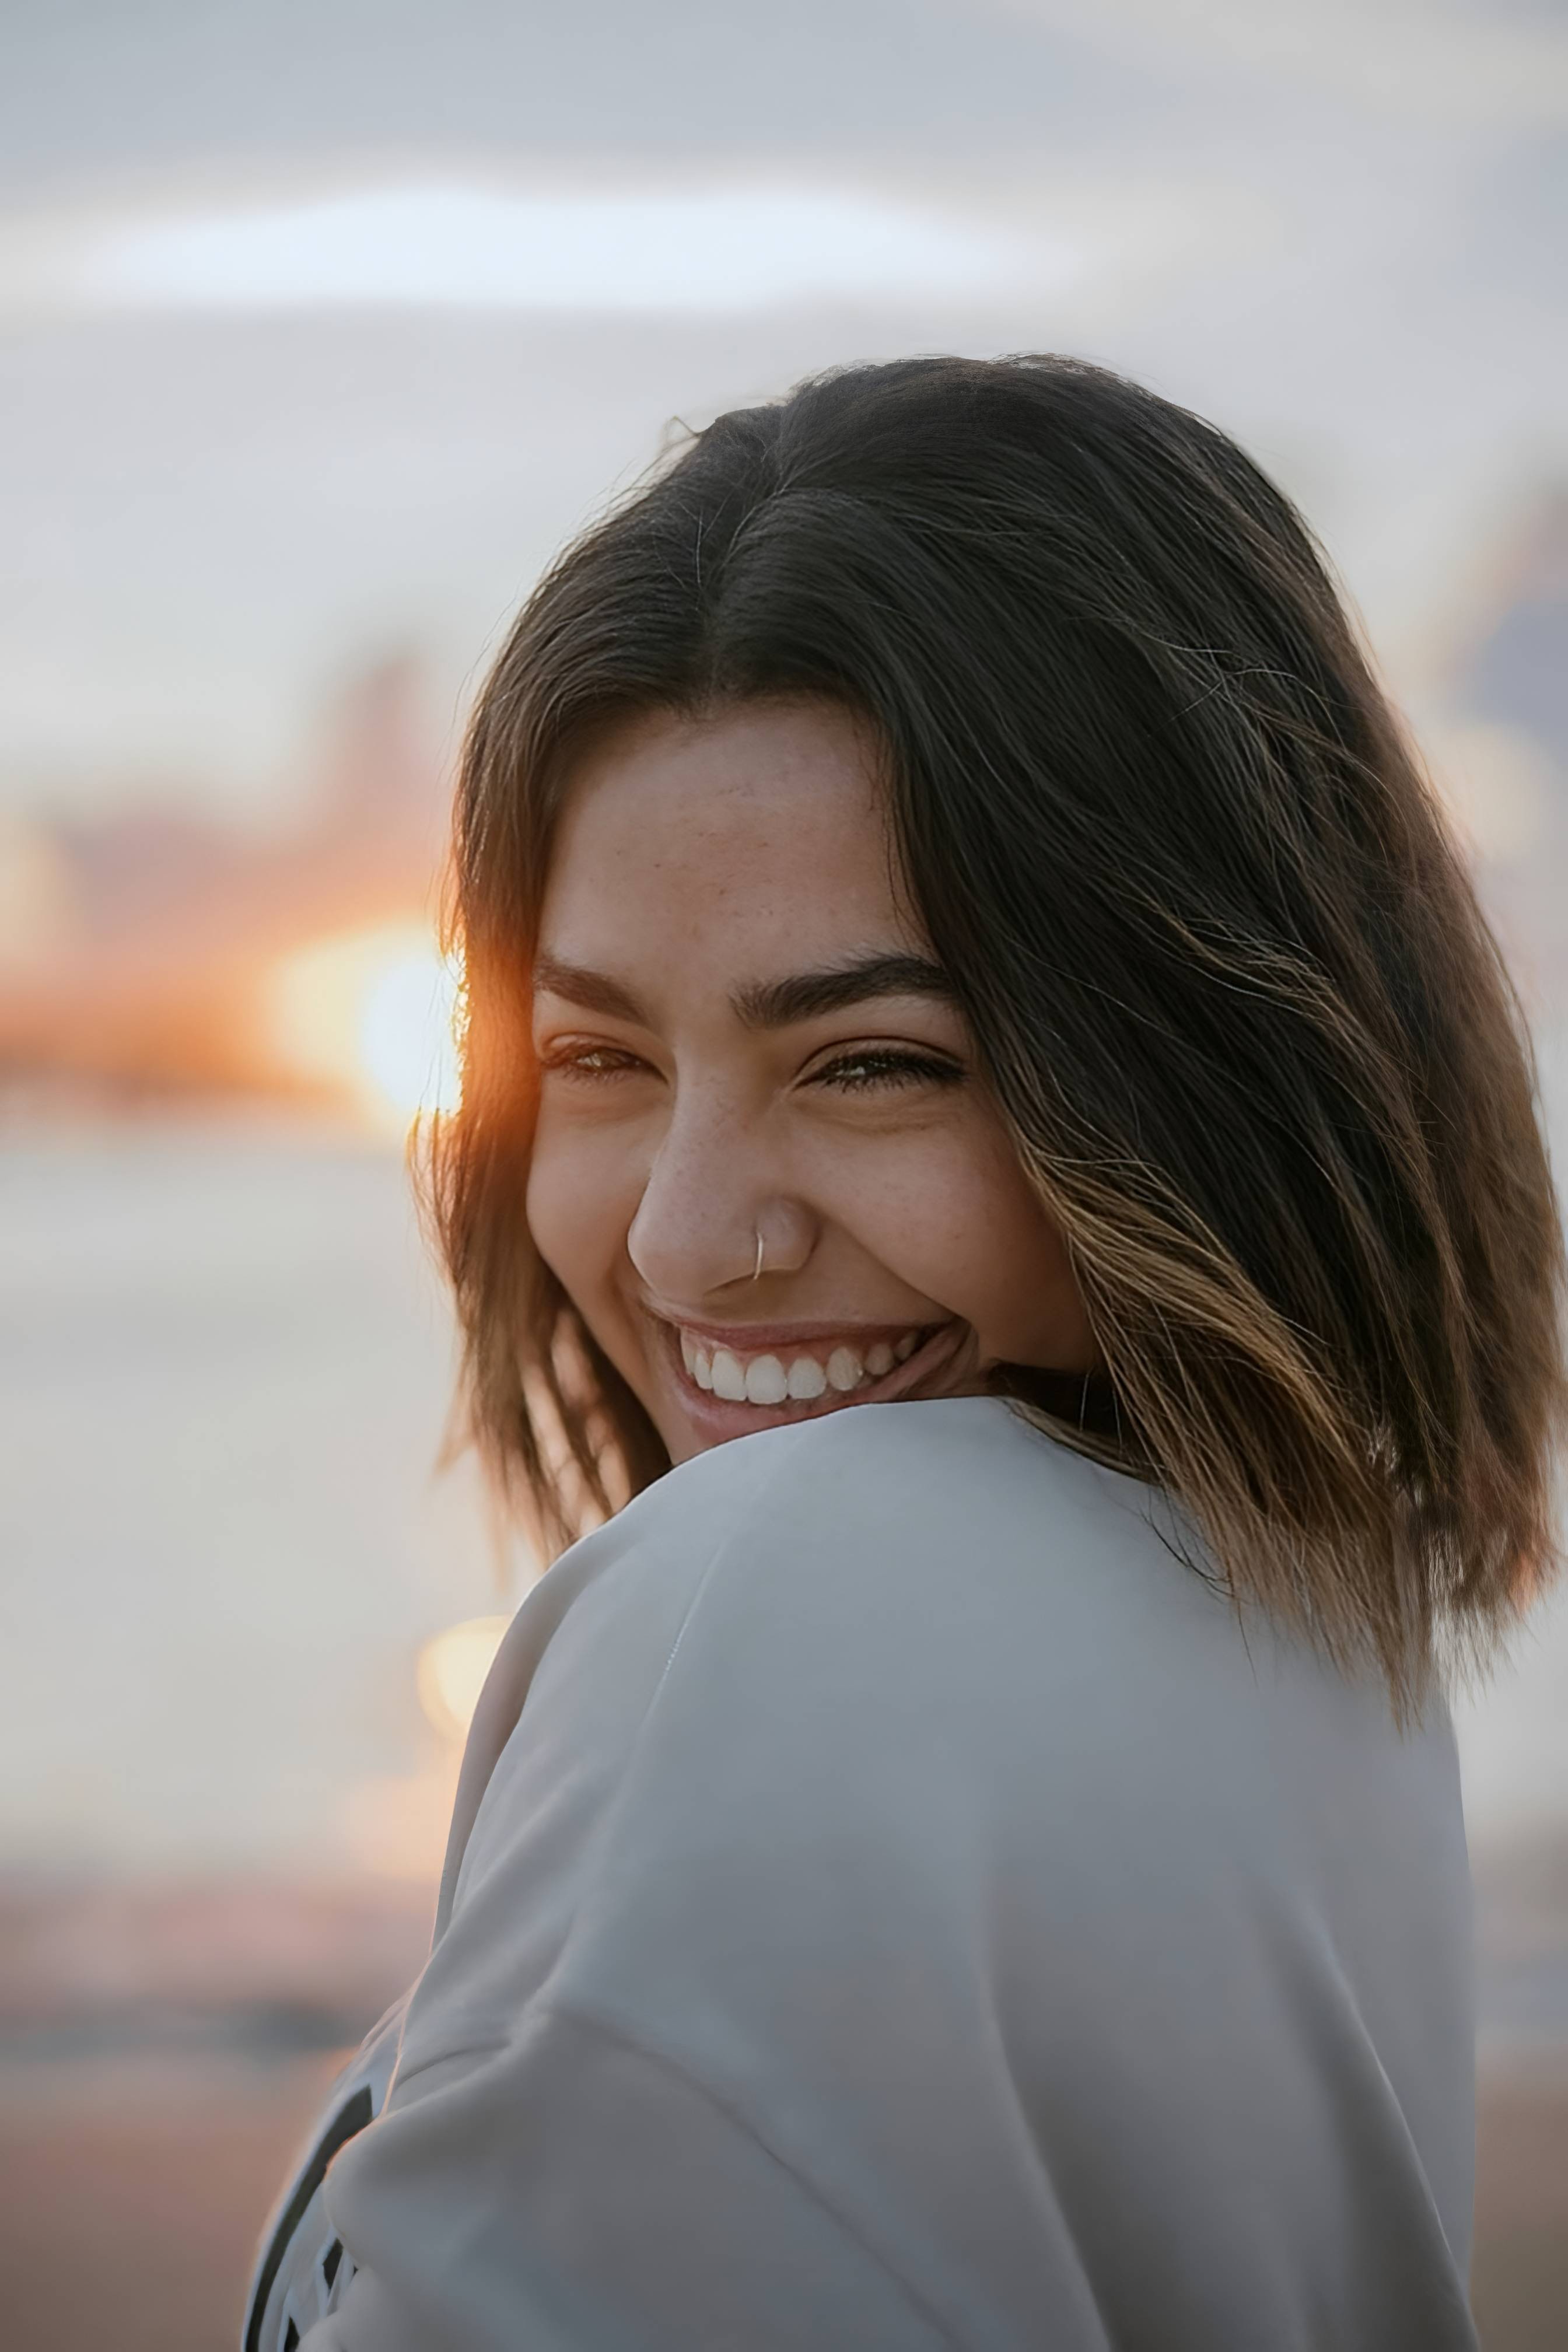
If the image now looks brighter, cleaner, more balanced, and more believable, save it. That is exactly what a good AI photo enhancer is supposed to do.
Which tool does what when you want natural-looking results
The easiest way to stay grounded is to match the tool to the real problem. Natural-looking enhancement works best when each adjustment has a reason behind it.
| Tool | What it helps fix | When to use it |
|---|---|---|
| Colors & LightingStart here | Dull color, flat light, dark capture, low-energy photo that looks worse than real life | Use this first when the main problem is the image itself rather than the face. It is often the strongest starting point for natural-looking enhancement. |
| Portrait Blur | Busy background, weak subject separation, photo that feels visually noisy | Use this when the subject needs cleaner focus and the photo would look more polished with softer background distraction. |
| Looks | Overall finish, soft polish, cleaner mood after the main correction is done | Use this after the photo already feels balanced and only needs a subtle final lift. |
| Face | One specific facial detail the camera exaggerated, such as tiredness, shape, or definition | Use this carefully and only when there is a clear targeted problem still left after fixing the photo quality. |
“The most natural AI photo enhancement is not the one that does the most. It is the one that fixes the camera’s mistake without interrupting who you are.”
Why some enhancers stay believable and others fall apart
Most people are not looking for fantasy edits. They are looking for relief from disappointing photos.
They want the selfie that looked too flat to feel alive again. They want the portrait that came out too muddy to feel balanced. They want the nice photo that somehow made them look less fresh, less defined, or less like themselves to feel fair again.
That is a very different use case from dramatic filtering, and it requires a different kind of app behavior.
The strongest editors usually follow a grounded order. They let you improve the photo first, then make a small targeted correction if needed, then stop. Weaker tools often jump straight into heavy smoothing, generic glamour effects, or broad beautifying that makes the image feel less trustworthy.
That difference matters, especially for people who want everyday photos, selfies, dating pictures, portraits, and social posts to look better without looking fake.
| What natural-looking users usually need | This workflow | Many beauty-heavy tools |
|---|---|---|
| Fixes lighting and color before pushing cosmetic changes | ✓ | ✕ |
| Keeps edits targeted instead of changing everything at once | ✓ | ✕ |
| Preserves texture and facial realism | ✓ | ✕ |
| Lets the subject stand out without making the face look processed | ✓ | ✕ |
| Works well for photos that were almost good, not just extreme before-and-afters | ✓ | ✕ |
That is usually what people mean when they search for the best AI photo enhancer for natural-looking results. They are looking for a tool that shows restraint, clarity, and believable improvement, not one that turns every face into the same polished mask.