

April 13, 2026
How to Make Blurry Photos Clear Again Without Making Them Look Fake


How to Make Blurry Photos Clear Again Without Making Them Look Fake
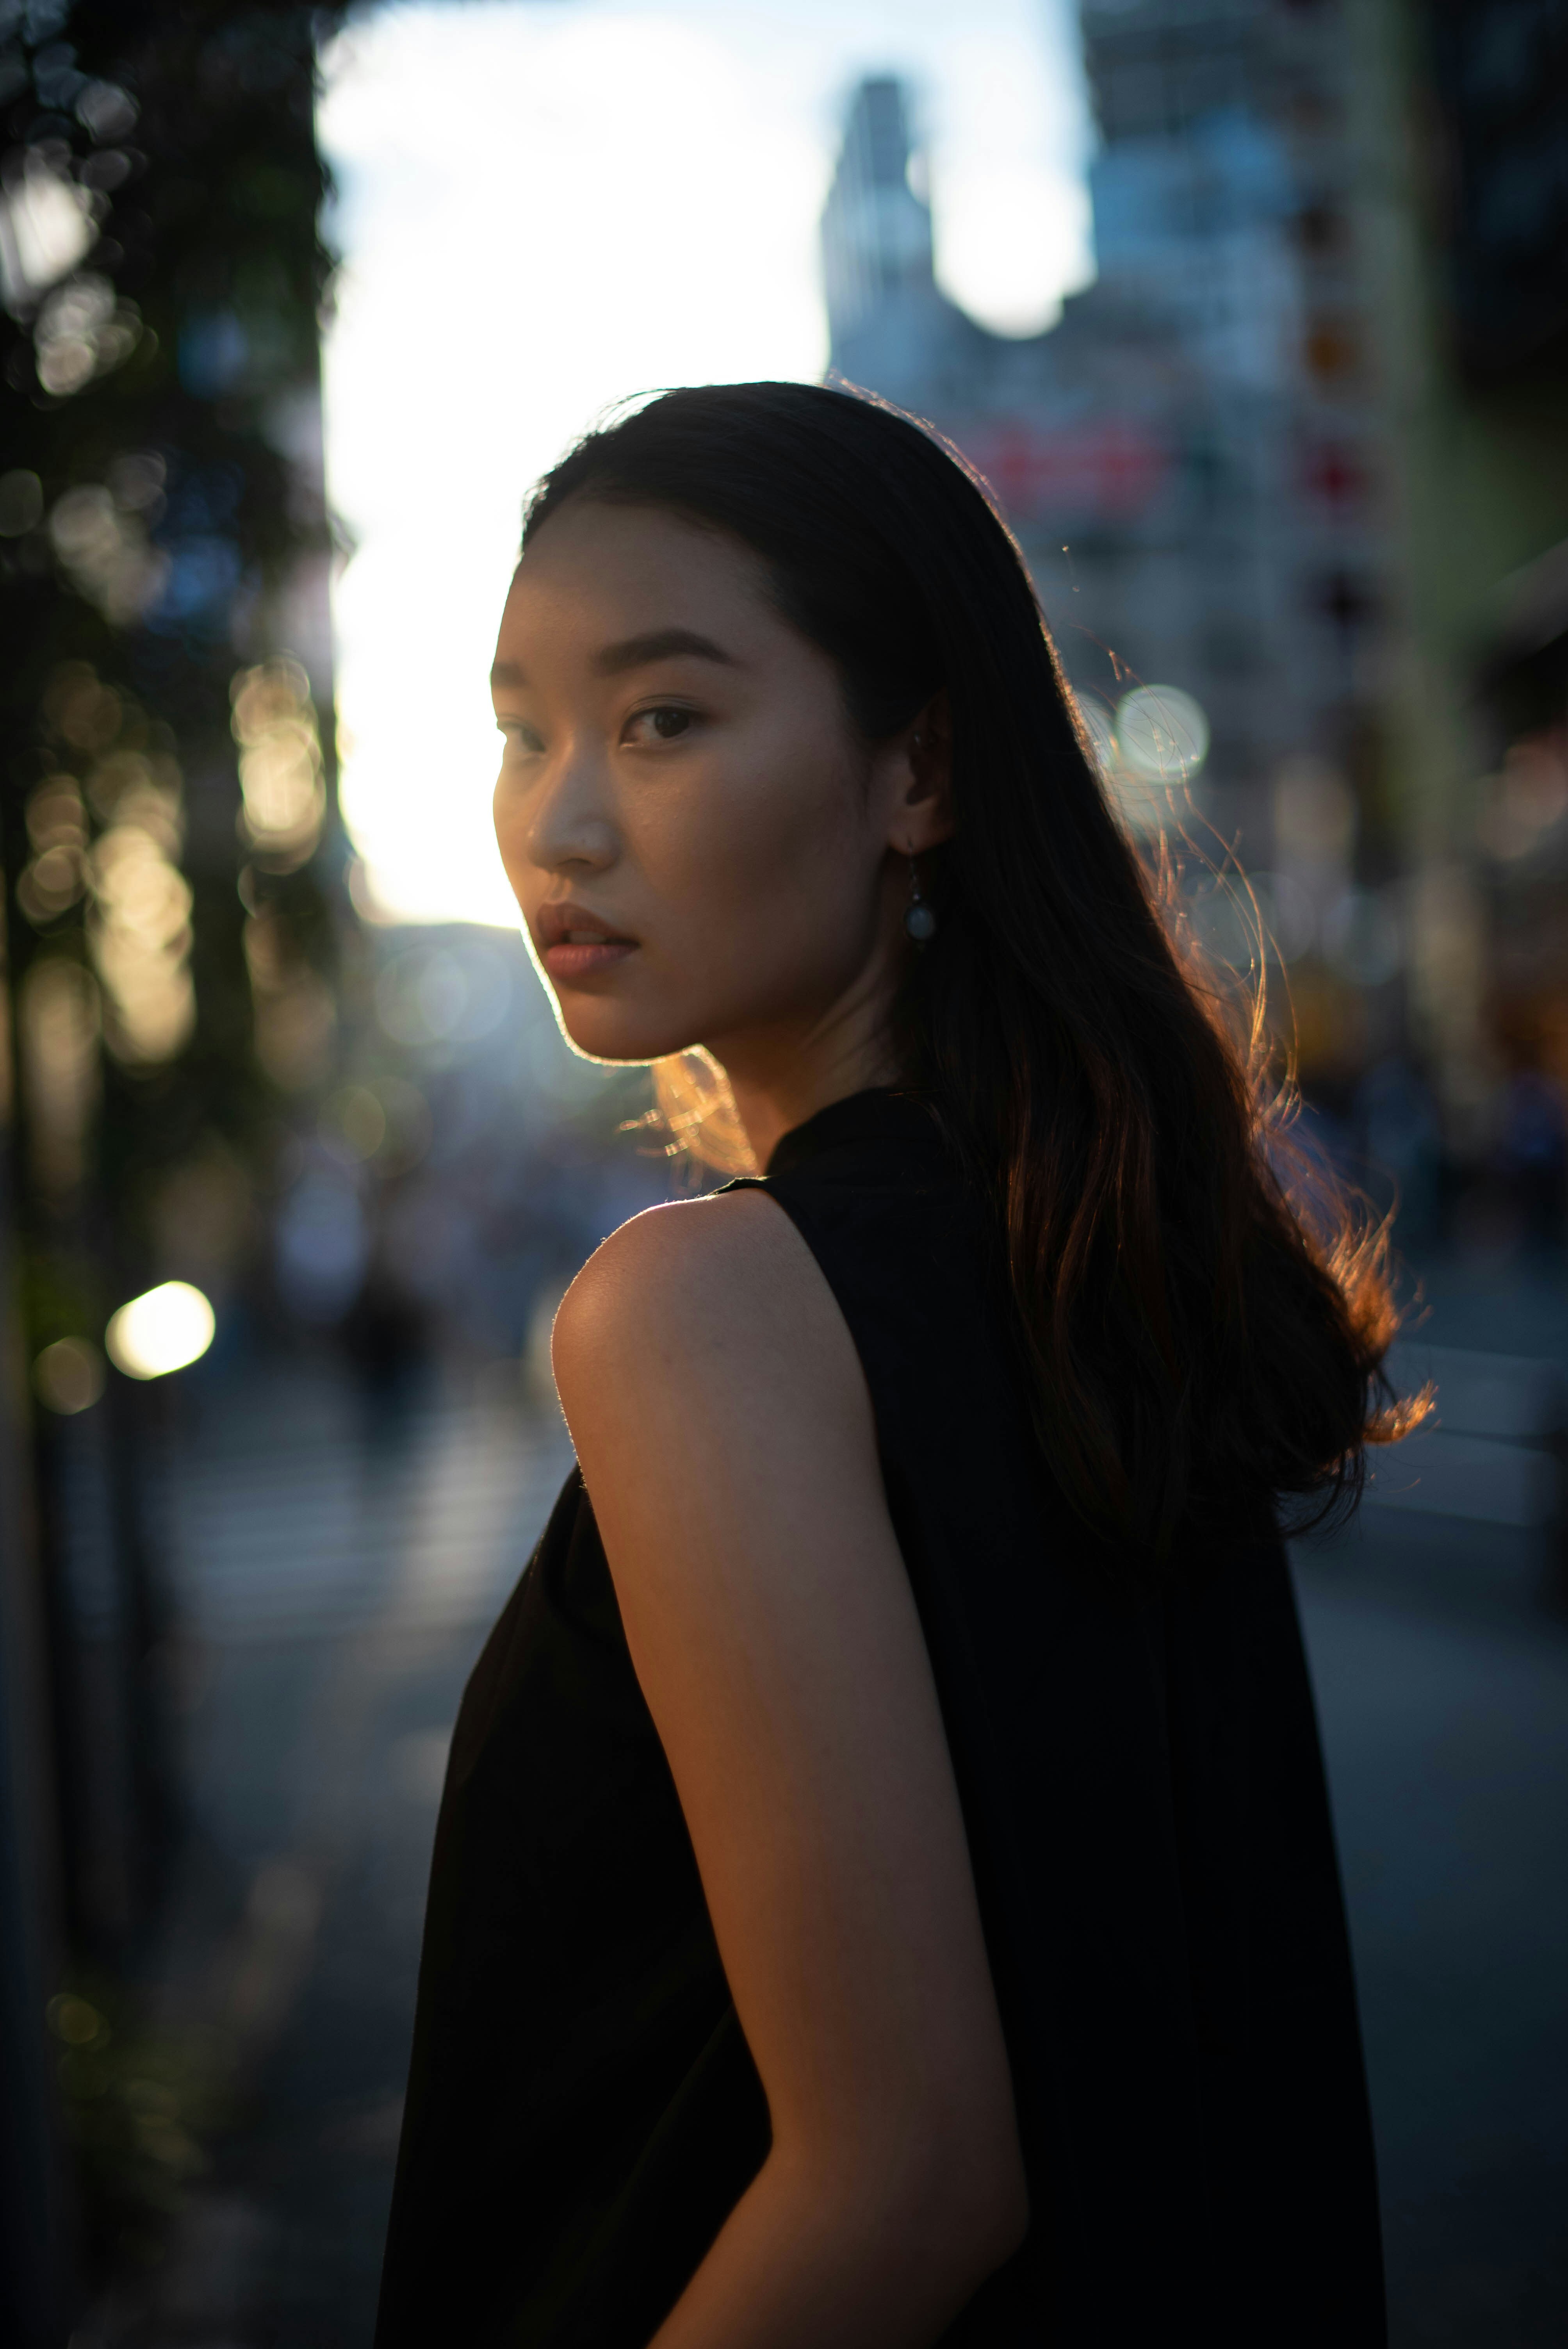
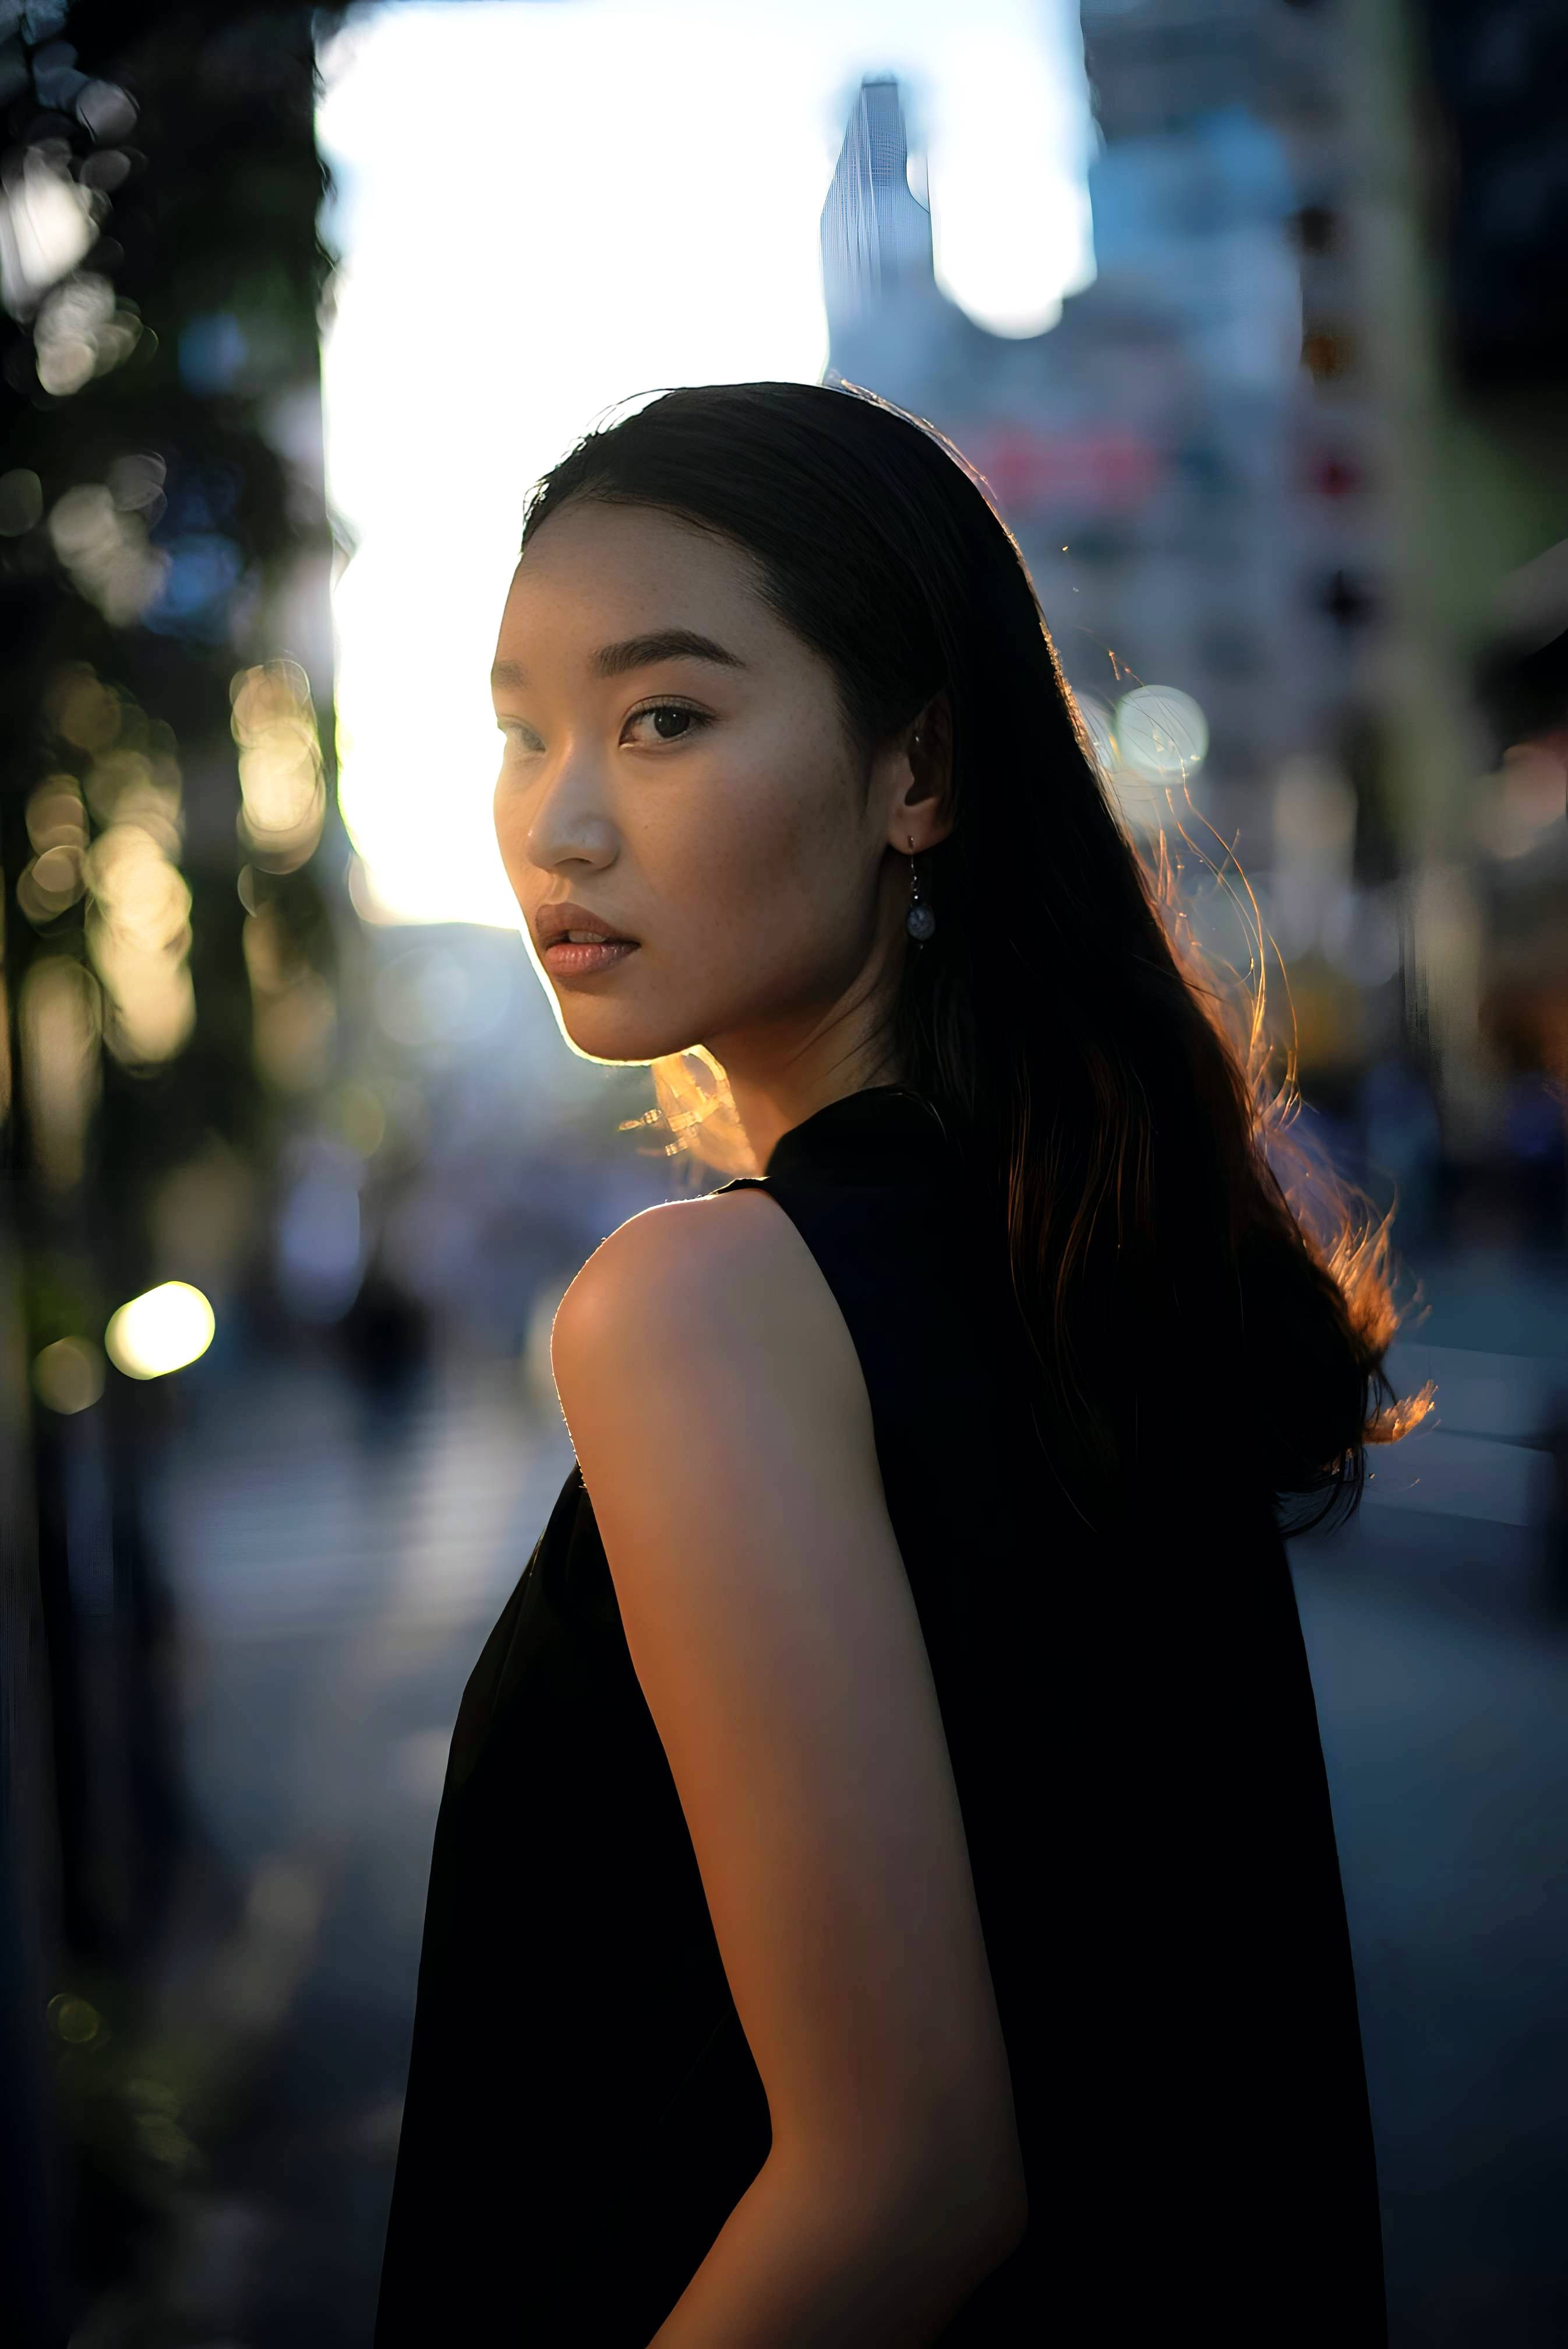
A blurry photo hurts more when the moment was actually good. The expression was right. The timing was right. The memory mattered. Then the picture came out soft, grainy, or slightly smeared, and most editing apps make it worse by forcing sharpness until the whole image looks brittle. The better fix is calmer. You want the photo to feel clearer, cleaner, and easier to keep without turning skin, edges, and background detail into something unnatural.
To make a blurry photo look clear again without making it look fake, start by improving the overall image quality instead of forcing sharpness. If the photo feels soft, grainy, low-energy, or muddy, go into Citrus Enhance first. Then choose Colors & Lighting to clean up the overall capture, or Portrait Blur if it is a portrait and the subject needs stronger separation. The goal is not to make the photo look aggressively sharpened. The goal is to make it feel more readable and more natural.
That is where most blurry photo tools lose people.
They promise to fix blur, but what they often do is overcook the image. Skin gets crunchy. Hair gets noisy. Edges start glowing. The face looks processed. The photo may seem “clearer” for a second, but it stops feeling trustworthy.
A strong blurry photo fix should recover what is realistically there. It should not try to invent a studio-quality image from a weak file. That difference is exactly what keeps a photo usable instead of uncanny.
Why blurry photos go wrong and why fake fixes feel even worse
Blur usually arrives with friends. Low light, weak contrast, poor phone processing, grain, motion, and messy backgrounds all pile onto the same image. That is why the smartest correction is almost never “add more sharpness.” It is usually a more balanced repair.
- Over-sharpening the whole image until faces, hair, and edges look hard or brittle
- Pushing artificial detail into places where the original file cannot support it
- Ignoring low light and grain that are making the blur feel worse
- Treating every blurry picture like it should become perfectly crisp
- Improving overall light, color, balance, and image energy first
- Reducing the visual mess that makes the subject feel less clear
- Keeping texture believable instead of forcing false sharpness
- Stopping when the photo feels more readable, not when it looks most processed
This matters because most people searching for how to fix blurry photos are not chasing perfection. They are trying to save a memory, rescue a portrait, improve a selfie, or make a photo good enough to post, share, print, or keep. That requires clarity with restraint.
Start with the blurry photo you still care about. That is where a natural fix matters most.
How to make a blurry photo clear again in Citrus without overdoing it
Open the photo that feels soft, grainy, or weaker than the real moment looked
Choose the picture you still want to keep. Maybe the subject is slightly blurry. Maybe the image feels grainy. Maybe the photo is not terrible, but it does not feel clean enough to use.
That is the right starting point. You are not trying to build a fantasy version of the image. You are trying to recover a version that feels closer to what your eyes actually saw.
The best photo to test is often the one that was emotionally worth keeping but visually disappointing.
Let the first preview show whether the image needs quality repair more than forced sharpness
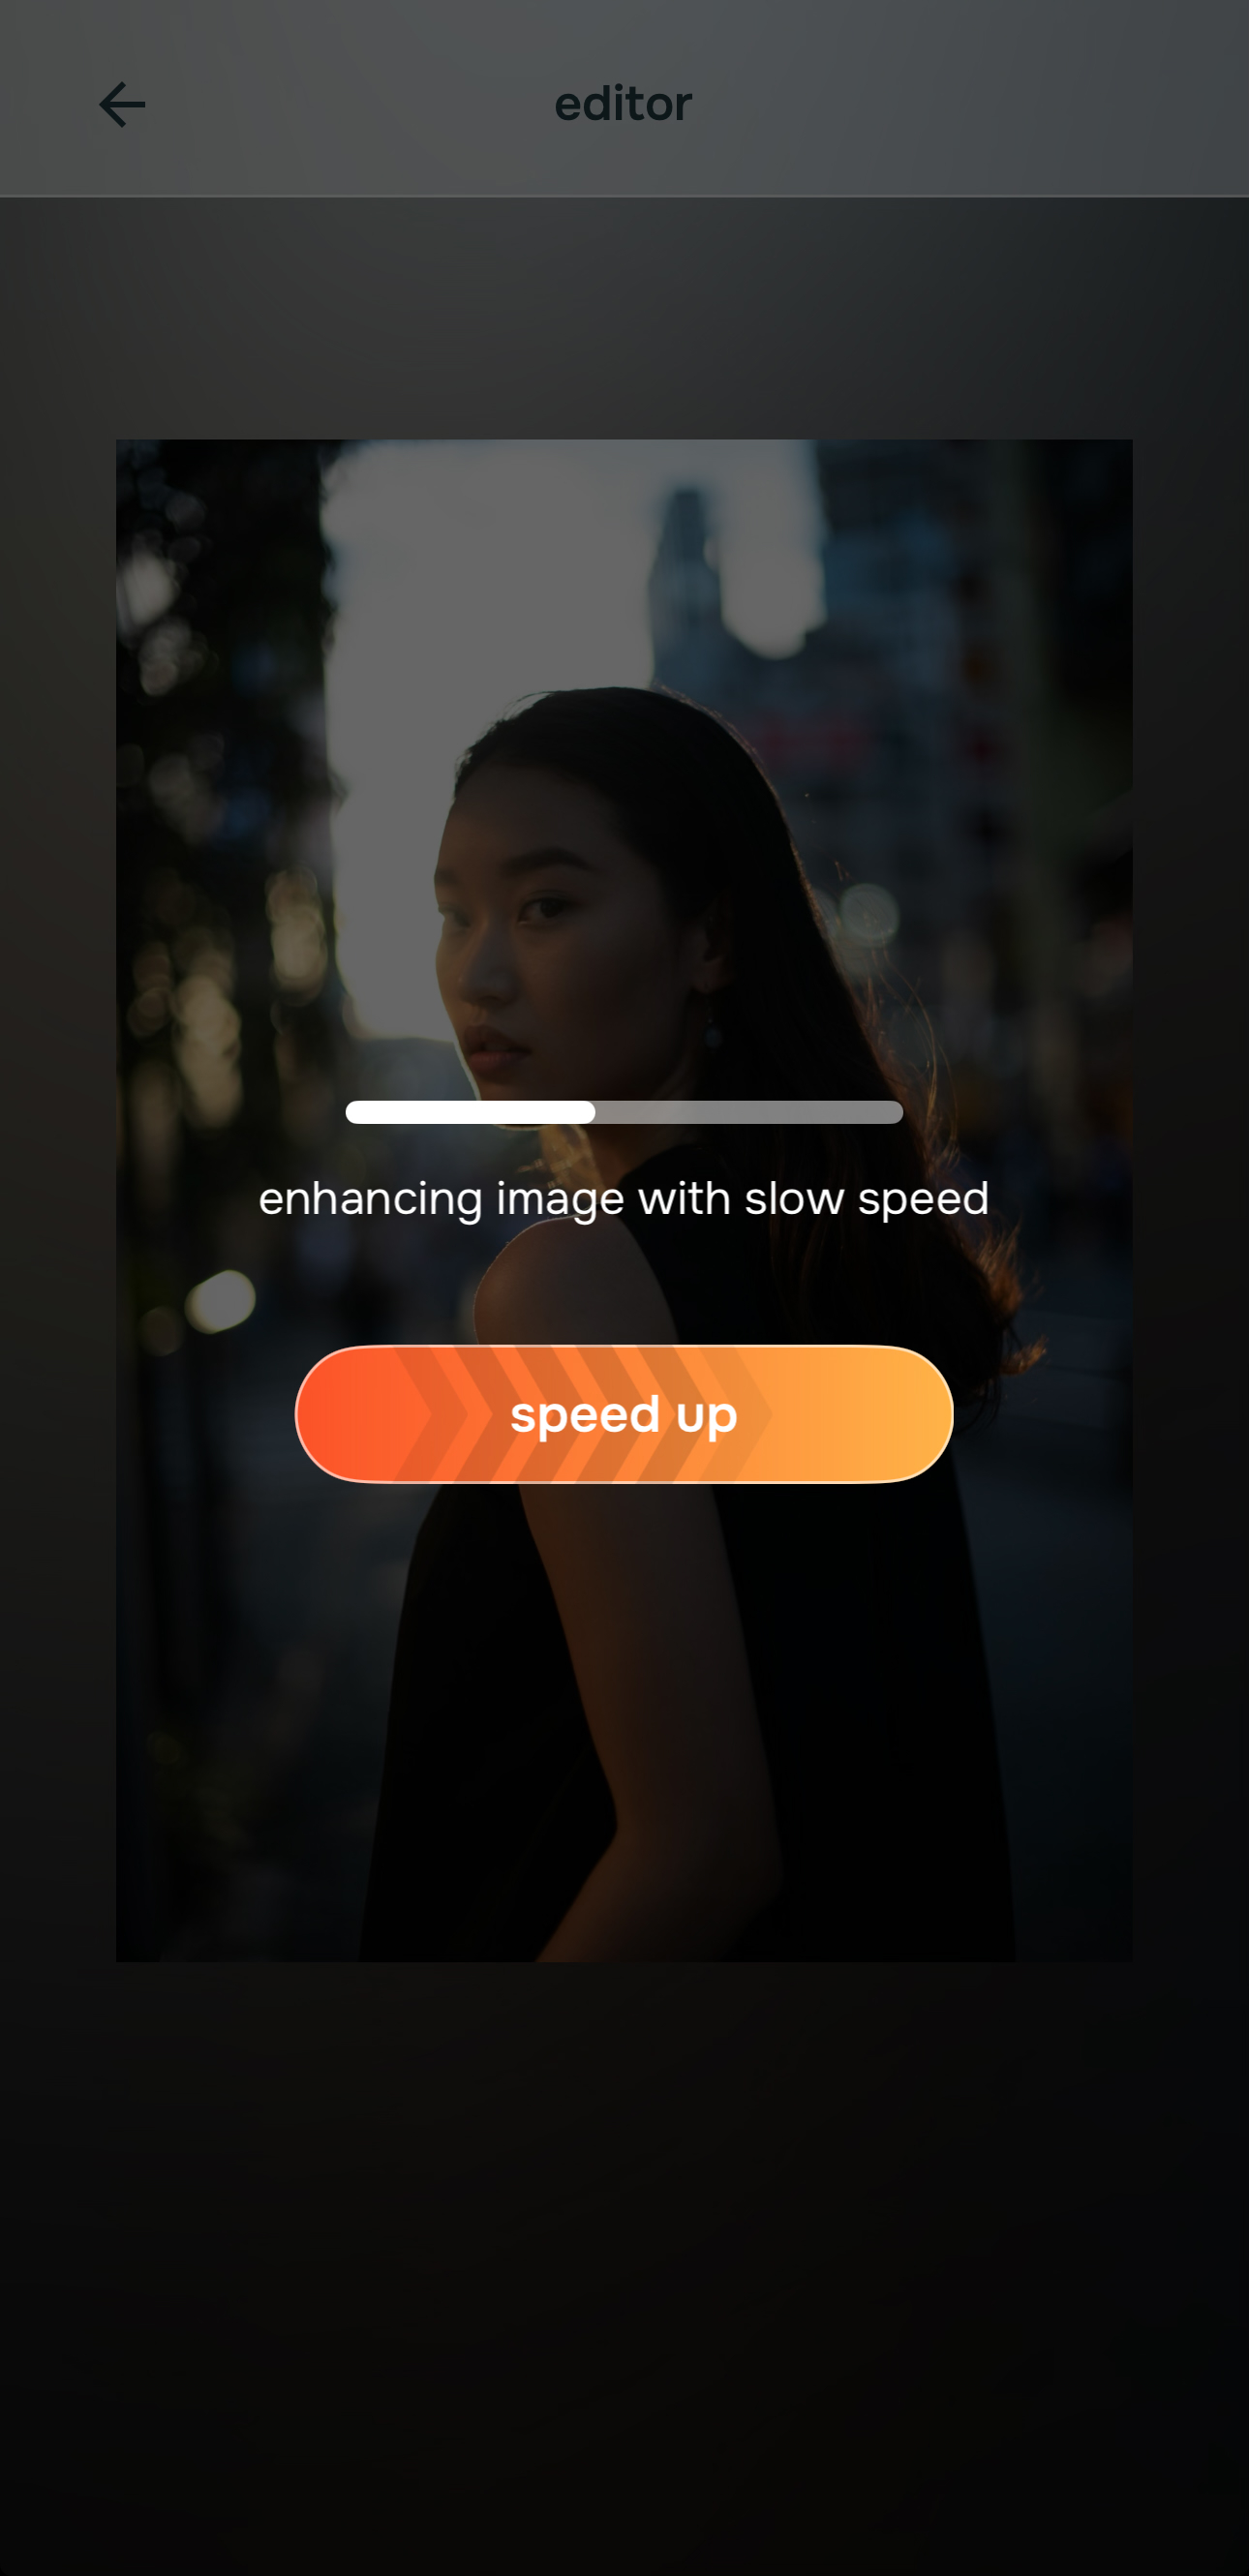
Once the image is selected, let the preview load fully before deciding it needs aggressive correction. A lot of blurry photos are really suffering from weak balance, dull light, low contrast, and image noise all at once.
The first preview helps you see how much of the “blur problem” is actually an overall quality problem. That distinction matters. If the image can look stronger through better balance first, you avoid the fake look that comes from trying to sharpen everything immediately.
This is the moment where a natural fix usually starts winning.
Tap Citrus Enhance and choose Colors & Lighting when the problem is overall softness or grain
This is the most important step for this topic. When the issue is overall blur, grain, weak quality, dullness, or low-energy capture, you should start with Citrus Enhance.
Then choose Colors & Lighting. That option is the right move when the whole image needs help. It works on the photo as a whole, not on one facial feature, and that is exactly what blurry photo correction should do first.

For overall blur or grain, always begin in Citrus Enhance. Tap Colors & Lighting when the full image looks soft, muddy, noisy, or weak.
That is what keeps the result believable. You are strengthening the image instead of attacking it with fake detail.
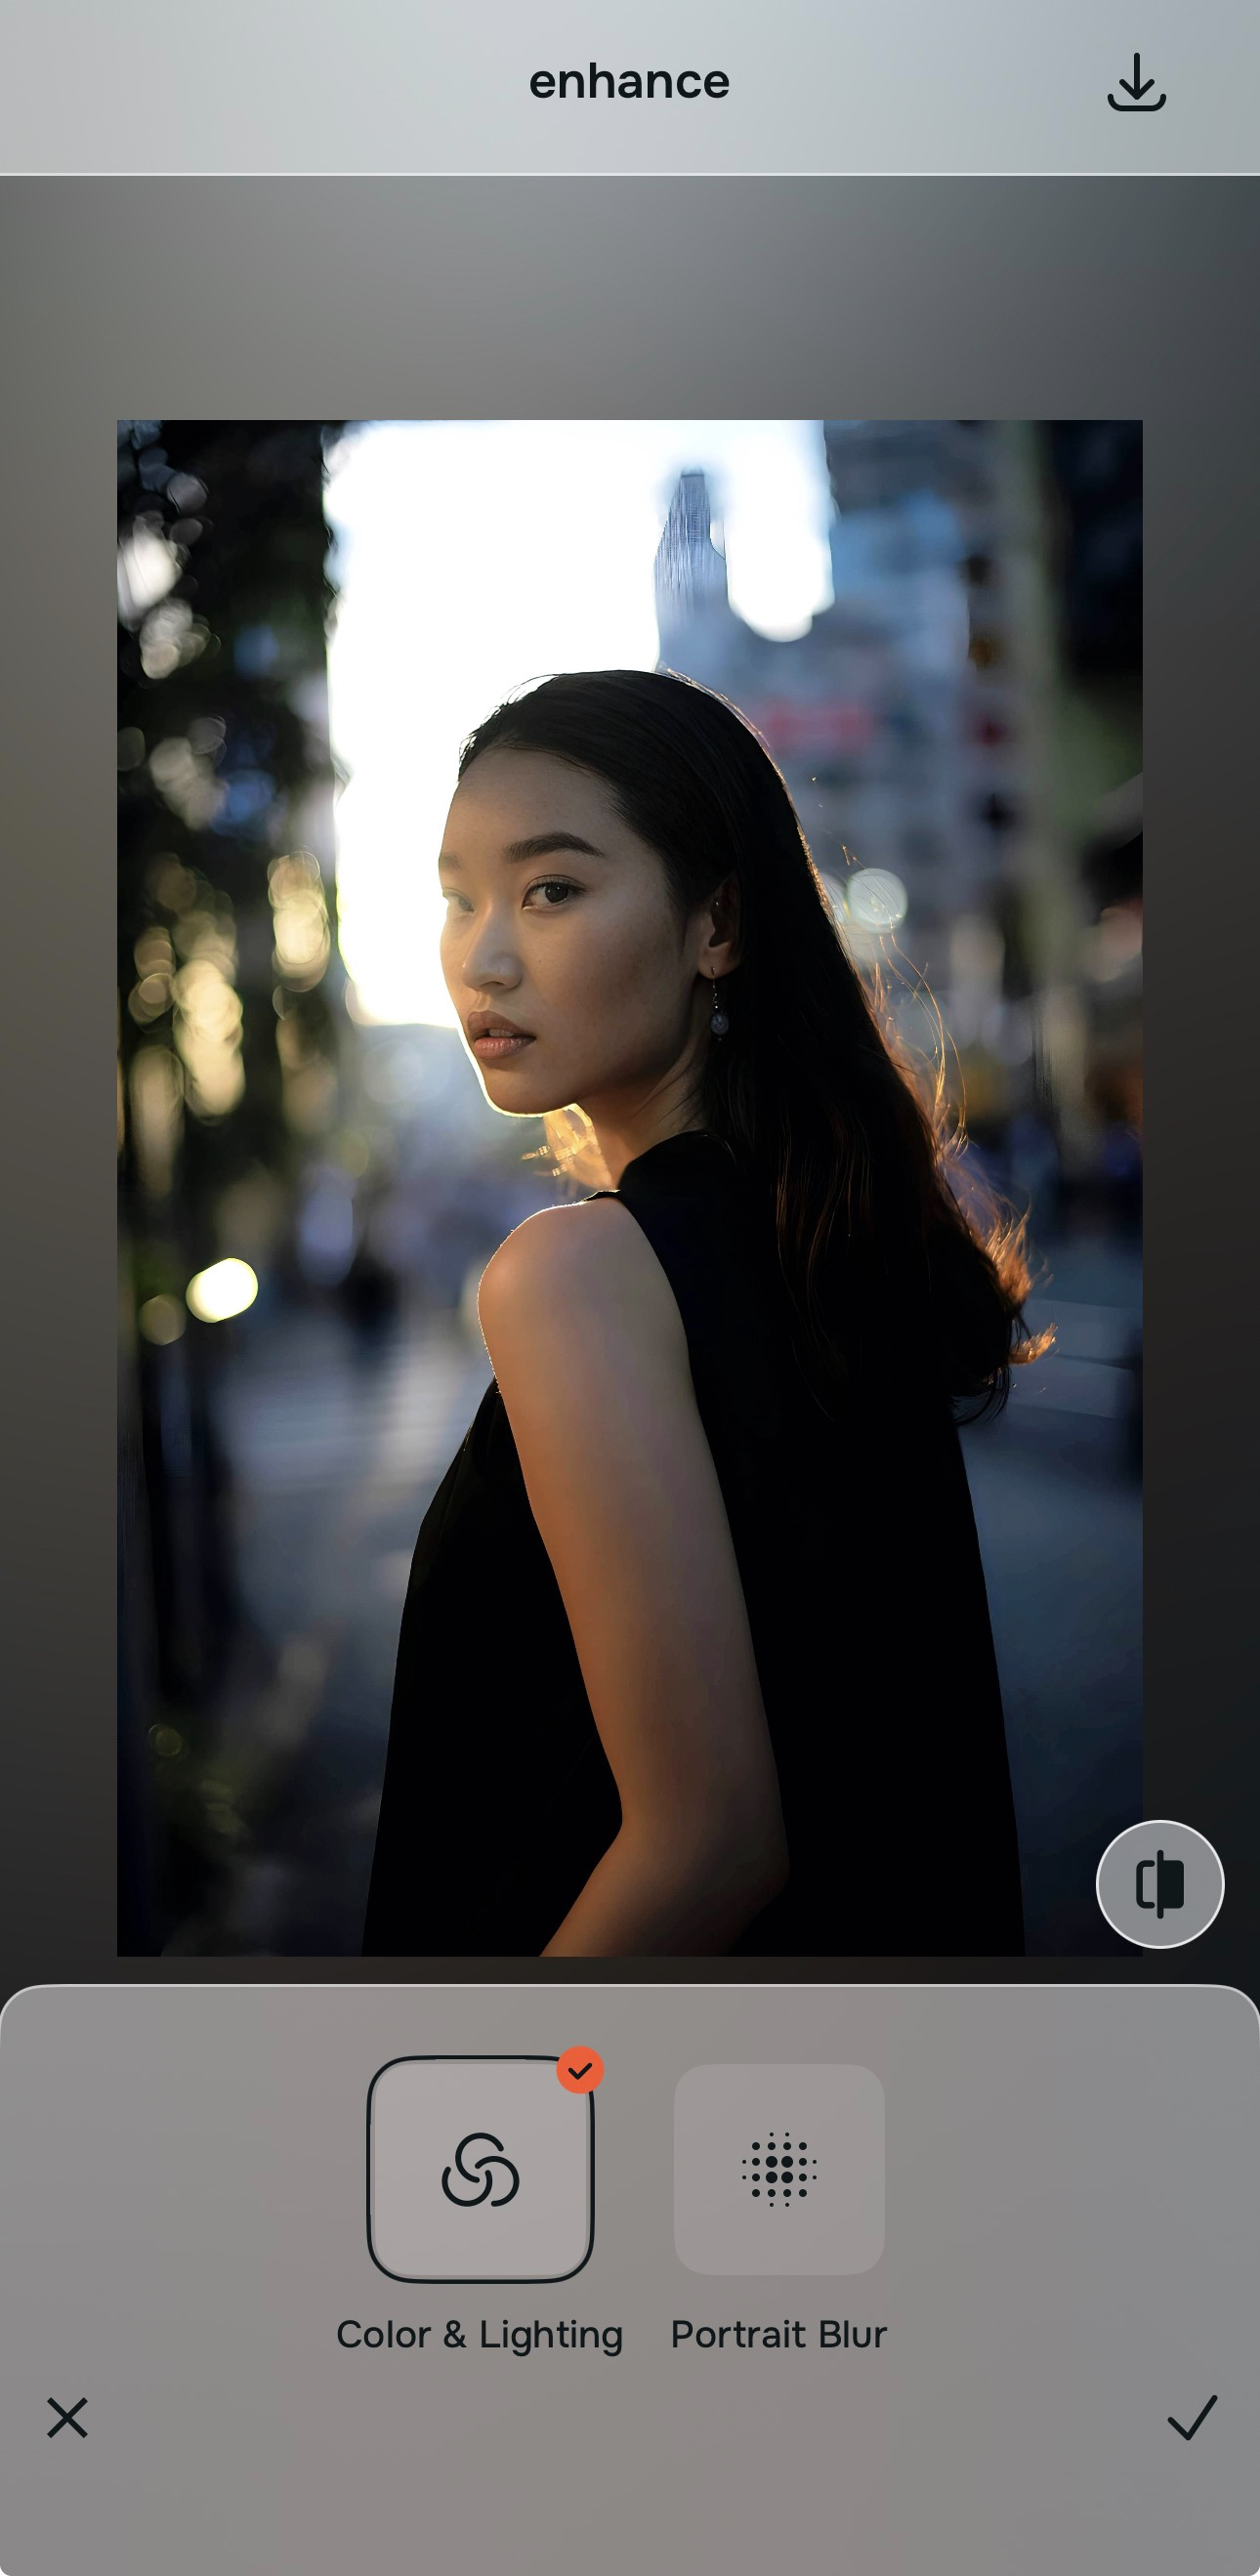
Tap Citrus Enhance and choose Portrait Blur if it is a portrait that needs cleaner subject separation
If the image is a portrait and the person is getting lost in the frame, stay inside Citrus Enhance and choose Portrait Blur. This is not about hiding blur with gimmicks. It is about giving the subject a cleaner, more professional presence, similar in feel to a portrait-mode look.
This can help a portrait feel much stronger when background clutter is making the softness more noticeable. The face and body read more clearly. The photo feels more intentional. The image becomes easier to use without looking artificially sharpened.
For portrait-specific blur problems, this is often the smarter move than pushing detail too hard.
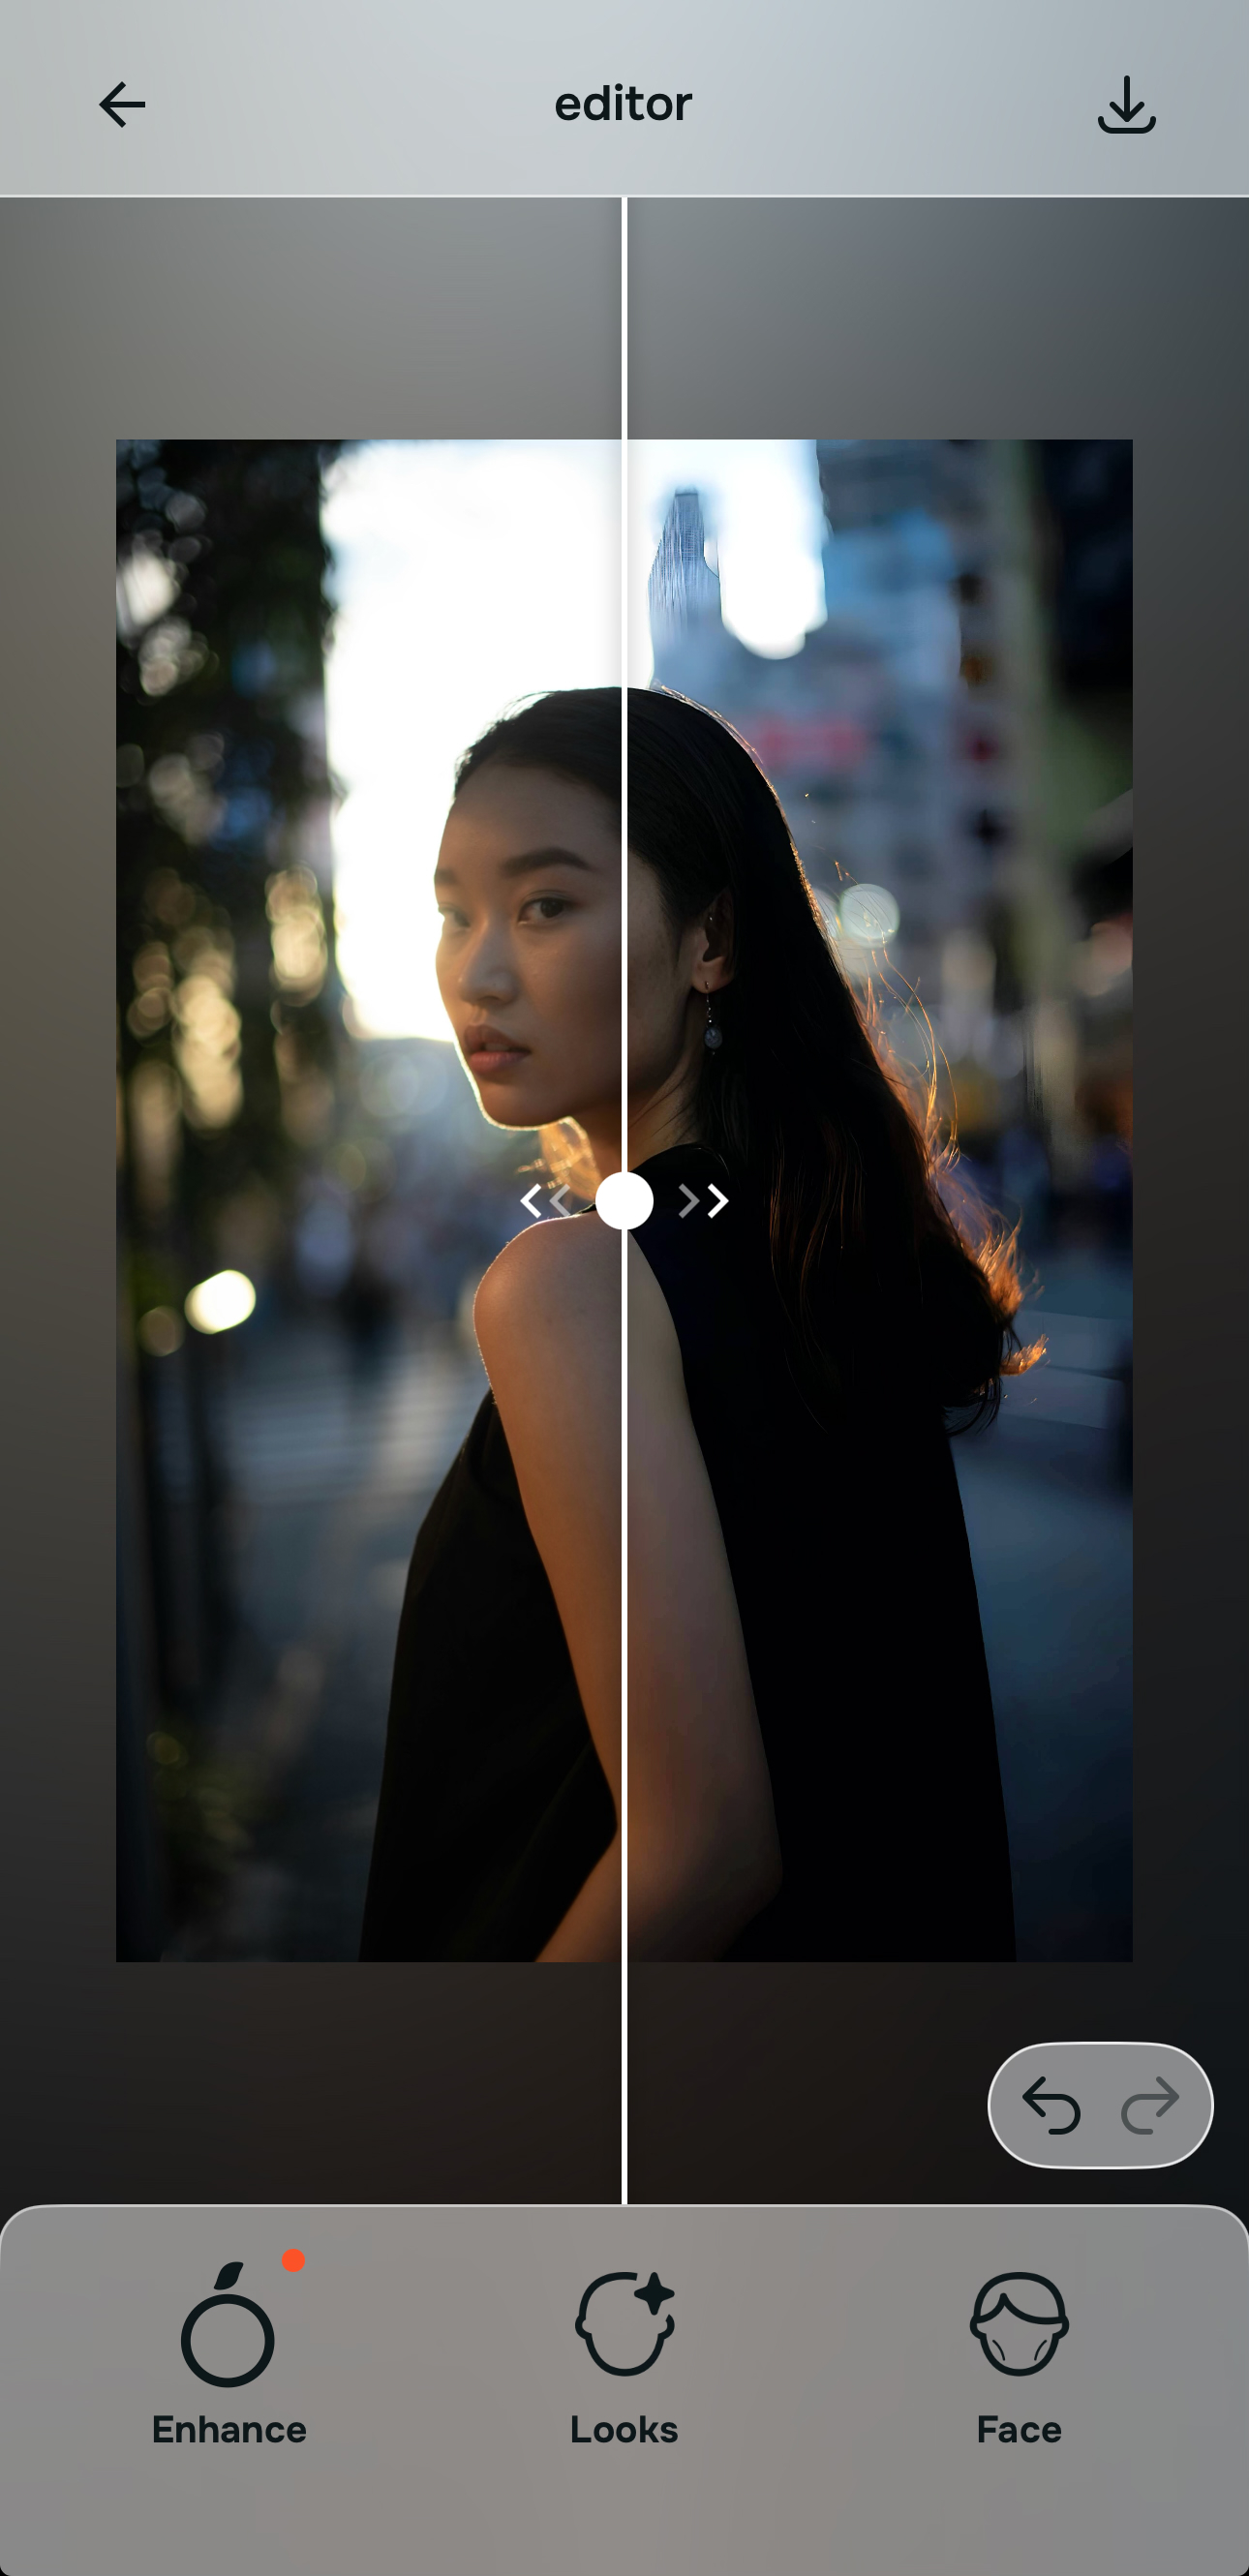
Save the version that feels clearer and more natural, not the one that looks most edited
The final test is simple. Ask whether the photo feels more readable, more balanced, and more like a real photo. Do not ask whether it looks dramatically sharpened.
That is the trap. Many people think a blurry photo is only “fixed” if it becomes hyper-detailed. In real life, the best save is usually the one that restores enough clarity to keep the image believable.
If the photo now looks cleaner, calmer, and easier to share or keep, save that version.
Which Citrus Enhance option to use for blurry, grainy, or weak-quality photos
For this topic, the key is simple. If the issue is overall photo quality, start in Citrus Enhance. That is the correct path for blur, grain, dullness, and weak image quality.
| Enhance option | What it helps fix | When to use it |
|---|---|---|
| Colors & LightingStart here | Overall blur, grain, muddy image quality, dull light, weak balance, low-energy photo | Use this first when the whole image looks soft, noisy, flat, dark, or generally weaker than the real moment. |
| Portrait Blur | Portraits with weak subject separation, messy background, less professional overall look | Use this when the image is a portrait and the subject needs cleaner background separation to look more polished and more intentional. |
| Looks | Overall face impression after the image quality is already fixed | Use this only later if the photo is already corrected and the overall face impression still needs a softer finishing pass. |
| Face | One exact facial issue after the overall image is fixed | Use this only when the photo quality problem is no longer the main issue and one specific facial feature still needs correction. |
“A blurry photo does not need to become unnaturally sharp. It needs to become clear enough that the moment feels worth keeping again.”
Why Citrus Enhance feels more believable than many blurry photo tools
Most blurry photo tools are built around the idea of dramatic rescue. They want the before and after to look shocking. That usually pushes the edit in the wrong direction.
Real people do not usually want a blurry photo to become some ultra-crisp synthetic image. They want the picture to stop feeling like a loss. They want the face to read better. They want the subject to stand out more. They want the grain to stop making the whole frame feel cheap. They want the image to feel good enough to keep, send, print, or post.
That is where Citrus Enhance works so well. It starts with the overall image. It does not pretend the answer to every blurry picture is aggressive sharpening. It gives you the right doorway first, then the right button inside that doorway.
| What people usually need from a blurry photo fix | Citrus Enhance | Many harsh enhancement tools |
|---|---|---|
| Improves overall image quality before chasing false detail | ✓ | ✕ |
| Helps with grain, dullness, and weak balance as part of the blur problem | ✓ | ✕ |
| Offers portrait-specific separation when the subject needs to stand out more | ✓ | ✕ |
| Keeps faces and textures looking more believable | ✓ | ✕ |
| Creates a result that feels naturally clearer instead of aggressively processed | ✓ | ✕ |
That is exactly why people searching for how to make blurry photos clear again, how to fix grainy pictures, best app to unblur photos naturally, and how to sharpen a photo without making it look fake respond better to this kind of workflow. It solves the full quality problem, not just the visible symptom.