

April 12, 2026
AI Photo Enhancer for Blurry Pictures


AI Photo Enhancer for Blurry Pictures
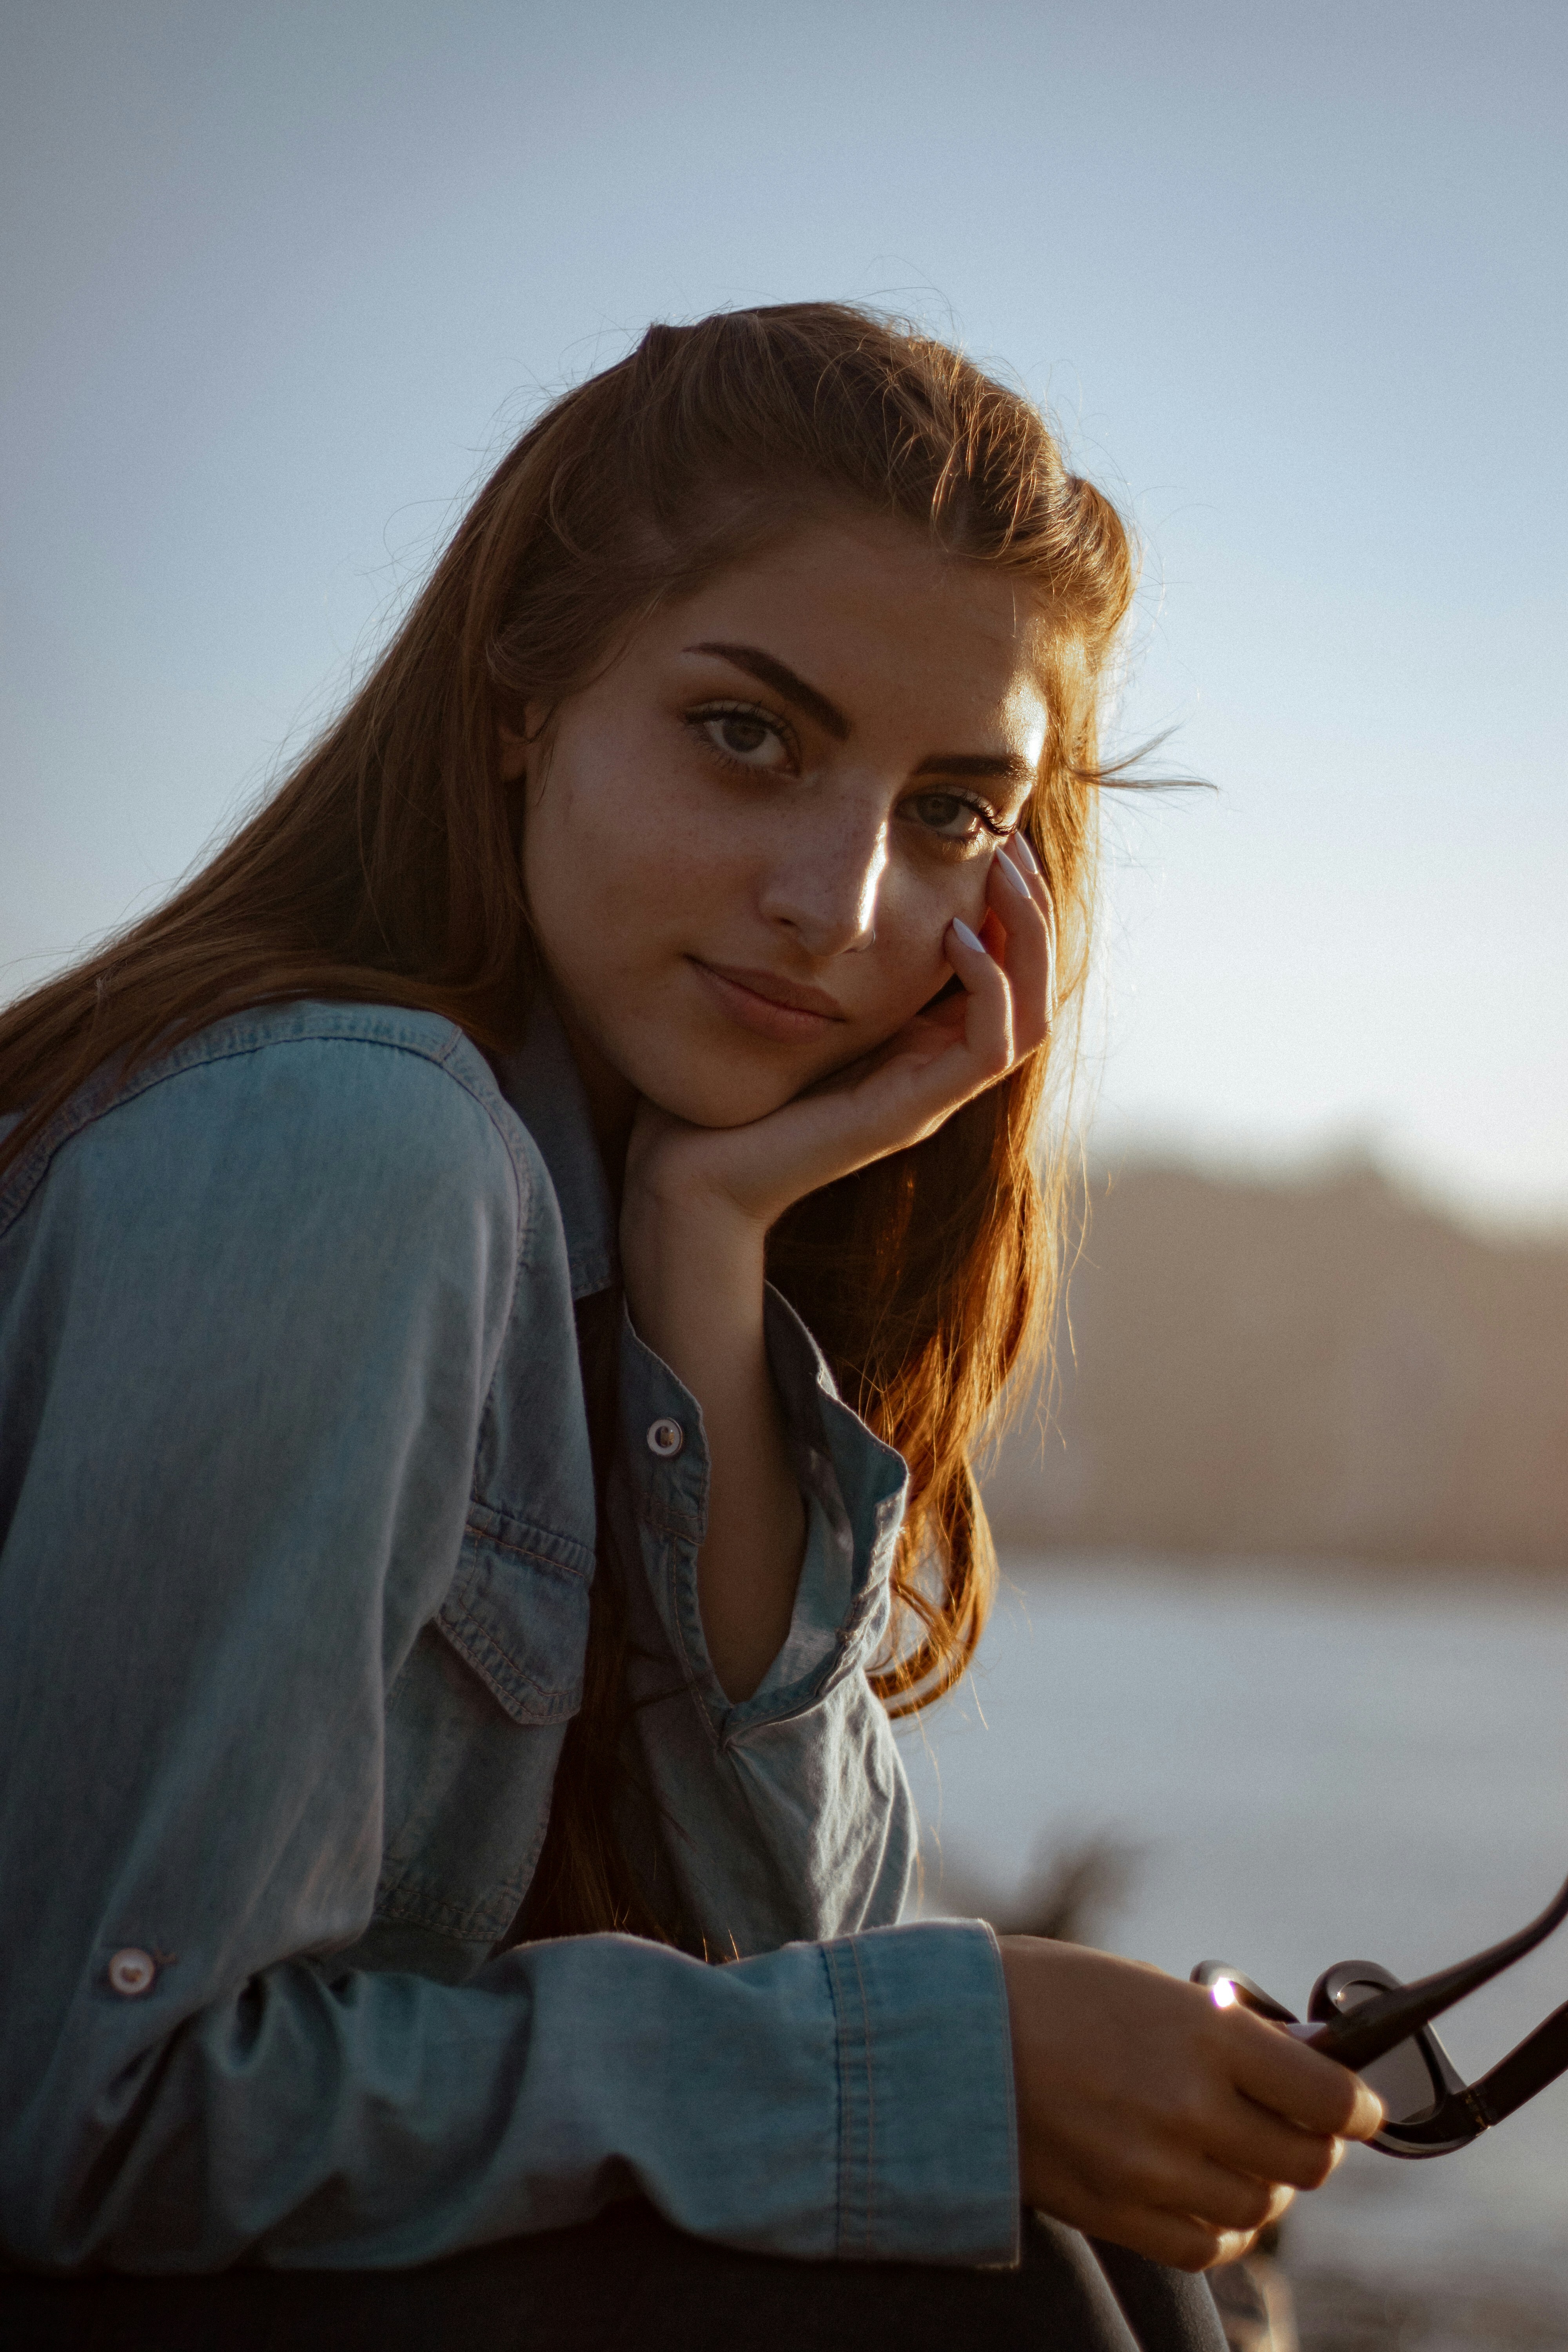
A blurry picture feels frustrating because it often captures a real moment you actually wanted to keep. The smile was right. The angle was right. The memory mattered. Then the photo came out soft, smeared, or slightly out of focus. The best enhancer for blurry pictures should not turn that image into a crunchy, sharpened mess. It should make the photo feel clearer, cleaner, and more usable while still looking like a real picture.
If a picture is blurry, the best fix is not the harshest fix. The strongest workflow is usually to start with the original image, let the first preview build, then improve overall clarity, lighting, and subject separation before trying anything more stylized. If the photo still feels weak after that, a lighter finish works better than aggressive processing. The goal is a photo that looks more readable and more natural, not a photo that screams “edited.”
That is where a lot of blurry photo tools go wrong.
They push too hard. Edges get over-sharpened. Skin turns strange. Hair looks cut out. Background texture becomes noisy. The image may look more “processed,” but it does not actually look more believable.
A good blurry photo enhancer should recover what the image can still realistically give you. That is the sweet spot. Not fake detail. Not forced crispness. Just a stronger version of the photo you already had.
What actually helps blurry pictures look better
Blur is not always one problem. Sometimes the picture is soft because of motion. Sometimes the light was weak. Sometimes the subject blends into the background and the whole image feels mushy. That is why the best results usually come from fixing the image in the right order.
- Sharpening the whole image so hard that skin, hair, and edges start looking brittle
- Trying to “invent” detail that the original picture never had
- Ignoring weak lighting and low contrast that are making the blur feel heavier
- Treating every blurry photo like a restoration project instead of a normal image that needs balance
- Improving balance, brightness, and image energy before chasing more detail
- Helping the subject stand out more clearly from the background
- Keeping texture believable instead of forcing artificial crispness
- Stopping when the photo feels clearer and easier to use, even if it is not perfectly razor sharp
That is why the most successful blurry picture fixes usually feel modest. They respect the original photo. They improve readability, shape, and presence without trying to fake a studio-perfect file.
Start with the picture you thought was almost lost. The best save is usually calmer than people expect.
How to improve a blurry picture without making it look harsh
Open Citrus - 1 tap photo enhancer and choose the blurry picture you still want to keep
Start with the image that matters, not the one that was already easy to like. Maybe the face is soft. Maybe the whole frame feels smeared. Maybe the shot is almost there, but one layer of blur made it disappointing.
That is exactly the kind of image worth testing. A blurry picture is often emotionally valuable because the moment itself was good. What you want now is a version that feels more present and more salvageable.
The best candidate is often the photo you nearly deleted.
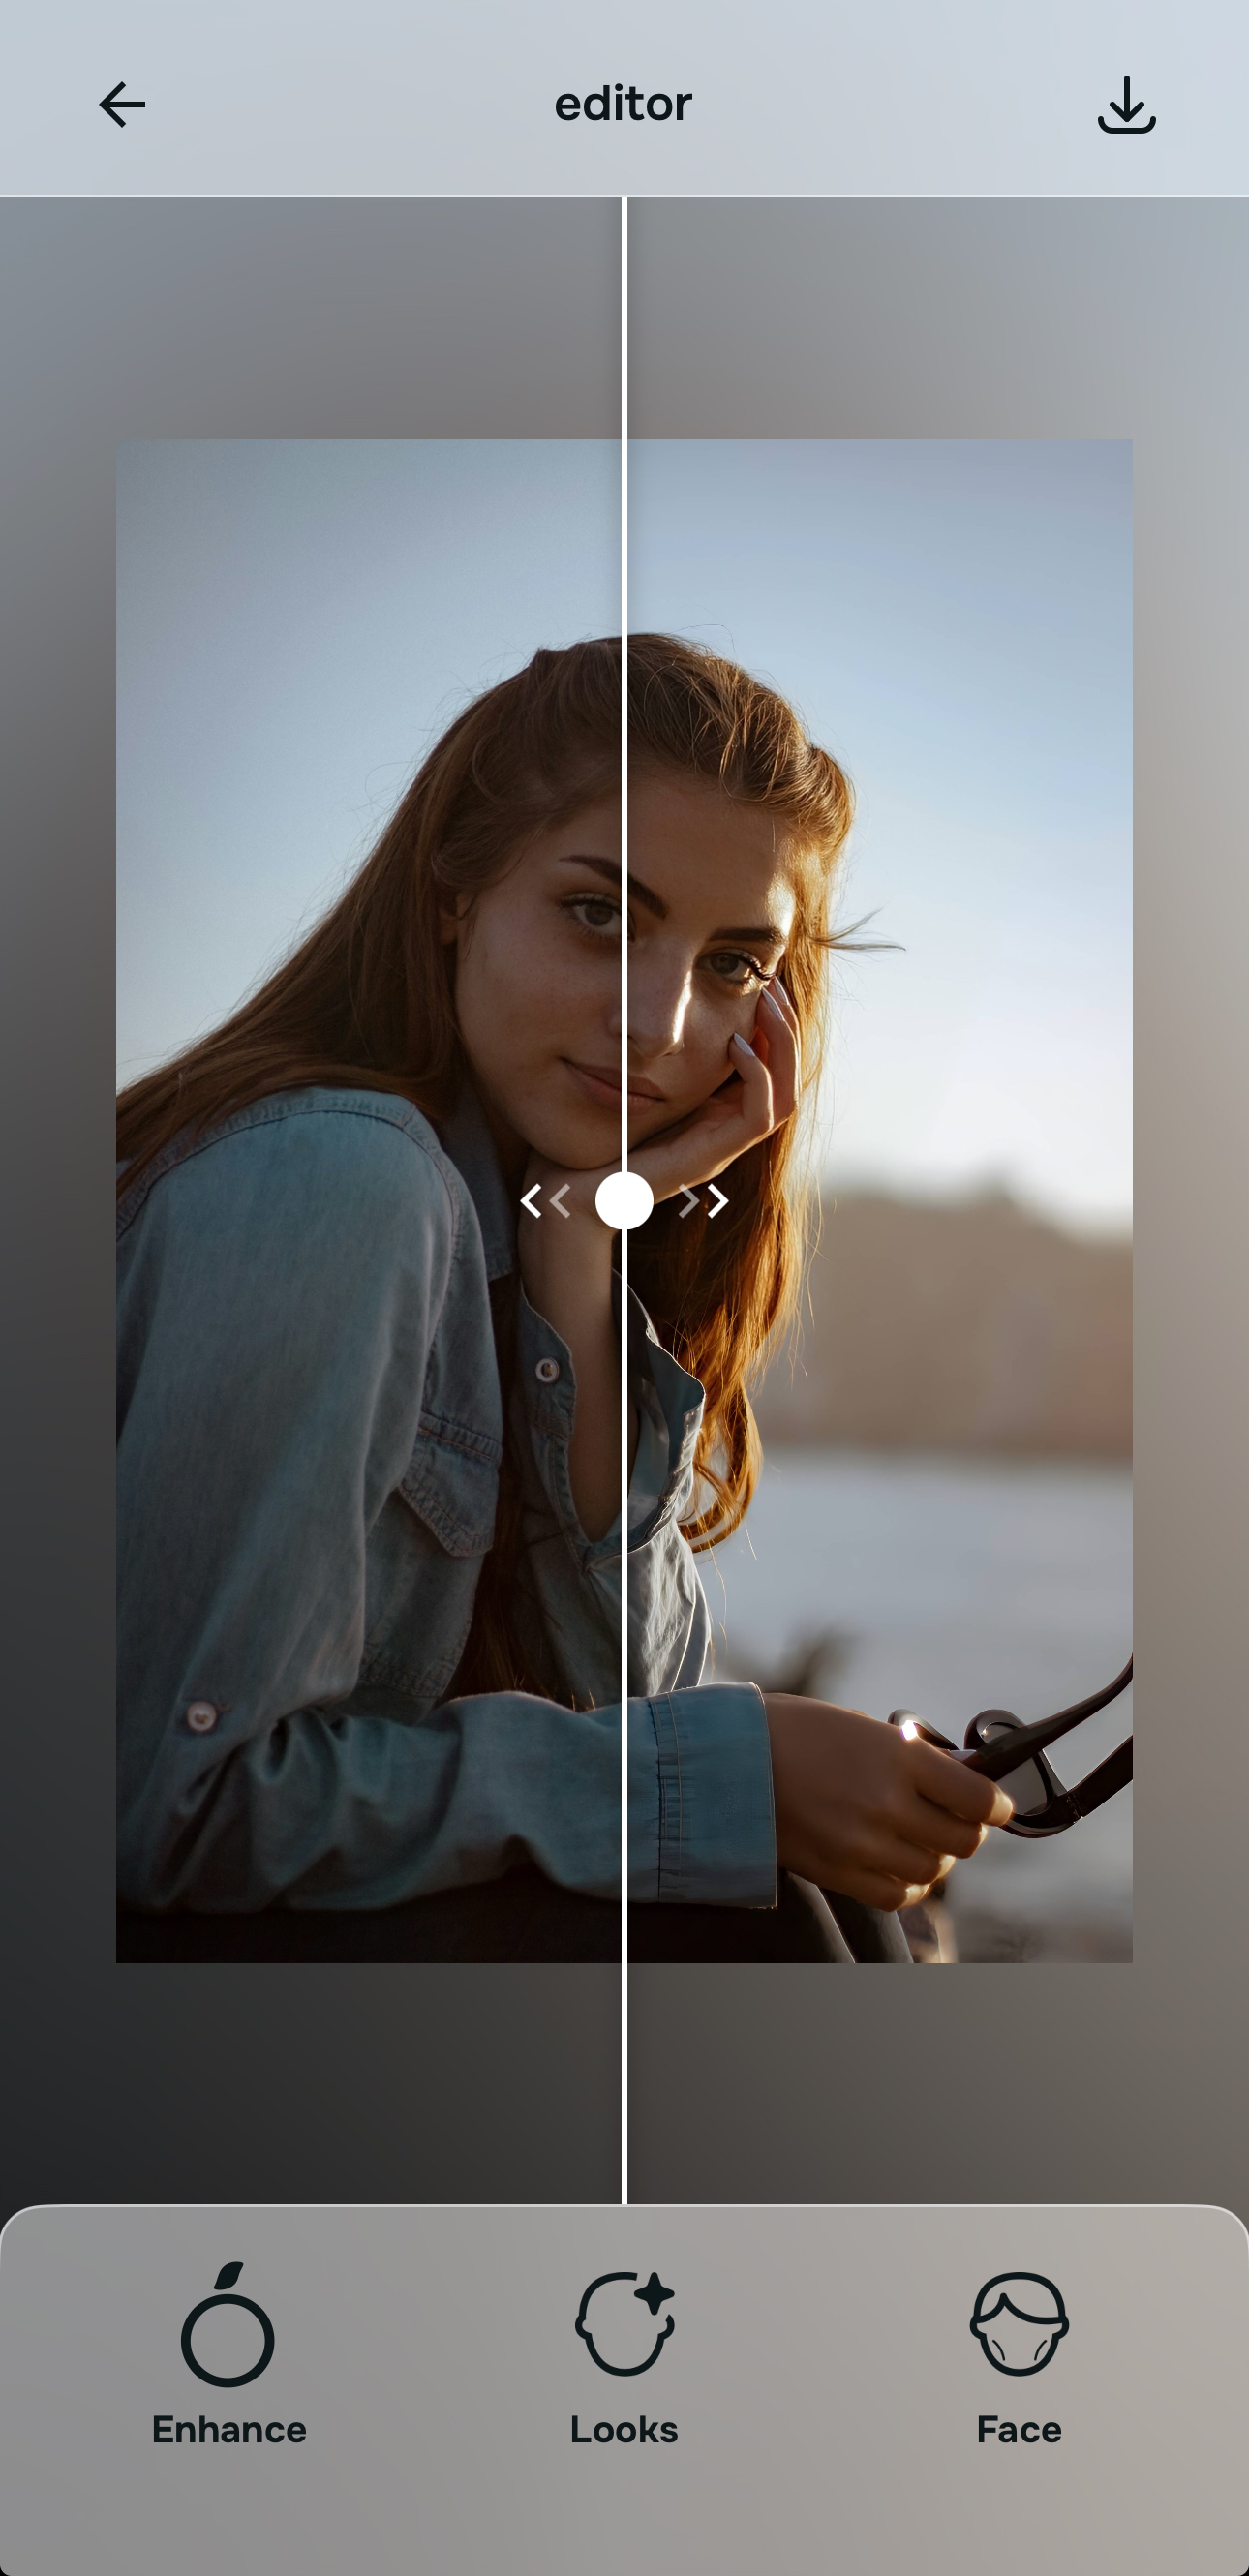
Let the first preview show you whether the image needs rescue or just smarter balance
Once the photo is selected, let the preview load before deciding the picture is hopeless. Many blurry images are not ruined. They are simply weak in a few places at once.
The first preview helps you see whether the problem is mostly flat light, low contrast, weak subject definition, or overall softness. That distinction matters because a picture that feels blurry often improves faster through balance and separation than through heavy sharpening.
A grounded edit begins by understanding what the photo is missing, not by throwing force at it.

Fix lighting and image energy first when blur is being amplified by a weak capture
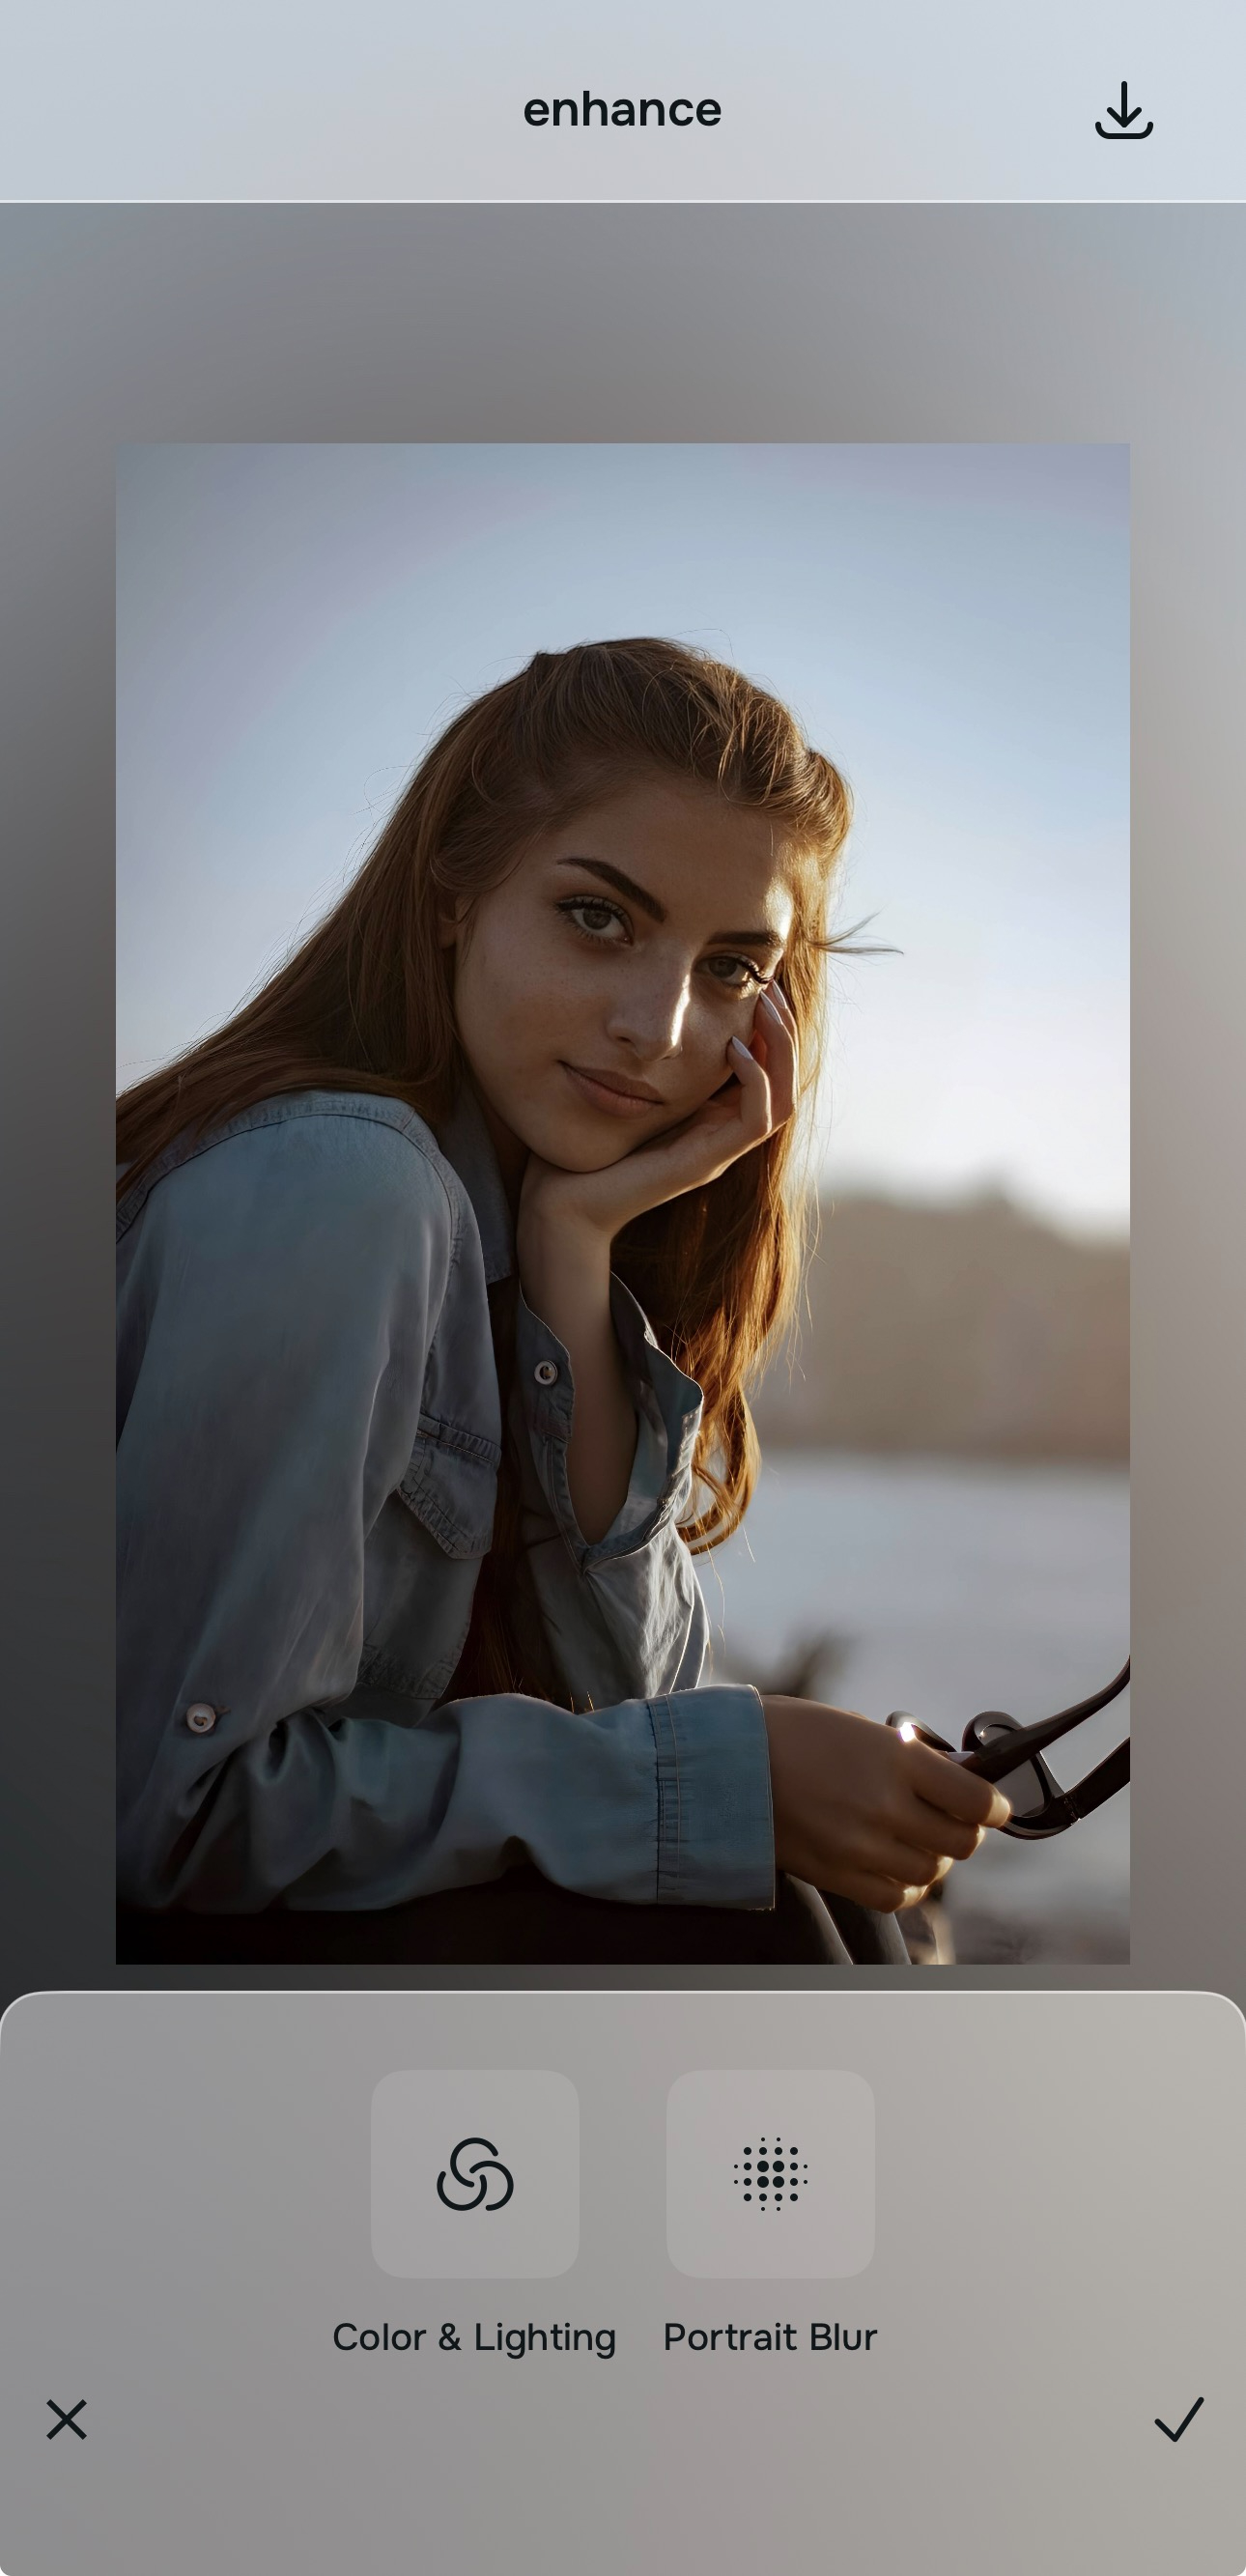
If the picture looks dim, muddy, low-energy, or uneven, begin with Enhance > Colors & Lighting. A blurry photo often feels worse when the light is also weak. Better balance can make the subject easier to read immediately.
This matters because people often confuse softness with total image failure. In reality, a lot of “blur” complaints are partly about dullness, low separation, and poor light. Cleaning those up first gives the picture a fairer starting point.

Start with image quality before style choices. That is usually what keeps blurry photo fixes from becoming brittle and overworked.
If the background is part of the problem, use Enhance > Portrait Blur next. Cleaner separation can make the subject look more intentional and less swallowed by the frame.
Use style or face adjustments only if the picture still feels weak in one specific area
If the image is already more balanced but still needs a softer polish, move into Looks carefully. If the camera exaggerated one facial detail and that softness is making the face read badly, test a small correction inside Face.
This is the point where many editors lose realism. They start stacking effects because the image is improved enough to tempt more editing. The better move is to stay specific. One remaining issue should get one targeted fix.
That keeps the result readable without making the photo feel manufactured.
Save the version that looks clearer, not the version that looks most edited
The right question is not “Did this become ultra-sharp?” The right question is “Can this picture breathe again?”
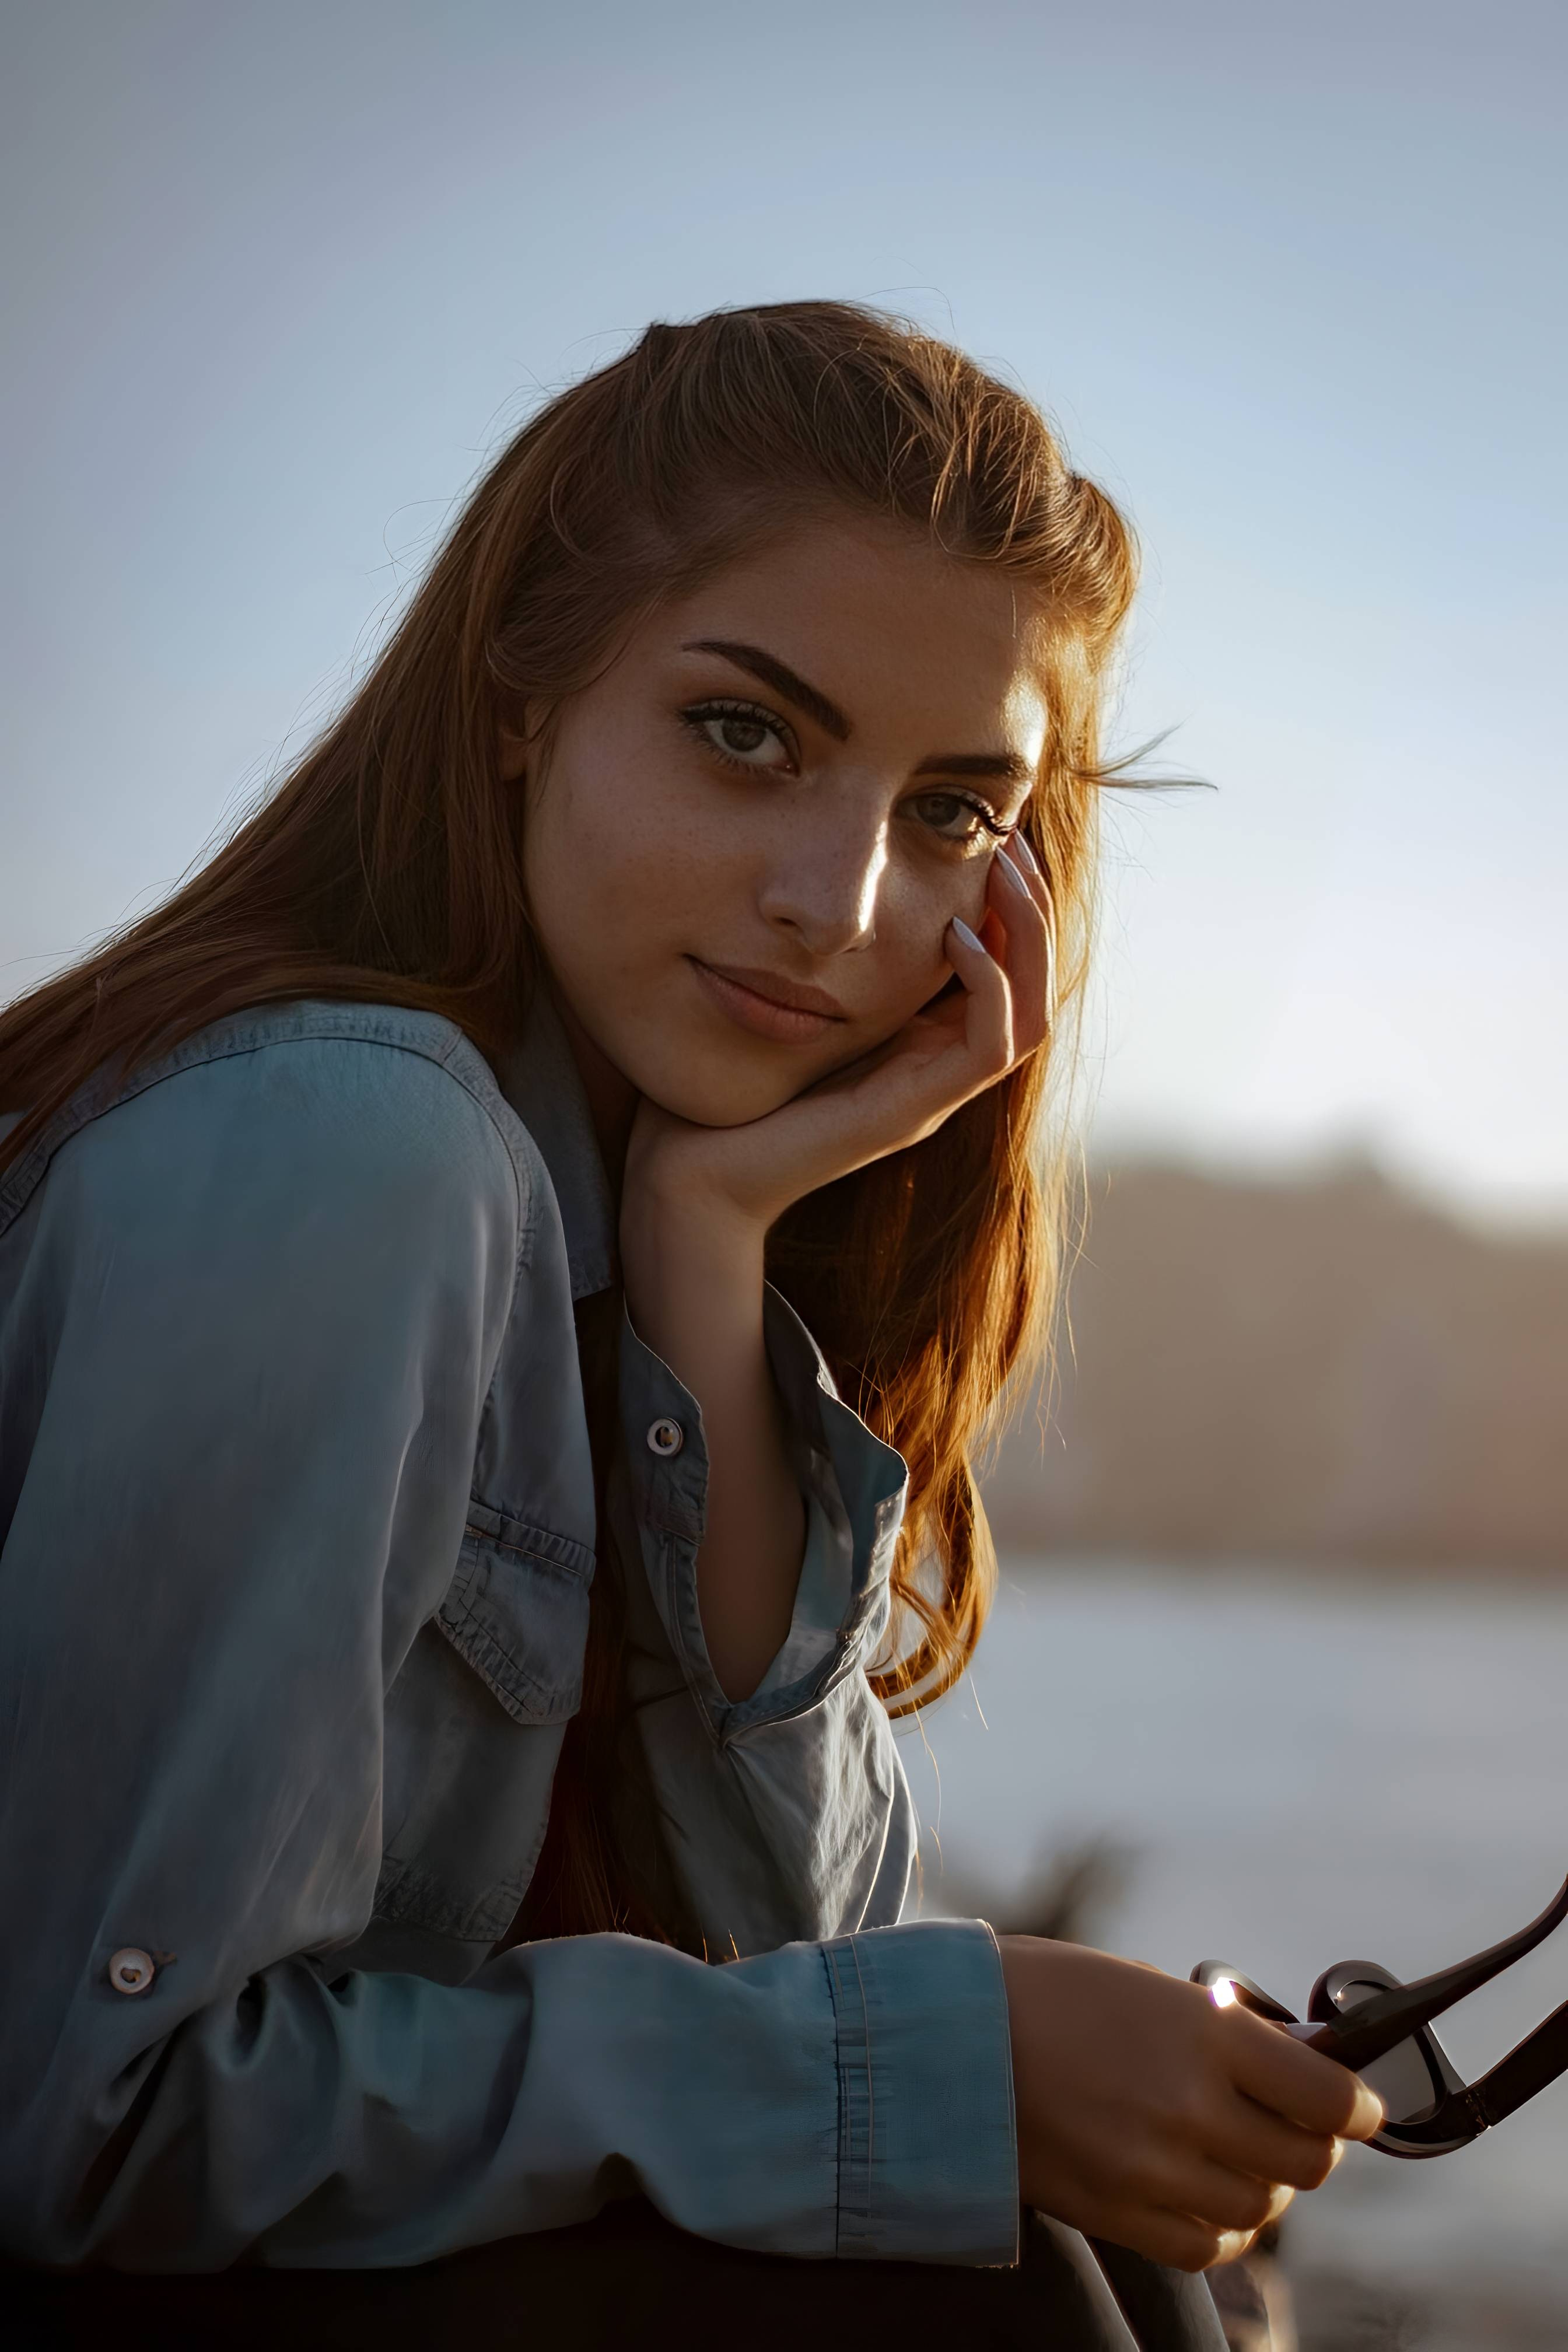
A successful blurry photo fix should make the image easier to look at, easier to share, and easier to keep. It should not turn skin into plastic or edges into noise. If the subject now feels more present and the photo looks more natural, that is the right result.
Save the version that gives the moment back some life.
Which tool does what when a picture looks blurry
The cleanest way to improve a blurry picture is to match the tool to the reason the photo feels weak. Better results usually come from solving the right problem first.
| Tool | What it helps fix | When to use it |
|---|---|---|
| Colors & LightingStart here | Dim, muddy, low-contrast picture where blur feels heavier because the image lacks energy | Use this first when the photo looks soft and dull at the same time. Better light balance often makes the image feel clearer immediately. |
| Portrait Blur | Weak subject separation, busy background, picture where the subject gets visually lost | Use this when the background is making the blur feel worse. Better separation can make the subject read more cleanly. |
| Looks | Final polish after the image already feels stronger and more balanced | Use this only after the main clarity problem feels calmer and the photo just needs a softer overall finish. |
| Face | One facial detail that is reading poorly because softness made the expression or proportions feel off | Use this carefully and only when there is a specific facial issue left after the photo itself has been improved. |
“A blurry picture does not always need to become razor sharp. It needs to become clear enough to feel worth keeping again.”
Why some blurry photo enhancers feel useful and others feel fake
Most people trying to fix a blurry picture are not chasing perfection. They are trying to recover a real moment.
They want the face to read better. They want the frame to feel less muddy. They want the subject to stand out enough that the photo stops feeling like a near miss. That is a very practical need, and it calls for a practical kind of editing.
The strongest enhancers usually improve blurry pictures by helping the image feel cleaner and more readable first. Weaker tools often go straight into brute-force sharpening, fake detail, or overprocessed contrast that makes the whole picture feel tense.
Citrus - 1 tap AI photo enhancer works well for this type of problem because its structure encourages restraint. You can start with the preview, correct light and balance, strengthen separation, and only then decide whether the photo needs anything more. That order matters because it keeps the picture grounded.
| What blurry picture users usually need | This workflow | Many heavy enhancement tools |
|---|---|---|
| Improves weak lighting before forcing sharpness | ✓ | ✕ |
| Keeps skin and texture believable | ✓ | ✕ |
| Helps the subject stand out more clearly | ✓ | ✕ |
| Uses targeted correction instead of turning the whole image brittle | ✓ | ✕ |
| Produces a result that still looks like a real photo | ✓ | ✕ |
That is usually what people mean when they search for an AI photo enhancer for blurry pictures. They do not want a fake rescue. They want a result that feels clearer, calmer, and more trustworthy.