

April 15, 2026
How to Make Your Selfies Look Better Without Learning Photoshop


How to Make Your Selfies Look Better Without Learning Photoshop
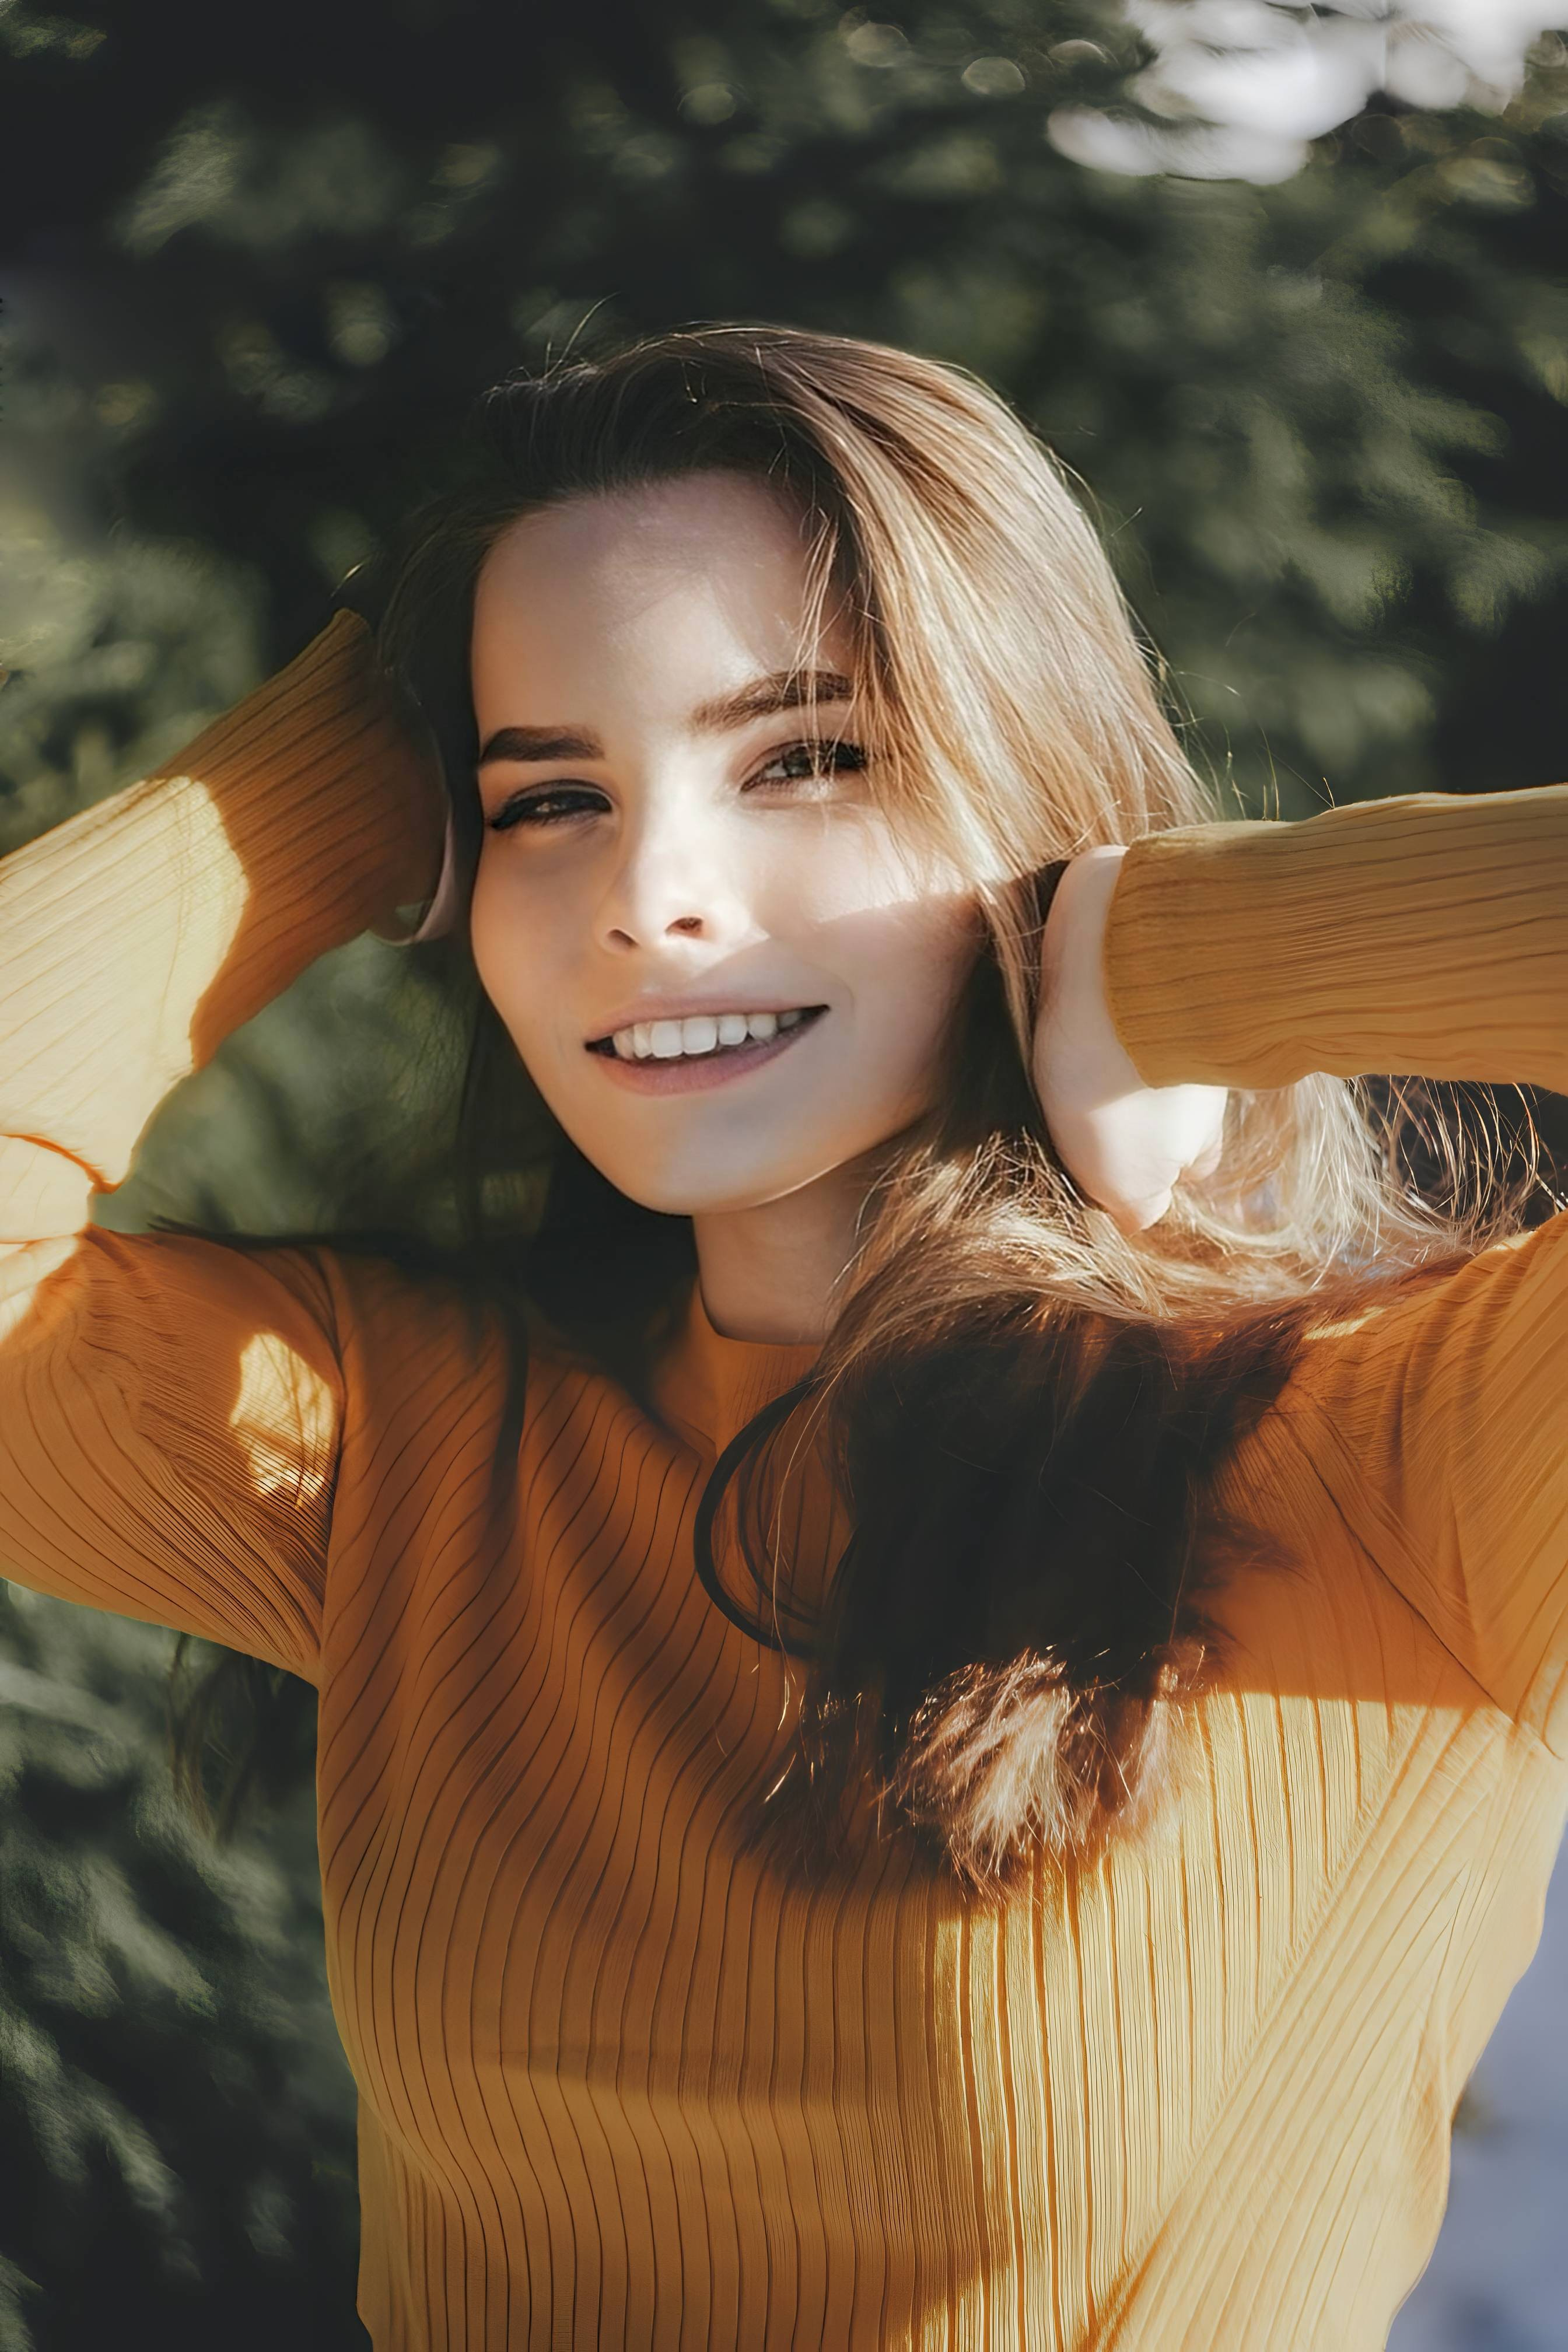
A lot of people do not hate their face in selfies. They hate the version the phone captured. One frame looks flat, the under-eye area looks tired, the skin tone shifts, and suddenly a normal photo feels unpostable. That is why most people are not actually searching for advanced editing. They are searching for a simple way to look more like themselves. The smartest fix is not learning a complicated desktop workflow. It is using the right one-tap correction for the problem the camera created.
If you want better-looking selfies without learning Photoshop, start with the problem, not the software. When the whole image feels dull or weak, fix the overall photo first. When the impression feels fine but one feature looks off, use a smaller correction. That is why Citrus works well for this kind of photo. It gives you a fast path through Enhance, Looks, and Face instead of forcing you to learn layers, masking, retouch brushes, and a dozen sliders you never wanted in the first place.
Most selfie problems are smaller than they feel in the moment. A little softness, awkward light, slight under-eye heaviness, or a flat finish can make the whole photo feel wrong. The answer is usually not a pro retouching course. It is a cleaner starting point, a more flattering overall impression, and enough control to stop before the photo looks fake.
That is also why people searching for natural-looking results keep running into the same frustration. The hard part is not finding editing tools. The hard part is finding a tool that improves the selfie without turning it into a glossy version of someone else.
Why selfies go wrong faster than people expect
The front camera has a talent for exaggerating tiny problems. A normal face can look more tired, wider, flatter, or less defined just because the light was weak and the frame was too close. That is why editing gets overwhelming so quickly. People think they need to fix everything, when the photo usually has one or two real problems doing most of the damage.
- Flat indoor light that drains color and depth
- Close camera distance that makes facial balance feel harsher
- Small details like tired eyes that take over the whole photo
- Overediting apps that trade one problem for a fake finish
- Fixing the overall image first when quality is the real issue
- Using one overall impression upgrade before specific face edits
- Saving targeted feature corrections for the final step
- Stopping as soon as the selfie looks like a better capture of you
That is the same reason readers who start with better-looking selfies often end up wanting a simpler workflow, not a deeper one. Once the photo starts feeling more like real life, the urge to keep editing usually disappears.
Better selfies do not need a complicated process. Start with one photo and see what the clean fix looks like first.
How to make your selfies look better in five simple steps
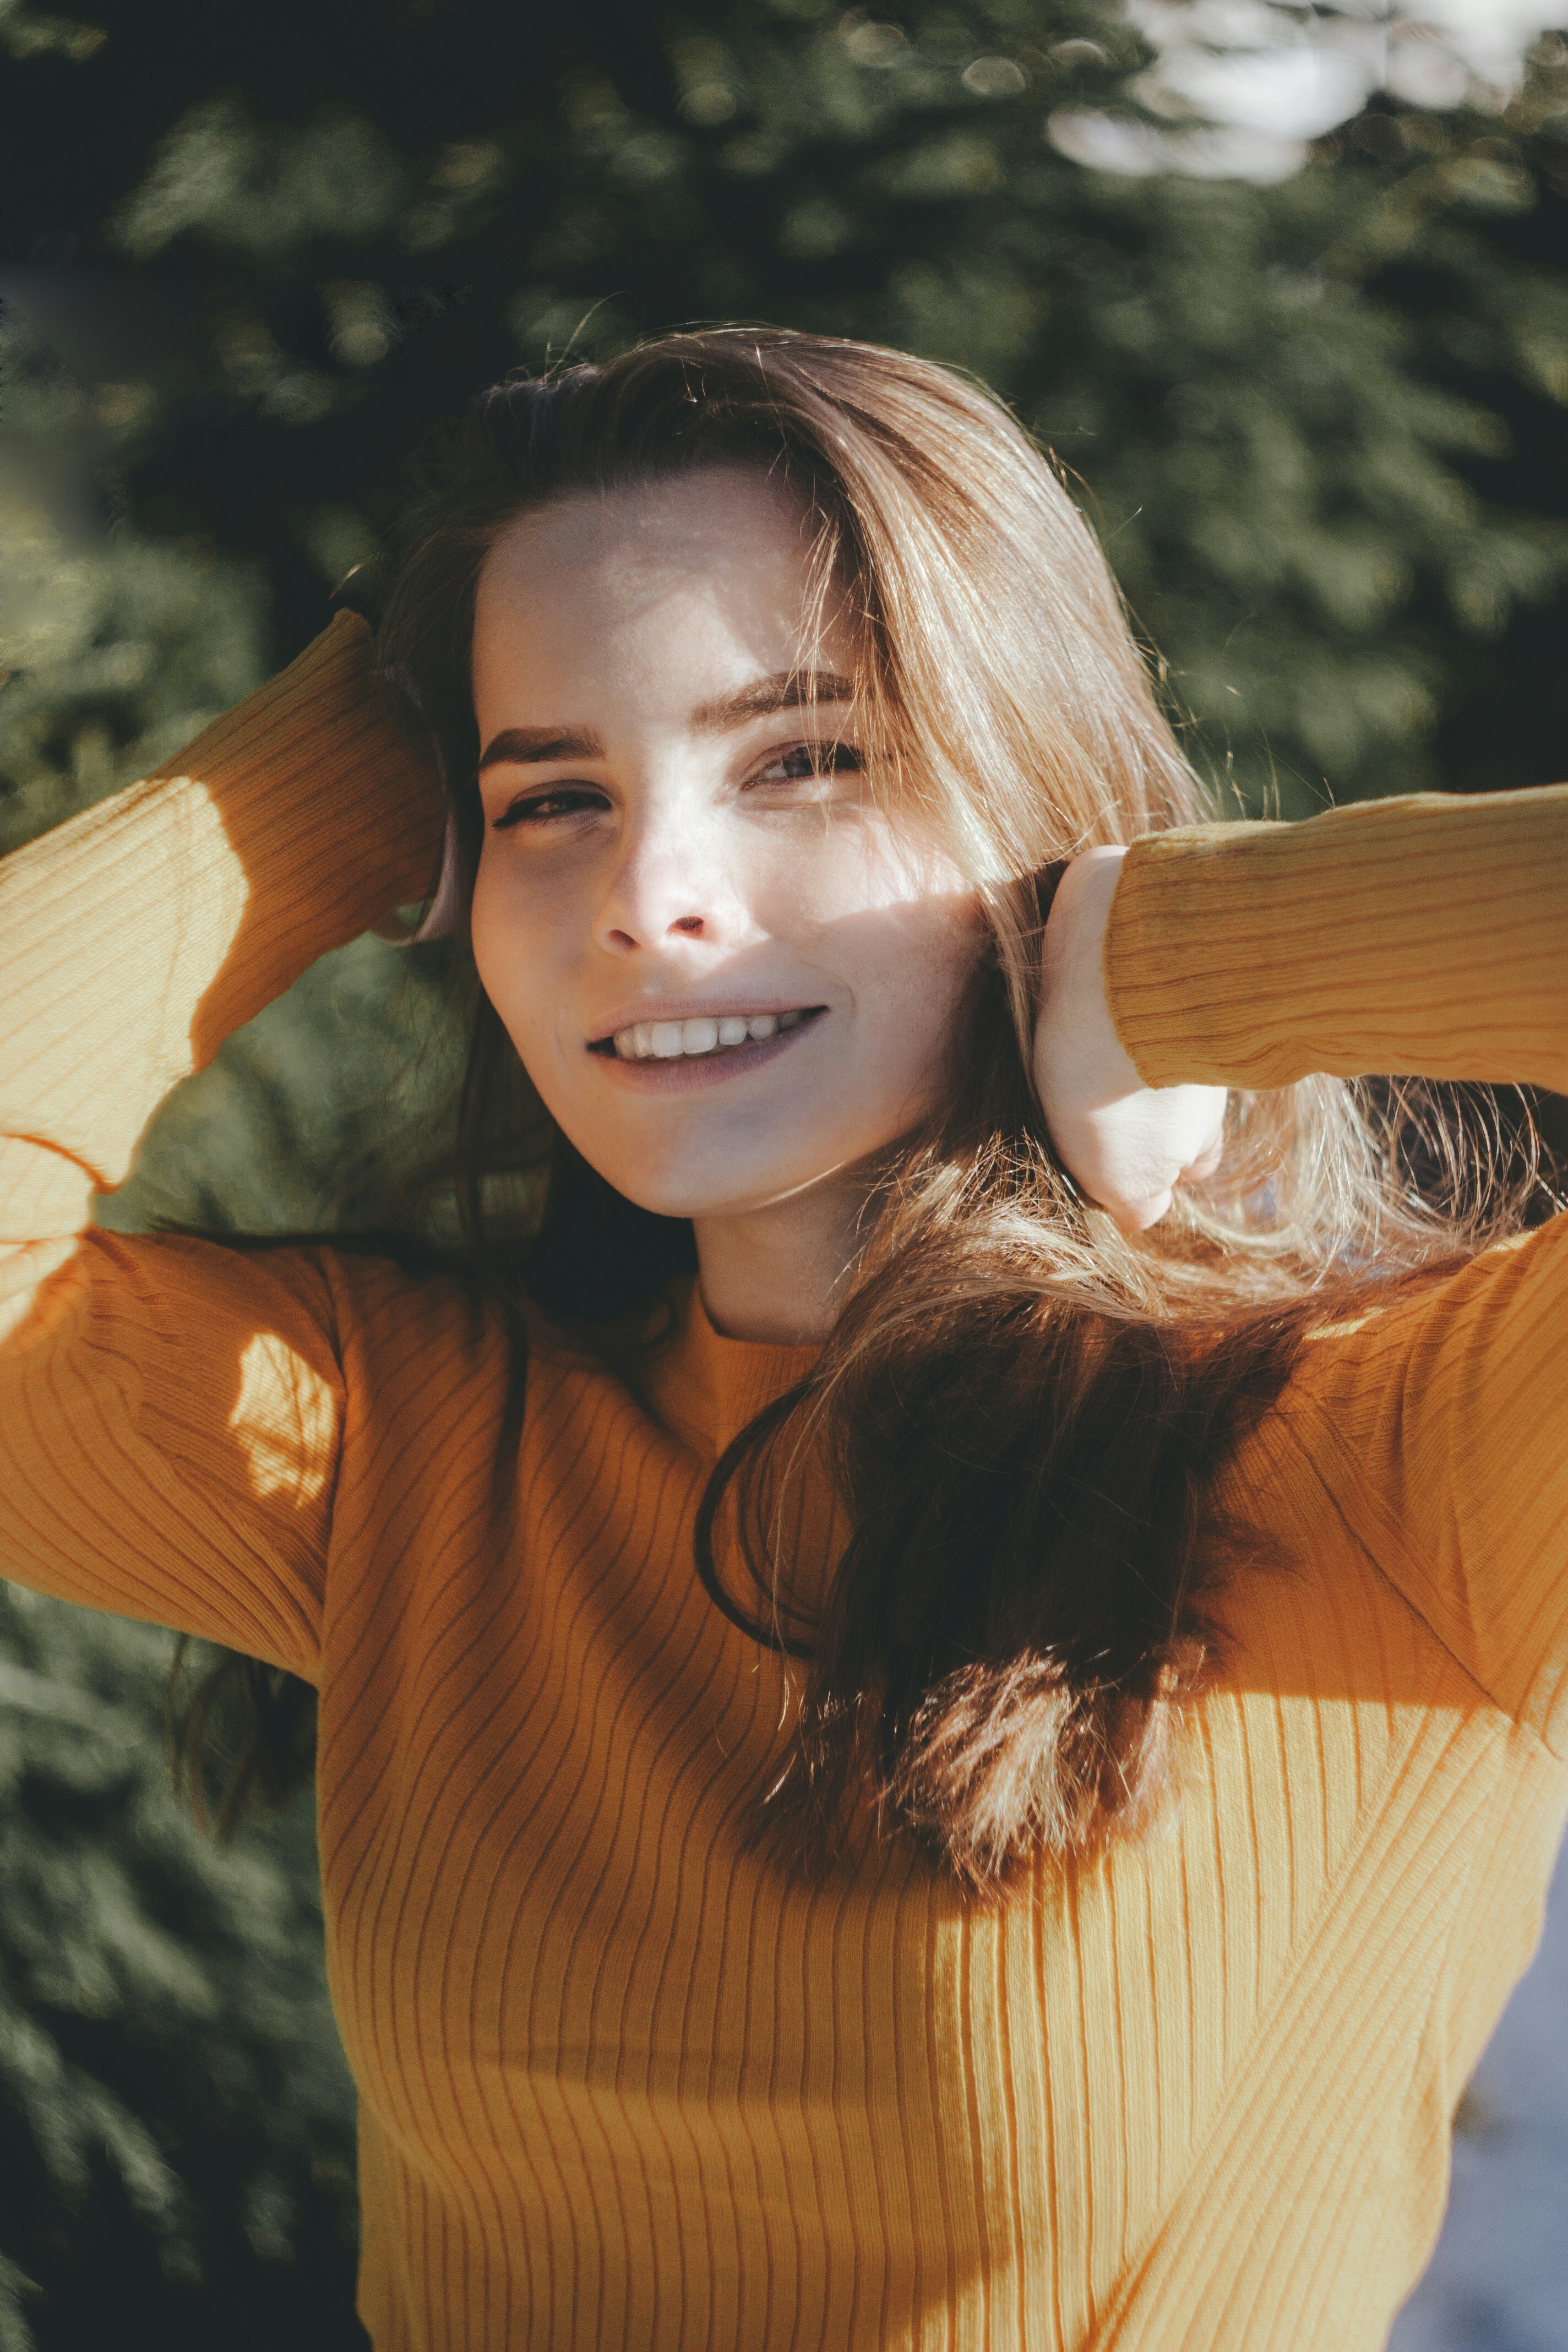
Open Citrus and pick the selfie that felt disappointing, not the one that was already fine
Start with the photo that looked close but not quite right. Maybe the skin looked dull. Maybe the face felt a little tired. Maybe the whole image had that familiar front-camera letdown.
This matters because you are trying to rescue a real pain point, not decorate a photo that already succeeded.
Let the first preview load so you can tell whether the photo needs an overall fix or a face-specific fix
A lot of people jump straight into face editing when the real problem is the whole photo. When the preview appears, look at the image as a whole first. Ask whether the quality, light, and balance improved enough already.
That overall-first mindset is the same logic behind fixing blurry pictures. A weak image needs the big problem solved before small details can look right.
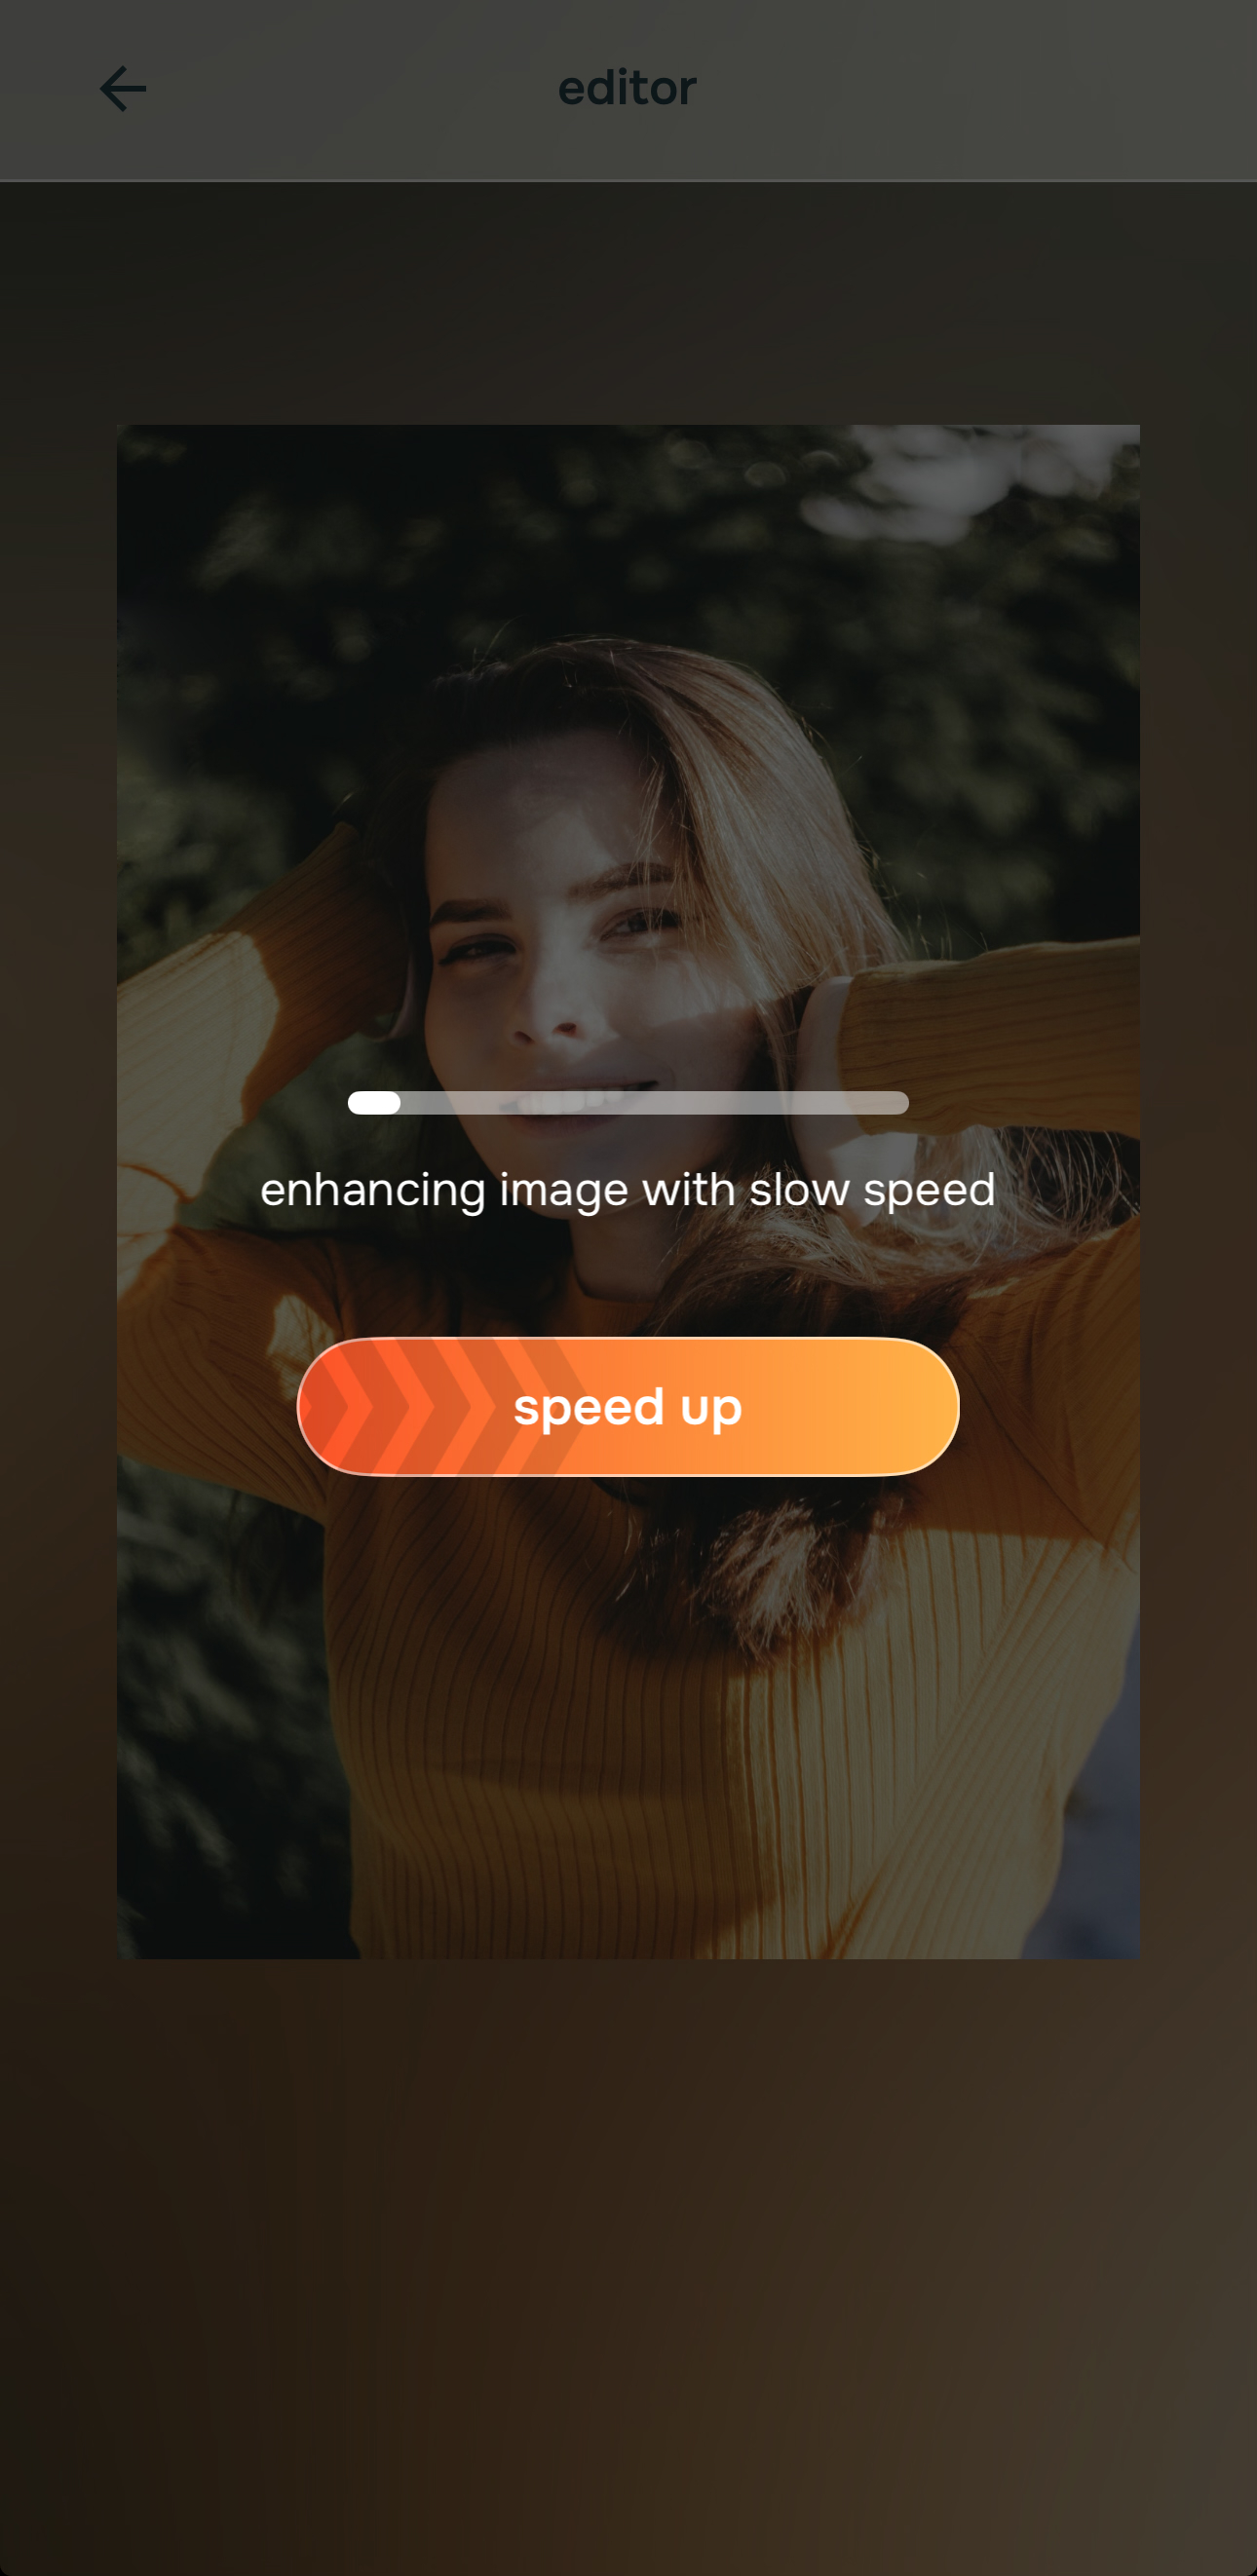
Use Enhance when the whole selfie needs better quality, better light, or a cleaner base
If the photo looks soft, low-energy, muddy, or generally underwhelming, start in Enhance. Use Colors & Lighting when the image feels flat or lifeless. Use Portrait Blur when the selfie is a portrait and better subject separation would make it feel cleaner and more polished.

Citrus is available on web, Google Play, and the App Store. Use the easiest entry point first, then keep going only if the photo still needs more.
That overall cleanup is what keeps the result believable. It is the same principle behind making a blurry photo clear again without sliding into the crunchy, sharpened look that ruins skin and edges.
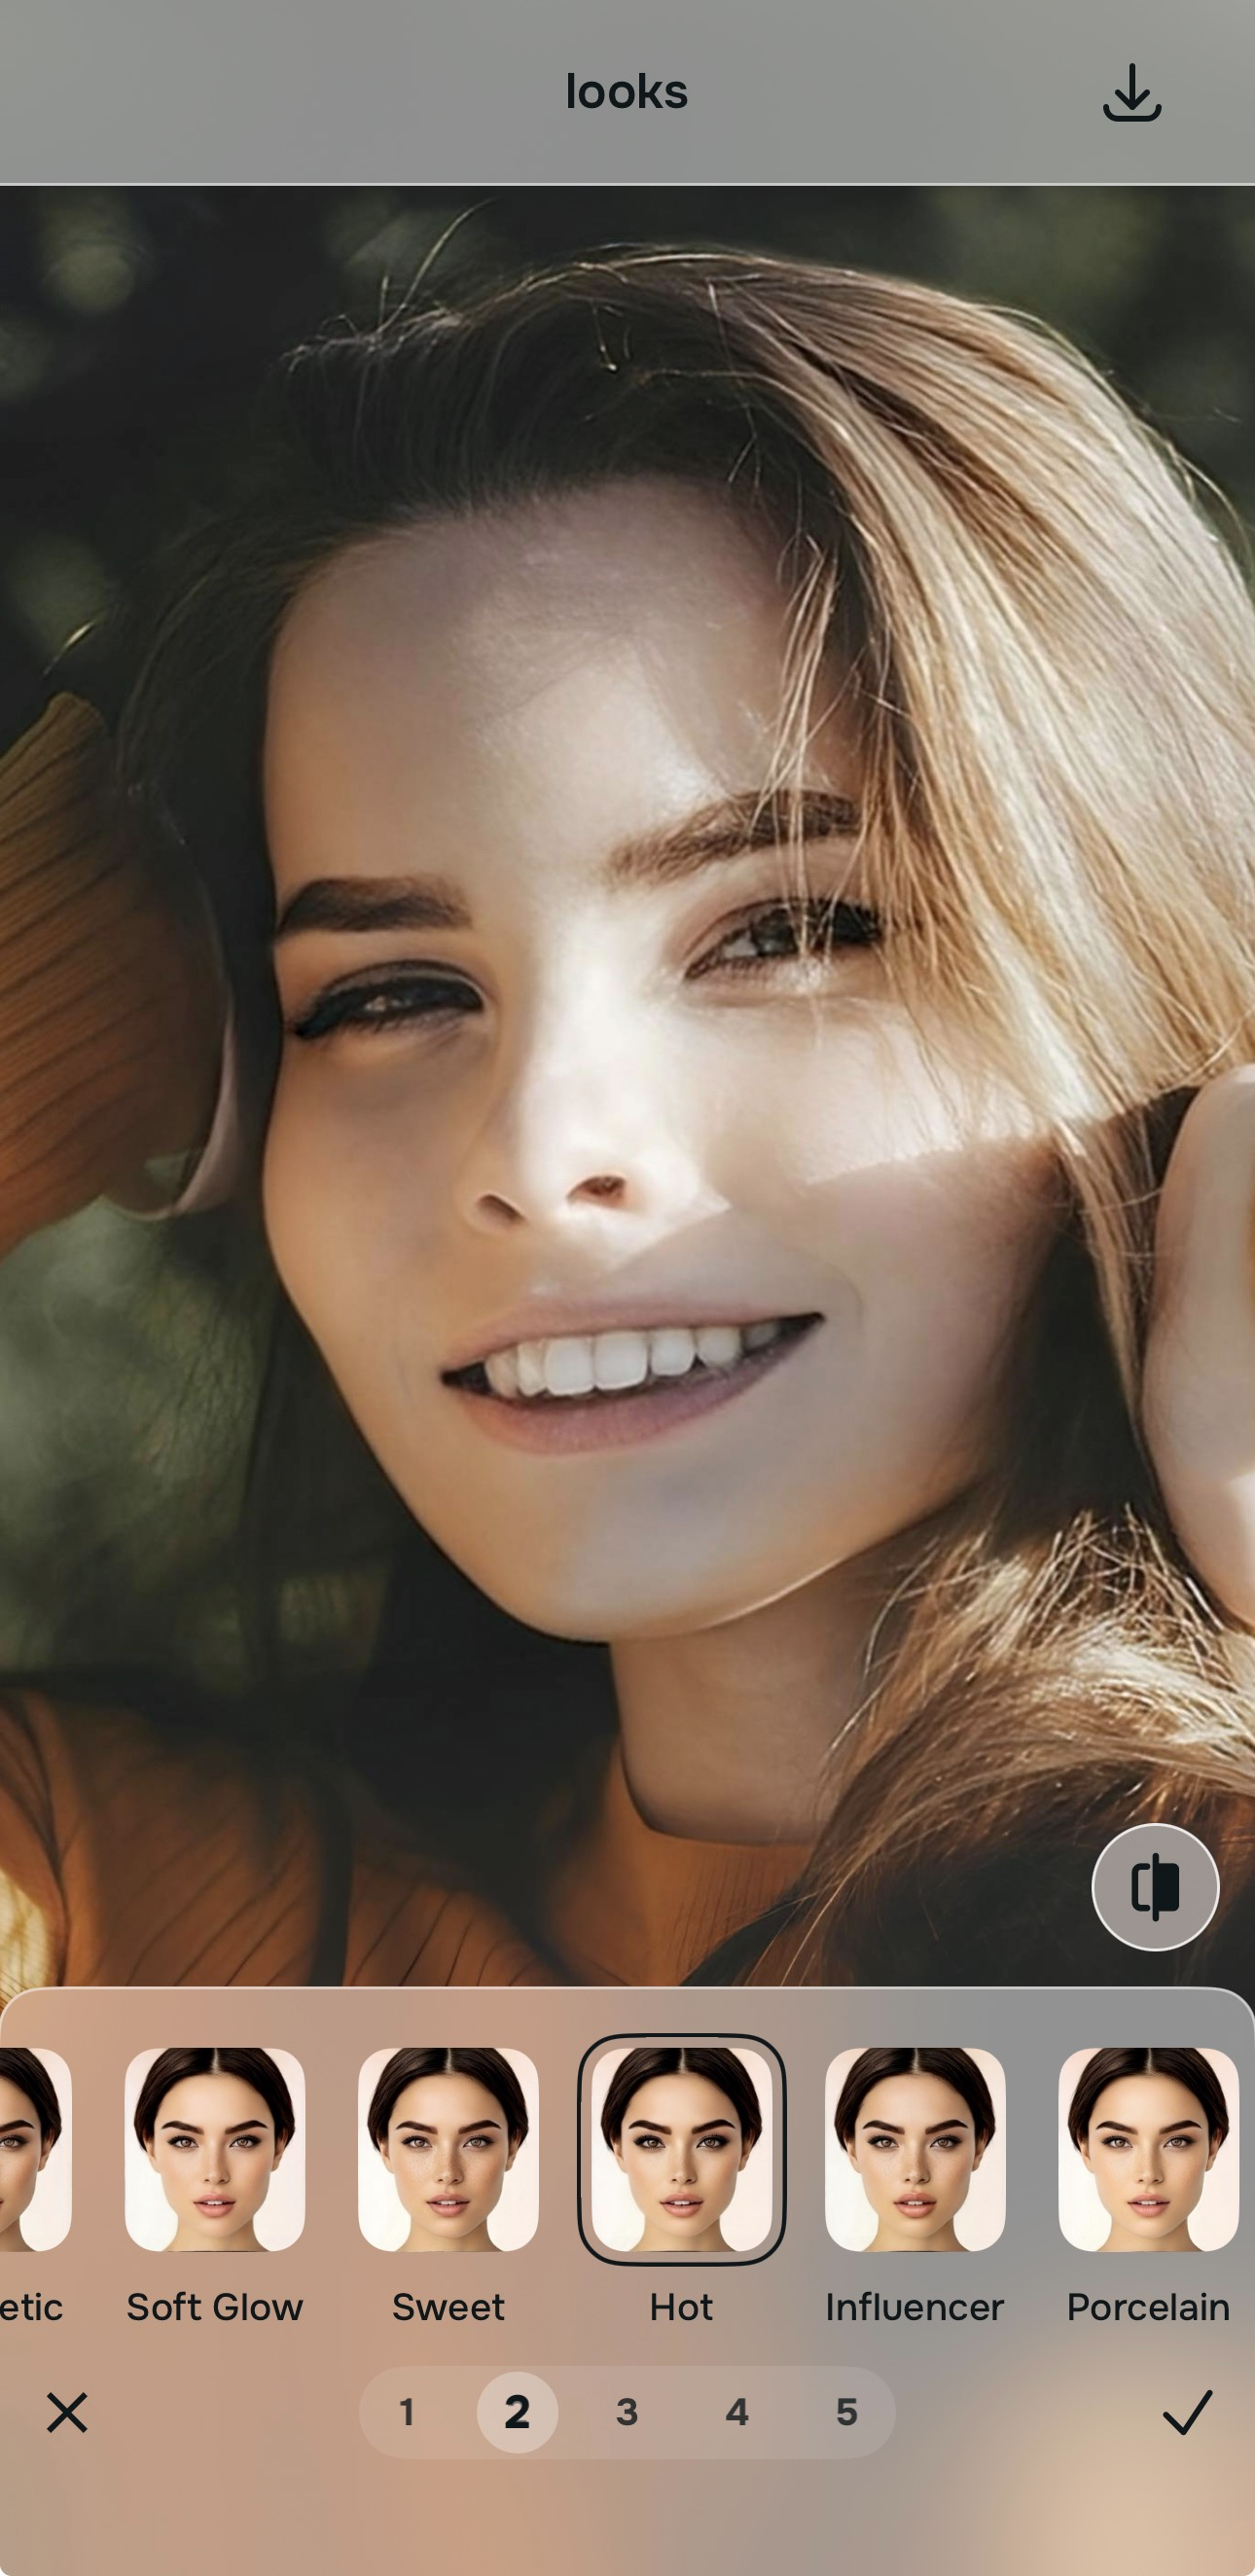
Use Looks when the selfie needs a better overall impression, then Face only if one detail still bothers you
If the selfie is technically better but still lacks charm, move into Looks. That is the right lane for an overall impression upgrade. When the whole vibe improves, many readers stop there.
If one detail still distracts you after that, then go into Face for a smaller correction such as No Eyebags or Slim Face. Readers who care about real-looking face enhancement usually get the best result by saving this step for last.
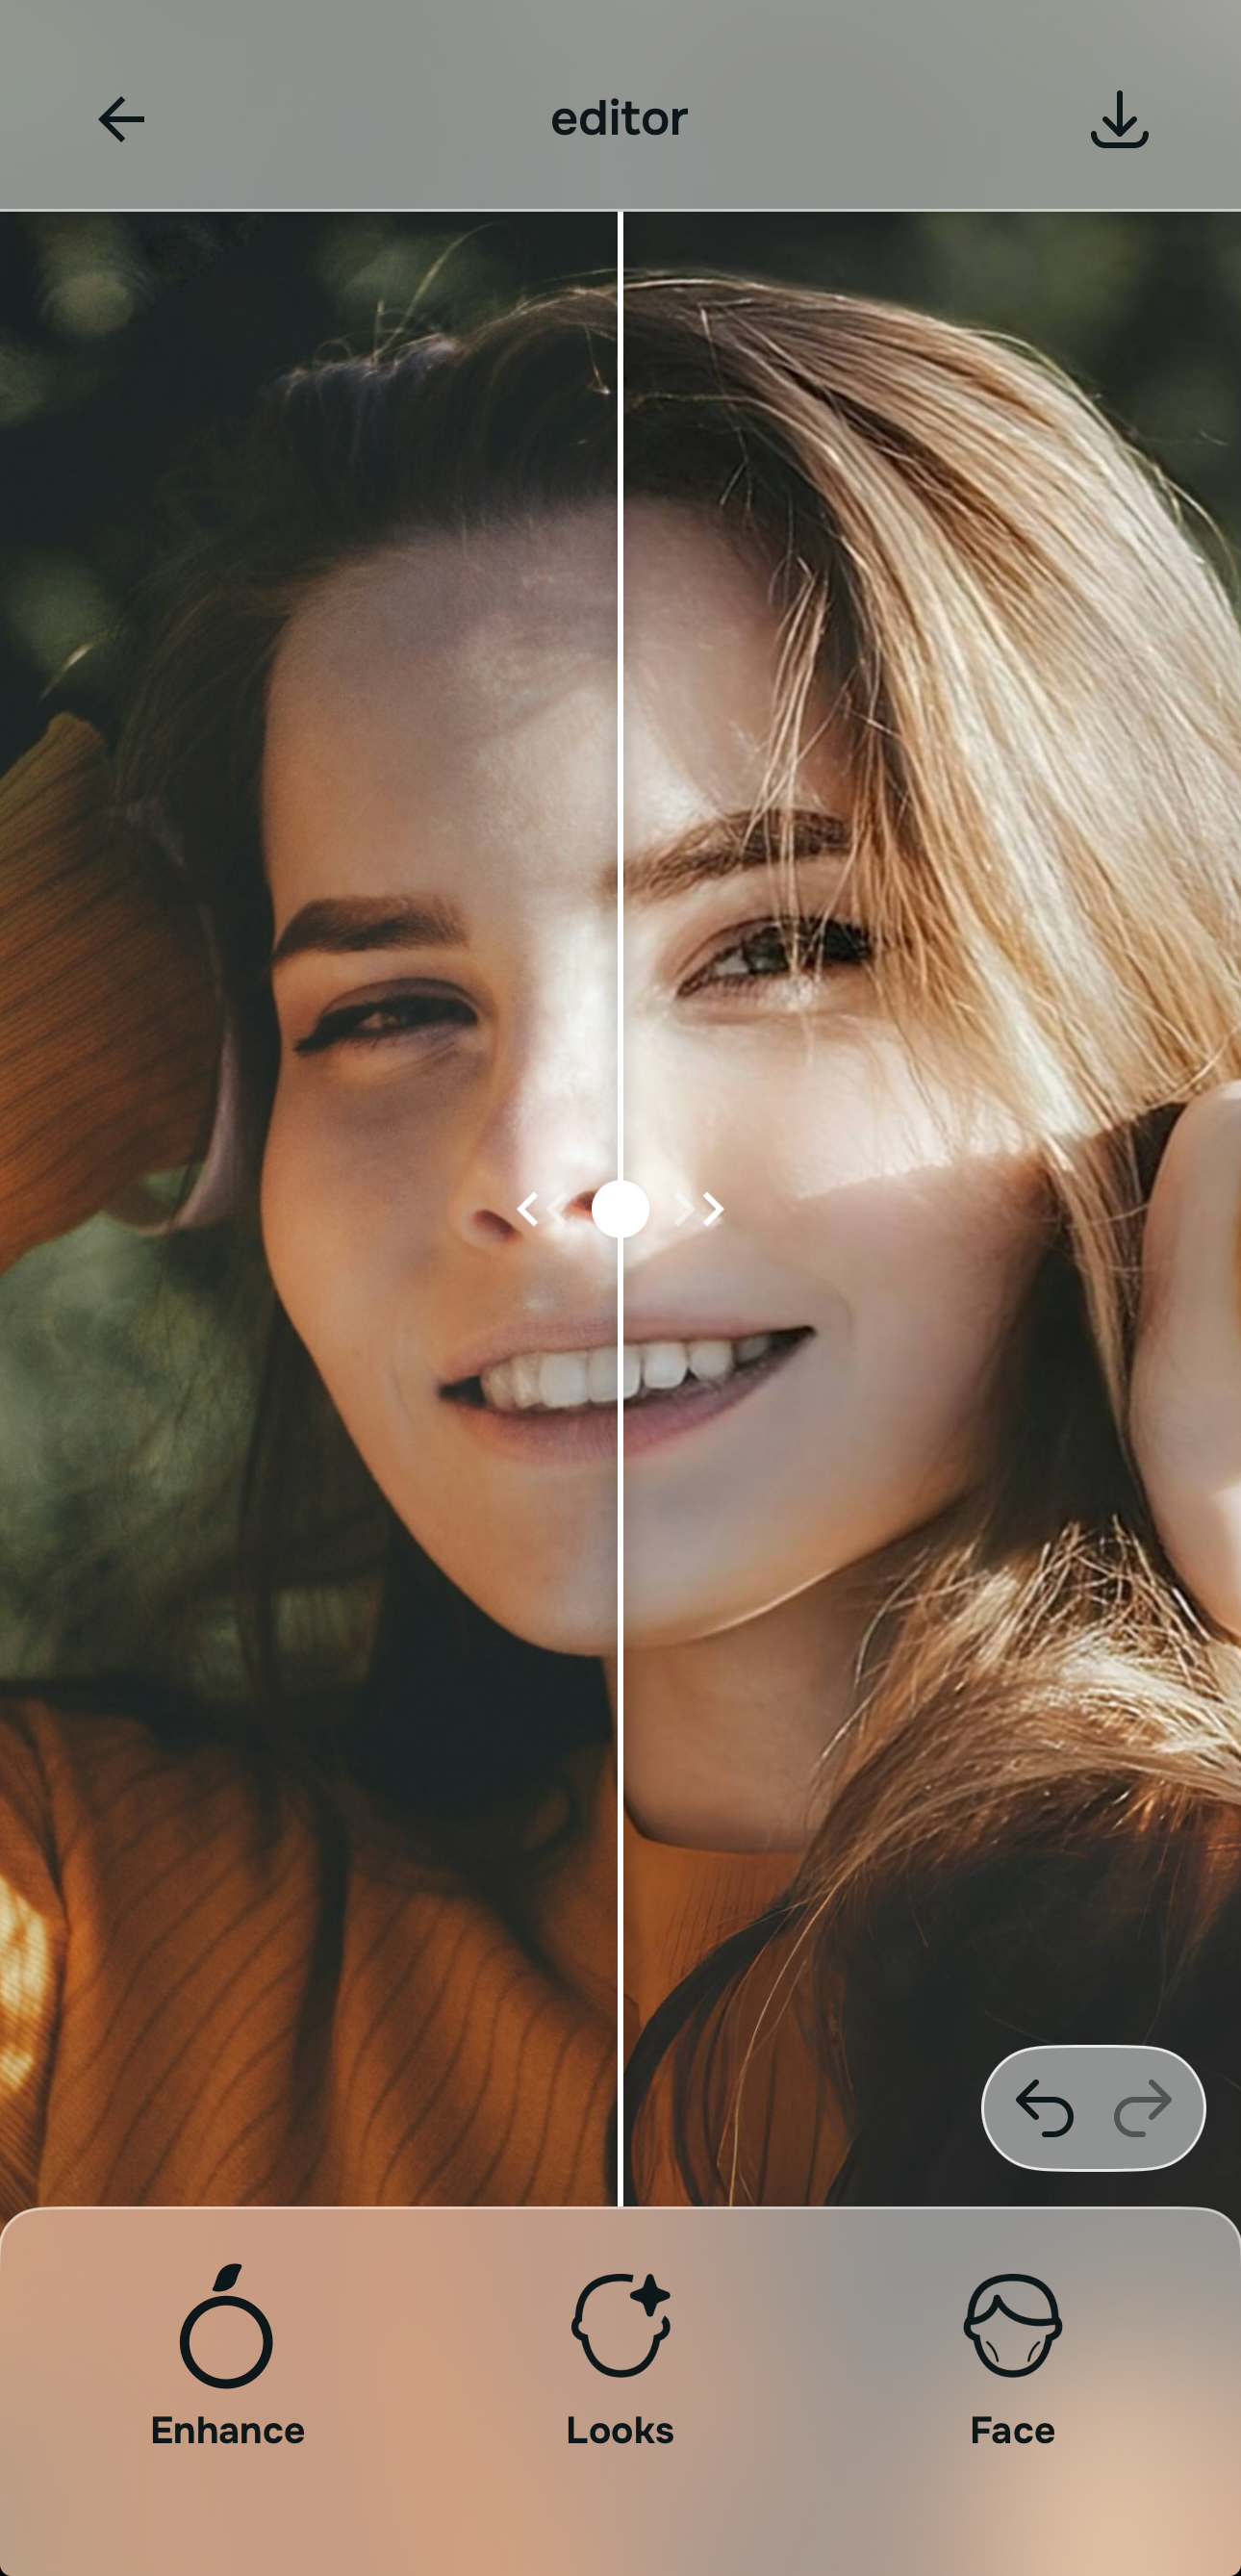
Compare the result against the original and keep the version that feels closest to real life
The test is simple. Does the selfie feel more like you on a better day, or less like you altogether? The right version should look clearer, more balanced, and easier to like without screaming that it was edited.
If the photo feels settled and believable, save it and stop. Better selfies come from restraint much more often than from endless tweaking.
Which Citrus tool does what for this kind of selfie
The easiest way to avoid overediting is to match the tool to the real problem. That keeps the workflow simple and stops you from chasing corrections the photo never needed.
| Tool | What it helps fix | When to use it |
|---|---|---|
| EnhanceStart here | Overall softness, weak light, dull color, low-energy selfie quality | Use this first when the whole photo feels wrong. Choose Colors & Lighting for balance and life, or Portrait Blur for a cleaner portrait look. |
| Looks | Selfies that are technically better but still need a stronger overall impression | Use this after Enhance when the photo needs a better finish without forcing one feature change. |
| Face | One specific distraction such as tired eyes, facial heaviness, or another localized issue | Use this last, after the overall image already looks better. It works best as a targeted correction, not the starting point. |
| Save | The point where the selfie already feels like a fairer version of reality | Use this sooner than you think. A grounded edit usually beats a fully maximized one. |
“The real shortcut is not learning pro software. It is knowing whether the selfie needs an overall fix, an impression upgrade, or one small correction.”
Why simple editing usually beats a complicated workflow
Photoshop is powerful. It is also the wrong emotional fit for most people standing in front of a disappointing selfie. They do not want to zoom into pores, build masks, paint highlights, or study retouching technique after work. They want the photo to stop looking less alive than the real moment did.
That is why simple structure matters more than maximum control. First improve the overall image. Then improve the overall impression. Then touch a specific feature only if it still feels necessary. That is a cleaner decision tree than most editing apps offer, and it is far closer to how real people actually think when they are trying to fix a photo fast.
It also protects the result. When people edit too early at the face level, they often end up solving the wrong problem. A selfie can seem unflattering simply because the quality is weak. Once the base improves, the face often looks better on its own.