

April 30, 2026
How to Make Eyes Look Bigger in Pictures Without Looking Unreal


How to Make Eyes Look Bigger in Pictures Without Looking Unreal
Eyes can look smaller in photos for reasons that have nothing to do with your actual face. Flat front-camera processing, weak indoor light, tired under-eye shadows, and bad timing can all make the eye area lose presence. That is why a natural fix works better than a dramatic one. The goal is not cartoon eyes. The goal is a photo where your eyes feel more awake, open, and true to real life.
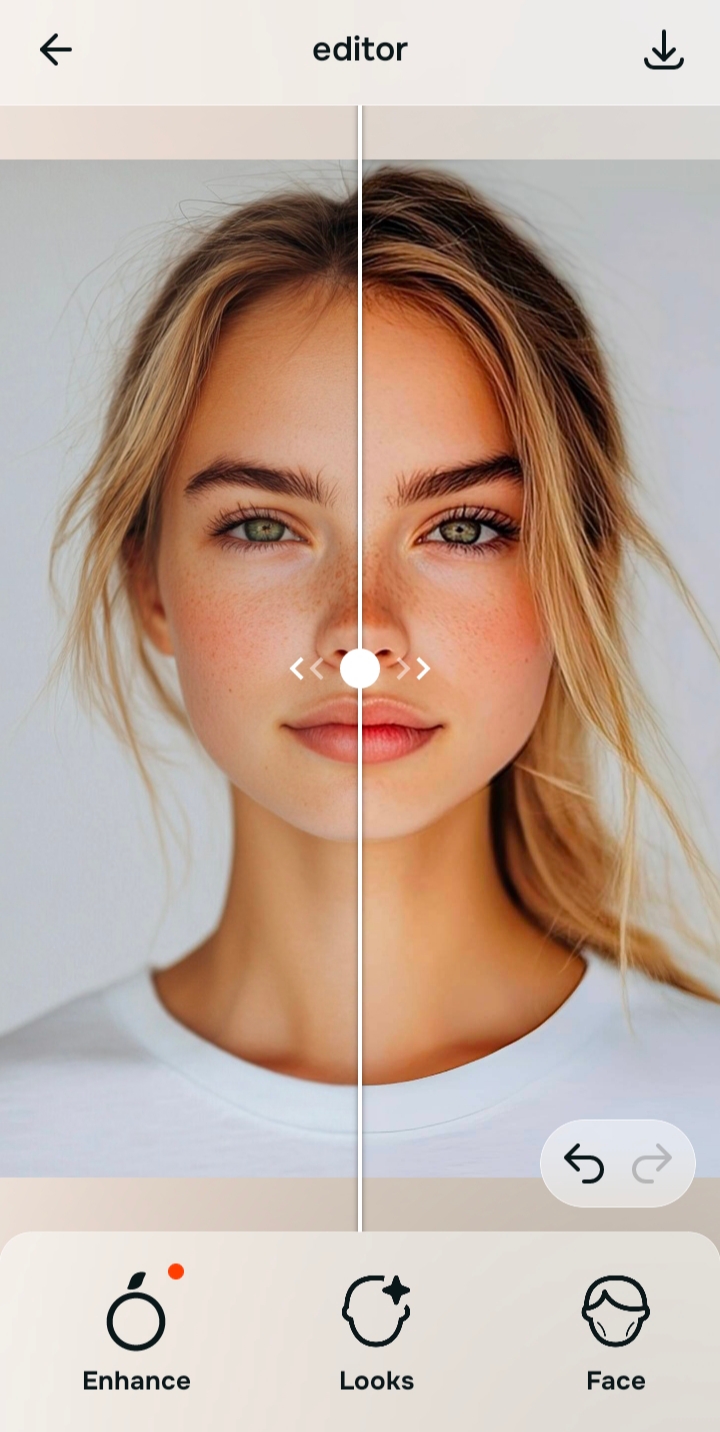
If you want eyes to look bigger in pictures without the photo turning strange, fix the image before forcing the feature. In Citrus, that usually means checking the instant preview, using Enhance if the whole photo feels flat or dull, and then using Face > Big Eyes only when the eyes themselves still read smaller than real life. The strongest result usually comes from a light correction, a quick comparison, and stopping early.
Most bad eye edits fail because they treat eye size as the whole problem. In real photos, the eye area often looks smaller because the image is dim, the skin around it looks heavy, or the selfie flattened all the structure that made your expression feel alive. Natural-looking enhancement starts with reading the photo correctly.
When an eye edit looks fake, the photo usually needed a different fix first
If the whole image is soft, dull, low-energy, or harshly lit, making the eyes bigger first tends to make the result feel processed. That is why so many edits look technically obvious even when the change itself is small. The eye area sits inside the whole face. If the full image still looks wrong, the viewer notices the editing before they notice the improvement.
- Smoothing that wipes away texture around the eyes instead of improving the actual picture
- Using a bigger-eye effect on a dark, flat, low-detail selfie
- Applying beauty presets that quietly change several features at once
- Pushing size too far until the face stops feeling proportionate
- Correcting overall image quality first when the whole photo feels off
- Using a targeted eye edit only after the photo already looks cleaner and more alive
- Keeping natural texture, proportion, and facial balance fully intact
- Stopping once the eyes look more awake, not obviously edited
The eye area responds best to restraint. Sometimes better light and better balance already do half the work. That is the same logic behind face enhancement that still looks real. A believable edit makes the photo feel healthier. It does not advertise itself.
Open a photo and test the lightest correction that works. A better result usually comes from the right path, not a stronger effect.
How to make eyes look bigger in pictures in Citrus
Choose the photo where the eyes felt smaller than they should
Start with the photo that disappointed you, not the one that already looked good. The best test image is usually the selfie where the eyes got flattened by the front camera, lost shape in weak indoor lighting, or looked less expressive than they did in the mirror.
If your real goal is simply to get a better-looking selfie without a full manual edit, this first choice matters. The strongest workflow starts with the image that actually needs help.
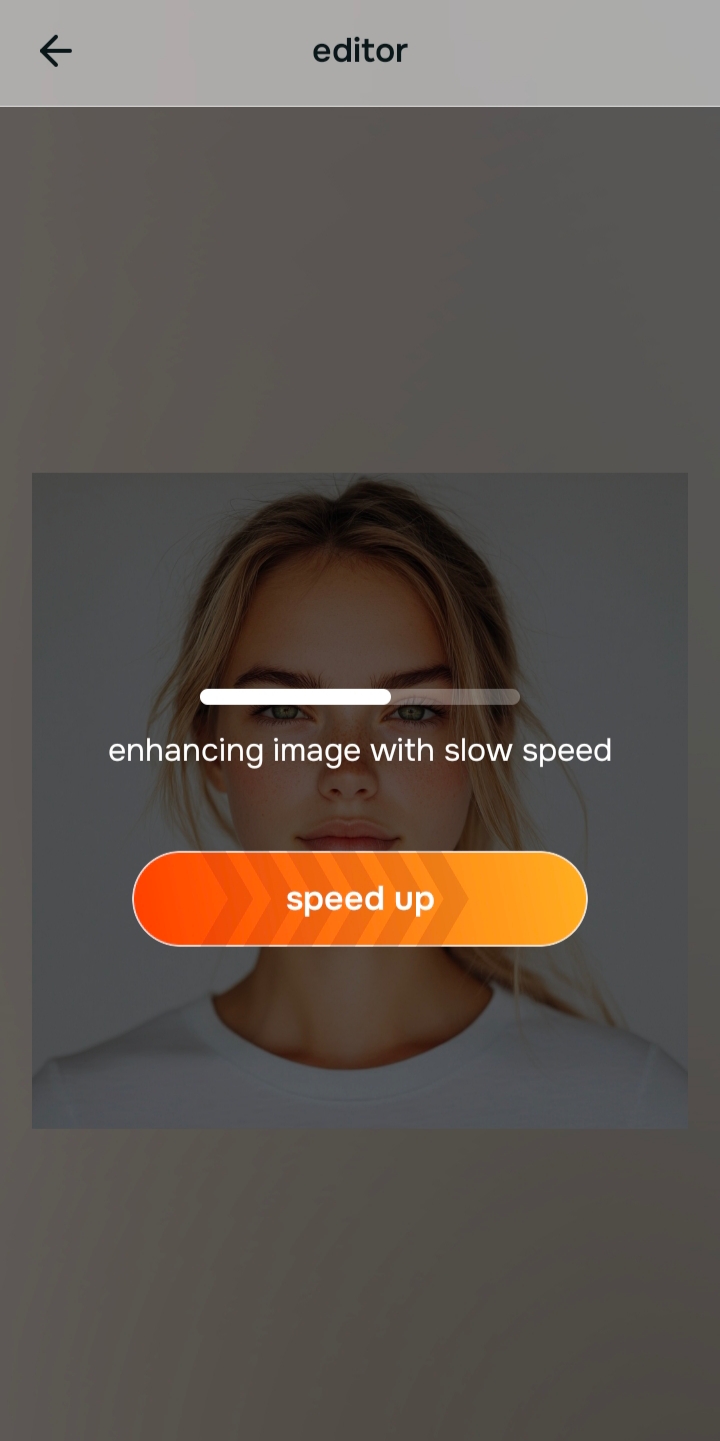
Let the instant preview load before touching the eye area
Citrus gives you a first correction immediately. That matters because sometimes the eyes do not need a size change as much as the whole photo needs better balance. Cleaner light, more life in the image, and less muddiness around the face can already make the eyes feel more visible.
This is why many people get better results from a natural-looking photo enhancer than from a tool that jumps straight into beauty edits.
Decide whether the problem is overall quality, overall impression, or the eye area itself
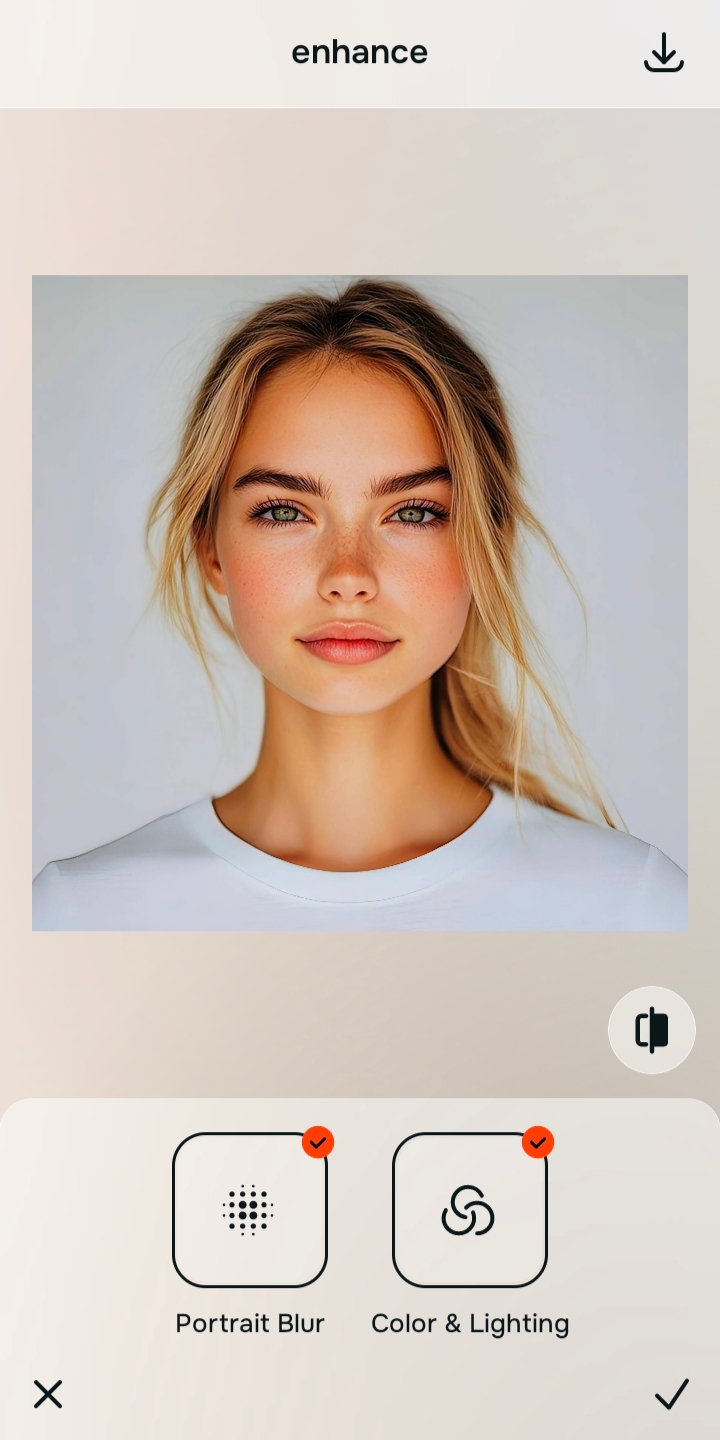
If the whole photo looks dim, soft, or low-detail, start with Enhance. If the selfie already looks technically fine but still feels plain, use Looks. If the photo is good overall and the eyes still feel smaller than real life, that is when Face becomes the right path.

Citrus is available on web, Google Play, and the App Store. You can check the preview, pick the correct path, and keep the correction light from the start.
That small diagnosis step is what stops the photo from drifting into the kind of processed finish people complain about in overprocessed beauty editors.
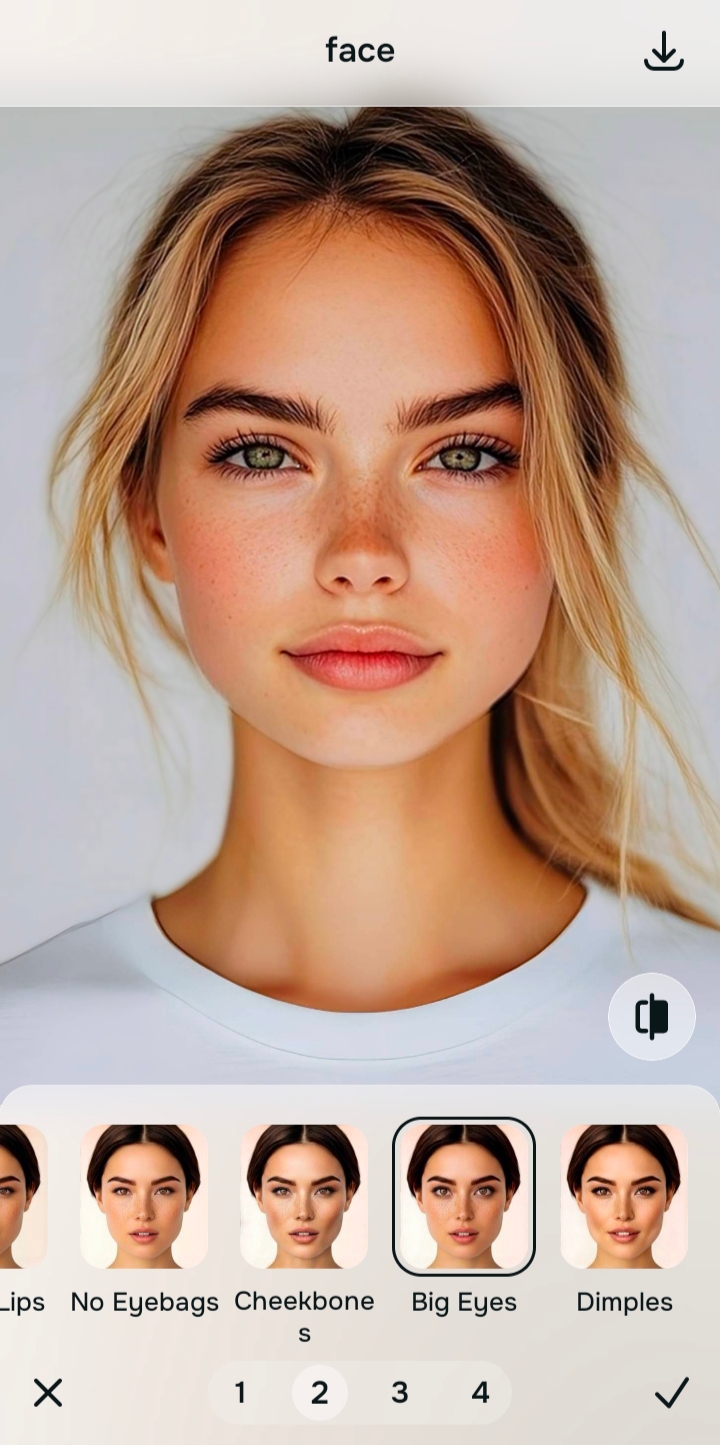
Use the right path, then choose Face > Big Eyes only if it is still needed
If the whole image is flat or lifeless, go to Enhance and use Colors & Lighting first. If the portrait separation looks weak and the face needs cleaner depth, test Portrait Blur. If the selfie is already fine but the overall impression still feels underwhelming, try Looks before doing anything else.
Then, only if the eyes still read smaller than real life, go to Face > Big Eyes. That is the direct Citrus path for this problem. Keep it light. The cleanest result usually comes from making the eyes look a little more present, not substantially larger.
Compare, keep the version that still feels like you, and save it
The best version is the one where the eyes feel more awake and expressive while the face still reads as fully yours. If the edit starts pulling attention to itself, back it off. That is usually the line between flattering and fake.
This same restraint is what helps across other subtle face fixes too, whether someone is trying to unblur a face, reduce heaviness under the eyes, or correct the way a lens flattened their features. A believable result depends on stopping at the right moment.
What is the real reason your eyes look smaller in pictures?
Pick the one that sounds closest. The best path inside Citrus changes depending on whether the issue is overall quality, overall impression, or one specific face detail.
Which Citrus tool does what when your eyes look too small in pictures
The easiest way to stay natural is to match the tool to the actual problem. Enhance fixes the whole photo, Looks improves the overall impression, and Face handles a specific correction when that is what the image still needs.
| Tool | What it helps fix | When to use it |
|---|---|---|
| EnhanceStart here | Overall softness, weak light, dull color, or a portrait that needs cleaner subject separation | Use this first when the whole image feels wrong. Choose Colors & Lighting for balance and life, or Portrait Blur for a cleaner portrait finish. |
| Looks | A selfie that is technically better already but still needs a stronger overall impression | Use this when the face does not need a precise correction yet, but the image still feels plain and could benefit from a more polished overall finish. |
| Face | One specific issue in the face, such as eyes that still look smaller than real life | Use this last, after the photo itself already looks better. For this topic, the direct path is Face > Big Eyes. |
“Bigger-looking eyes work best when the edit helps the photo breathe. A believable result feels more awake, more balanced, and still fully yours.”
Why this works better than forcing a beauty edit
People usually want more open-looking eyes because they want the whole face to feel more alive. The mistake happens when that wish becomes a heavy feature edit. A stronger image almost always beats a stronger effect. Once the skin is calmer, the light is better, and the face is reading correctly, the eye area often needs much less intervention than people expect.
That is also why camera problems get mistaken for face problems so often. A front camera can flatten contour, indoor light can bury the upper eye area, and tired under-eyes can crowd the feature before you even start editing. Fixing the capture changes the way the eyes are perceived. The result feels more honest because it is solving what the lens exaggerated instead of inventing a new face. That same principle shows up in advice on why people look worse in photos than in the mirror.
When a tool respects that order, the eye edit becomes the finishing move instead of the whole strategy. That is why a natural approach also overlaps with what people want from an AI selfie enhancer. They are not asking for a different face. They are asking for the version of the photo that the camera failed to capture cleanly in the first place.