

May 3, 2026
How to Make a Photo Look Better in Under 10 Seconds


How to Make a Photo Look Better in Under 10 Seconds Without Fake Filters
Nobody wants to spend twenty minutes manually adjusting complex sliders just to post a selfie. You simply want to elevate the image instantly. The biggest mistake is slapping a heavy, global preset over the entire picture, which ruins your natural skin texture and washes out the colors. The real secret to a stunning photo is knowing how to apply a single, targeted enhancement that lifts your features gracefully.
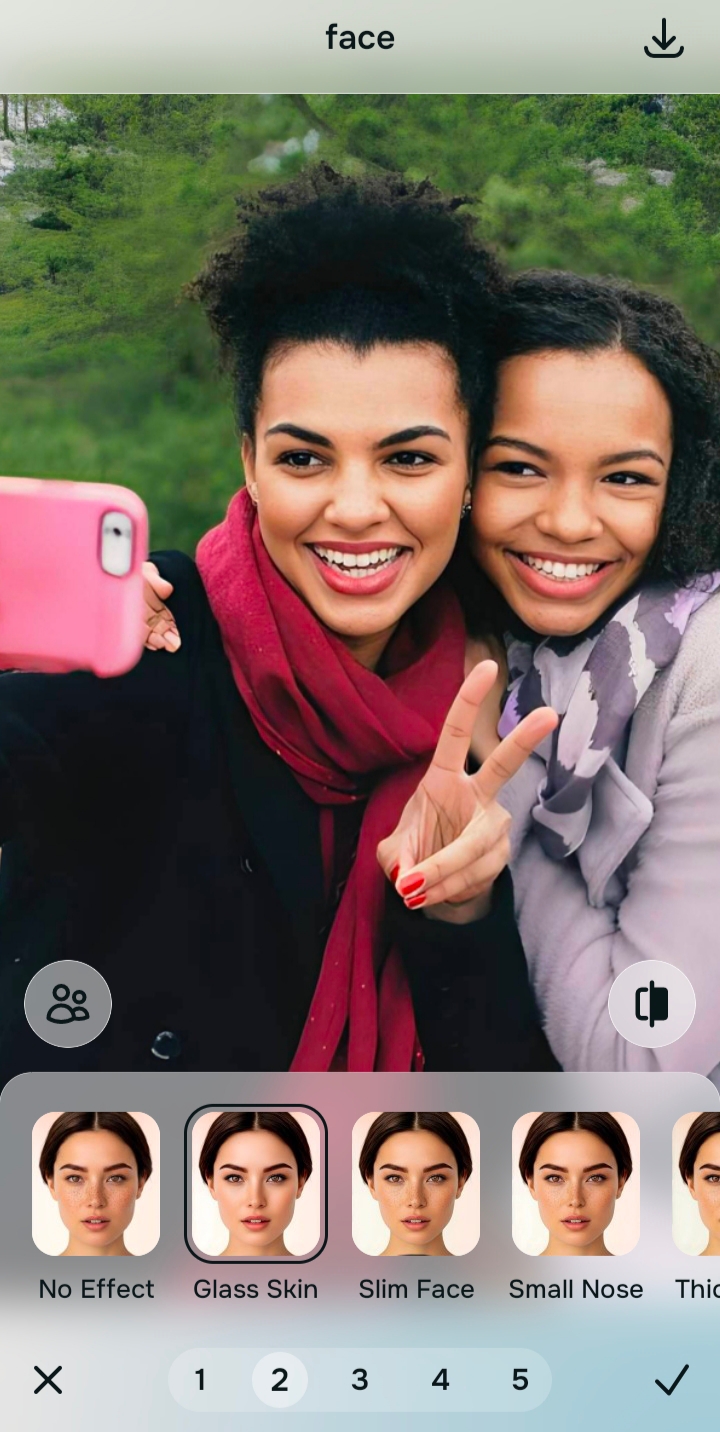
To make a photo look better instantly, avoid global blur and use a targeted facial highlight. In Citrus, navigate directly to Face > Glass Skin. This one-tap filter specifically adds a healthy, realistic glow to your high points without distorting your anatomy. Only use the Enhance tab first if the image is extremely dark.
Standard editors force you to either leave the photo dull or completely obliterate your identity. If you want to avoid the fake filter look quickly, you have to stop blurring your entire image. You need an approach that focuses exactly on what makes a face look fresh and awake.
Why manual editing apps waste your time and ruin your pictures
When people try to improve an image quickly, they often panic and use aggressive automated tools. Finding an ai face enhancer that still looks real is the ultimate time saver because true enhancement respects the structure of your original capture rather than pasting a generic digital mask over it.
- Tweaking fifteen different color sliders blindly
- Losing all natural skin texture to heavy blurring
- Applying extreme presets that make you look plastic
- Wasting ten minutes only to hate the final result
- Using one targeted filter that highlights the high points
- Preserving your exact natural anatomy and pores
- Achieving an instant healthy glow in a single tap
- Saving the image quickly while it still feels authentic
If your final image looks flawless but entirely unrecognizable, the edit failed. A dedicated ai selfie enhancer for better-looking photos will process the baseline properly, allowing you to skip straight to the finishing touches.
Add a flawless finish in one tap. A smart edit keeps reality intact.
How to instantly upgrade your photo in 5 simple steps
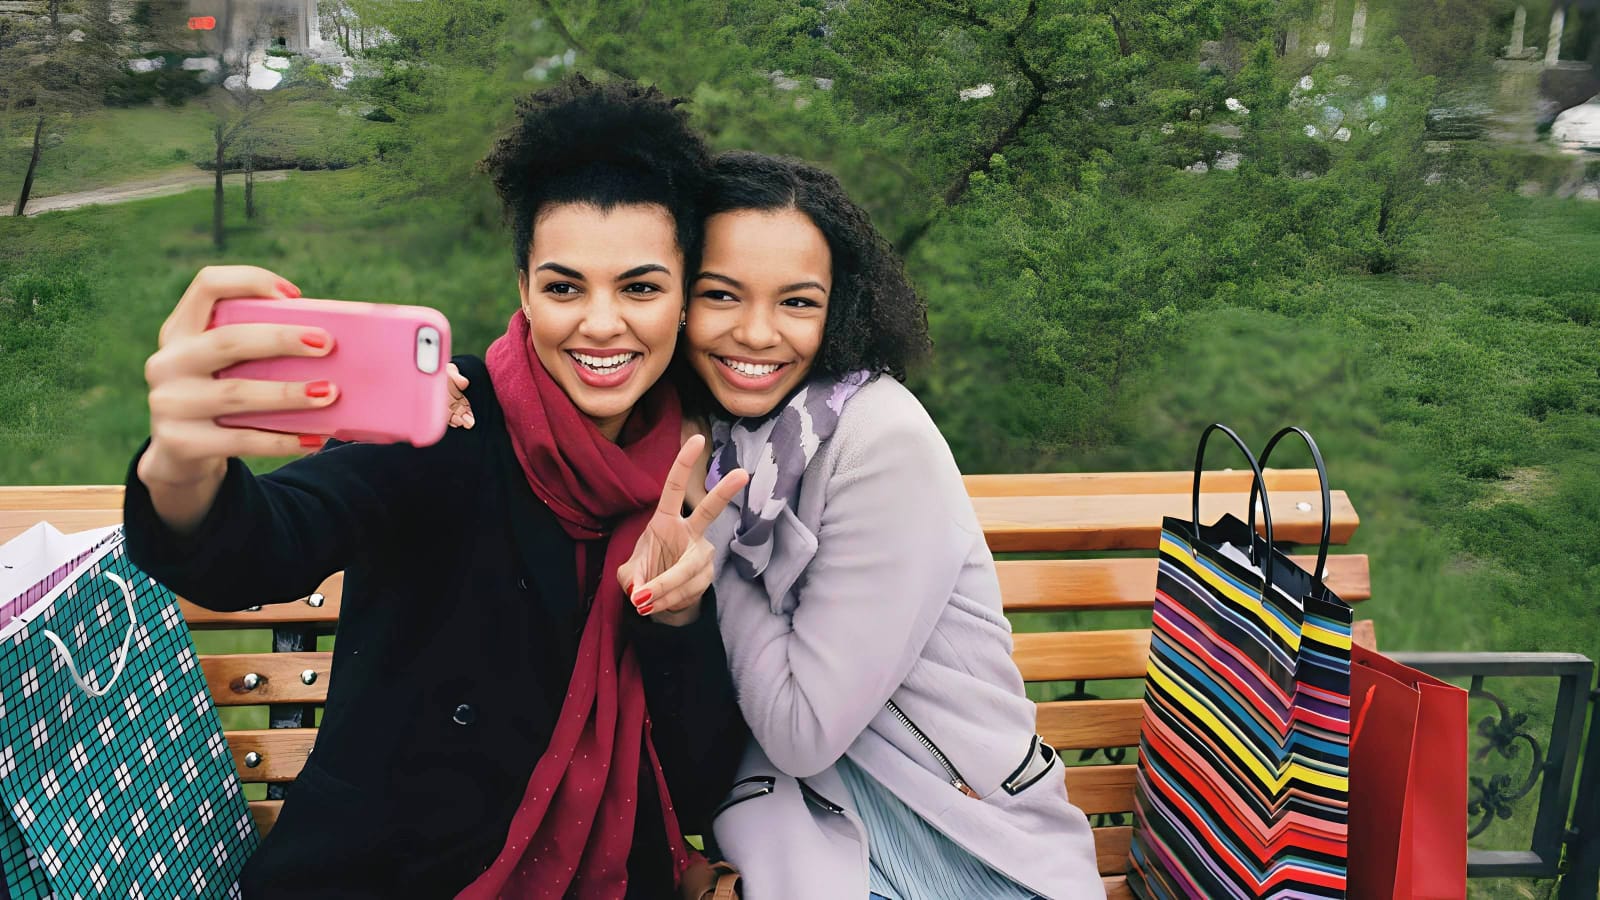
Select a photo that feels a little flat
Find the picture where you like your expression, but the camera failed to capture any energy. You do not need to sit through complex tutorials to fix this. It is about applying the right targeted effect to bring the image to life instantly.

Let the instant preview analyze the baseline
Citrus provides a first correction immediately. This is crucial because it checks if the underlying exposure is fundamentally broken. Let the software read the environment so you do not waste time adjusting sliders manually.
Use Enhance only if the overall lighting is broken
You only need to tap Enhance > Colors & Lighting if the entire picture is aggressively dark or muddy. If the room looks okay, you can skip this completely. By respecting the correct workflow, you can easily make your nose look smaller in photos later simply by utilizing the correct natural highlights rather than extreme morphing.

Only fix the foundation if the room is actively ruining the shot. Otherwise, jump straight to the specific feature fix.

The 10-second hack: Apply Face → Glass Skin
If your goal is to get glass skin in photos instantly, this targeted one-tap filter is the secret. Navigate to Face and tap Glass Skin. Instead of blurring the whole image, this adds a realistic, hydrated reflection precisely where the light would naturally hit your cheekbones. Or, if you just need to remove eye bags from photos naturally, switch to that specific feature for a rapid fix.
Save the photo while it still looks natural
The ultimate test is believability. Does it look like you simply stood in better light? If the vibe feels clean and true to life, save the photo immediately. Do not overthink the edit.
Why does your photo need a quick fix?
Choose the description that fits best. Your starting point changes depending on what is actually bothering you about the original shot.
Which Citrus tool upgrades your image instantly
Different editing needs require entirely different tools. The goal is to avoid tedious manual editing by matching the right tool to your actual intention. This keeps the workflow incredibly fast.
| Tool | What it helps fix | When to use it |
|---|---|---|
| Enhance Start here | Overall darkness, weak light, muddy shadows, low-energy image quality | Use this first when the whole photo feels badly lit. Choose Colors & Lighting to restore contrast before anything else. |
| Looks | Photos that are exposed okay but need a stronger, prettier overall impression | Use this when the real issue is just a dull vibe. Options like Glaze or Soft Glow add a beautiful finish to the entire face. |
| Face | One specific distraction such as dry skin, missing hydration, or heavy shadows | Use this when the lighting is fine but you need a targeted upgrade. Face → Glass Skin provides the ultimate 10-second glow. |
“The fastest way to improve an image is not by altering every detail, but by targeting the single feature that brings the face to life.”
Why a targeted facial highlight beats global image brightening
There is a massive difference between adding a healthy glow and completely washing out the background. When you start pulling generic brightness sliders, you destroy the natural contrast of the scene. You lose the shadows that make the photo feel real.
Real quality comes from softening the harsh effects of the camera lens while leaving the background alone. When analyzing natural photo enhancers which looks more real, the winner is always the tool that isolates the subject. The best edits give you an instant, polished highlight without requiring you to sacrifice the integrity of the room.