

April 18, 2026
How to Get Glass Skin in Photos Without Over-Smoothing


How to Get Glass Skin in Photos Without Over-Smoothing
The glass skin trend is everywhere. Everyone wants that highly hydrated, softly reflective complexion that looks incredibly healthy. The frustration hits when you try to capture it in a picture. Most editing apps do not understand hydration. They simply blur your face until your pores vanish and your features flatten out entirely. A beautiful result requires adding a dewy highlight while strictly preserving your natural texture.
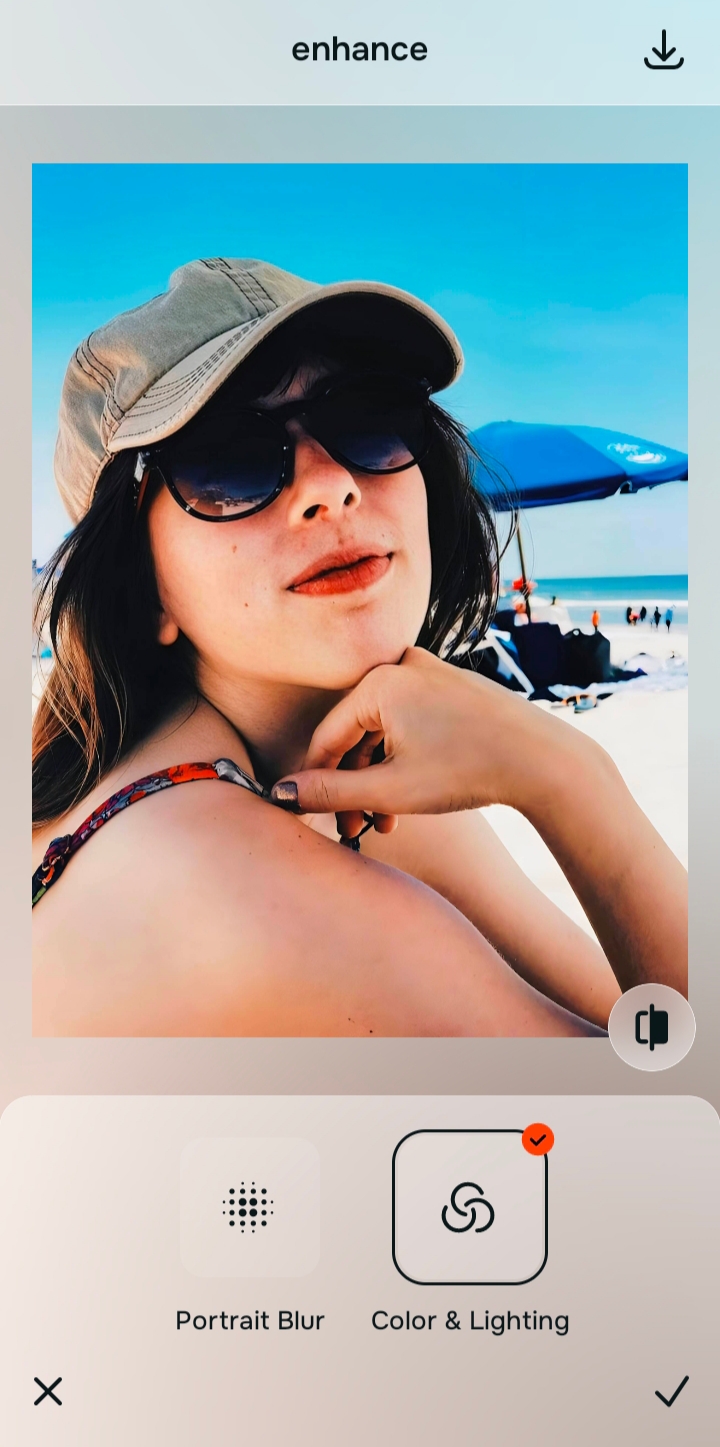
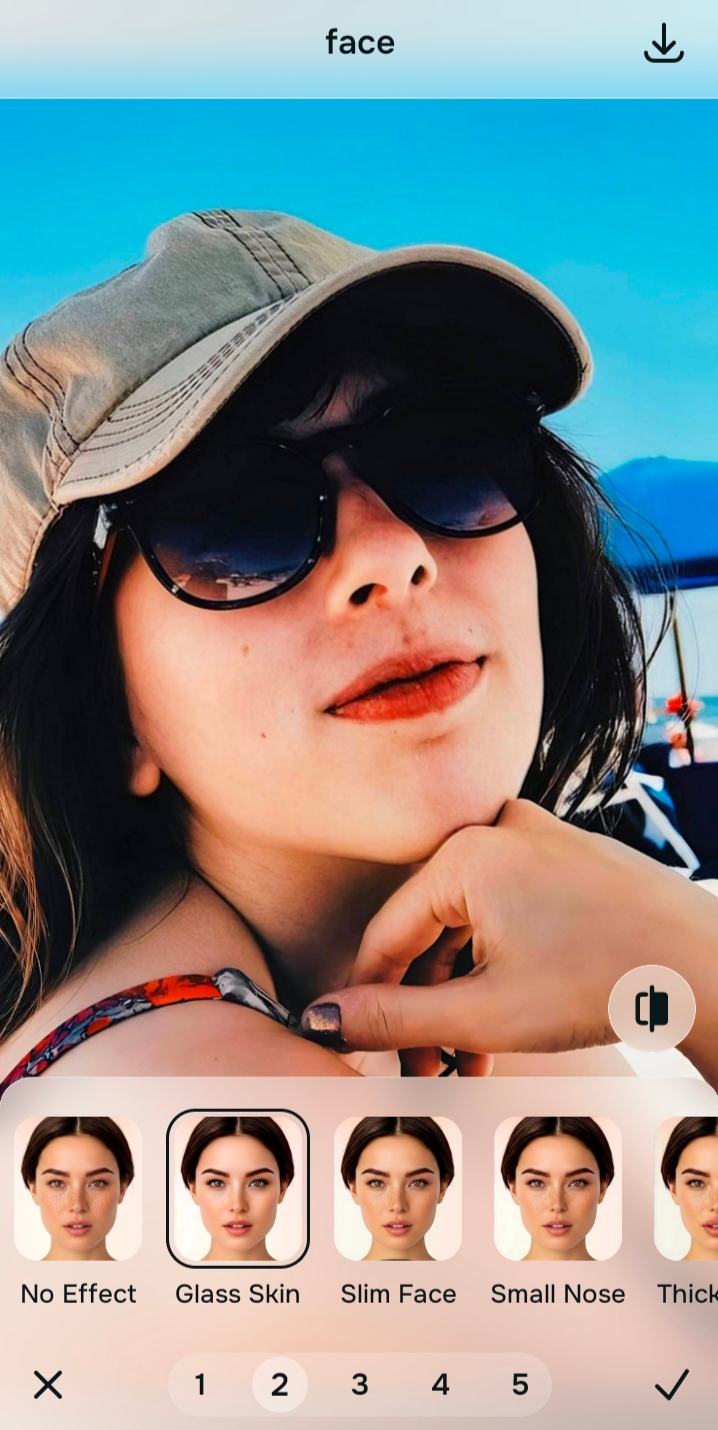
To get glass skin without looking like a wax figure, you must use a tool that targets highlights instead of blurring the entire face. Using Citrus - 1 tap photo enhancer, navigate directly to Face → Glass Skin. This specific feature adds a healthy reflection while leaving your real pores visible. If the whole photo is dark or muddy, use Enhance → Colors & Lighting to fix the room before touching your face.
The core problem is that standard photo editors rely on cheap, aggressive algorithms. When they try to make your skin look "perfect," they erase all depth and character. If your picture is muddy from the start, you will need to clear up the overall blur and grain before any facial adjustments can look believable.
True glass skin relies on light bouncing off a moisturized surface. It requires contrast. If an app smears all the colors of your cheek together to hide a tiny blemish, you lose the exact reflection that makes the look so attractive.
Why standard beauty filters ruin the glass skin aesthetic
People edit their photos because they want to look radiantly healthy. Unfortunately, poorly designed tools mistake "healthy" for "featureless." To ensure you get natural-looking results, true beauty editing must respect the structure of your actual face.
- Melting pores away until the skin looks like smooth plastic
- Flattening the nose and cheekbones by erasing natural shadows
- Creating a dry, waxy finish instead of a wet, hydrated glow
- Making the face feel entirely disconnected from the background
- Targeting the high points of the face for a reflective shine
- Leaving tiny skin textures intact so the photo feels real
- Balancing the overall light before forcing a glow onto the skin
- Building a hydrated finish that matches the vibe of the room
If your skin looks incredibly smooth but completely matte, you missed the trend. Real radiance always demands a gentle touch and the right sequence of adjustments. It is much easier to achieve this when using an AI face enhancer that still looks real rather than relying on a generic social media filter.
Add genuine hydration without losing your pores. A smart edit keeps reality intact.
How to achieve a hydrated look in 5 careful steps
Choose a photo where your skin looks dull, dry, or flat
Find the picture where the lighting robbed your face of its natural life. Indoor lighting is notorious for this. It swallows the oils on your skin and leaves behind a matte, grayish cast. You do not need a perfect selfie to start. You simply need a photo where you desperately want to restore that fresh, healthy energy.

Evaluate the overall lighting before touching your face
When the app builds its initial preview, take a hard look at the whole picture. If the entire room is dark or the contrast is incredibly weak, do not jump straight to skin editing. You cannot put a brilliant highlight on a face that is hiding in shadows.
If the background and the face both look muddy, you will need to repair a soft or badly captured image before attempting to polish your skin texture.

Use Enhance and choose Colors & Lighting if the photo lacks energy
If the photo failed that initial lighting check, fix the foundation. Tap Enhance and select Colors & Lighting. This brings the baseline exposure up to a normal level. Using an intelligent selfie enhancer guarantees that the colors balance correctly.
By fixing the environment first, you prevent the skin edit from looking like a glowing sticker pasted onto a dark background. A natural glow always makes sense for the room it was taken in.

Always fix bad lighting before applying a glow. Use the Enhance options to rescue a muddy picture first.
Apply Face → Glass Skin for a targeted, dewy highlight
Once the picture is properly lit, you can address the actual texture. Navigate directly to Face and tap Glass Skin. This tool specifically targets the cheekbones, nose bridge, and forehead to add a clean, hydrated reflection. This targeted approach is the best way to recover facial details without overprocessing your entire portrait.
Stop when you look intensely hydrated, not heavily painted
The ultimate test is believability. Does your skin look like you just finished a highly effective skincare routine? If yes, save the photo immediately. If your nose seems to have lost its shape or you look like a cartoon, you have gone too far.
The best edit is the one that makes people ask for your skincare secrets, not the name of the editing app you used.

Why does your skin look bad in this specific picture?
Choose the description that fits best. Your starting point changes depending on whether you are fighting a dull camera capture or just a lack of finishing polish.
Which Citrus tool does what to give your face a better look
Different problems require entirely different tools. The goal is to get the best possible result by matching the tool to the actual problem. This keeps the workflow simple and prevents you from over-correcting issues that were not there.
| Tool | What it helps fix | When to use it |
|---|---|---|
| Enhance Start here | Overall softness, weak light, dull color, grain, low-energy image quality, weak portrait separation | Use this first when the whole photo feels wrong. Choose Colors & Lighting for balance and life, or Portrait Blur for a cleaner portrait look. |
| Looks | Photos that are technically better but still need a stronger overall impression | Use this after Enhance, or instead of Enhance when the real issue is not damage but a photo that still feels underwhelming. |
| Face | One specific distraction such as dry skin, missing hydration, or a lack of healthy reflection | Use this last, after the broader image already feels fair. It works best as a targeted correction, like Face → Glass Skin, not the starting point. |
“The most natural face edit is usually the one that fixes the photo first, improves the impression second, and touches one feature only if it still truly needs it.”
Why natural highlights beat global skin smoothing
There is a clear reason the over-smoothed look went out of style. It immediately signals insecurity. When you aggressively blur your face, the viewer instantly knows you hid something, which defeats the purpose of sharing a photograph in the first place.
Real confidence comes from enhancing the good parts of a capture. By using a tool that specifically adds hydration to the cheekbones while leaving the skin's natural topography alone, you create an image that feels both gorgeous and undeniably real. The goal is to correct the camera's inability to capture true light, not to give yourself digital plastic surgery. Anyone looking to elevate their pictures quickly should prioritize tools that focus on lighting over deletion.