


May 3, 2026
How to Make a Bumble Picture Look More Attractive

How to Make a Bumble Picture Look More Attractive
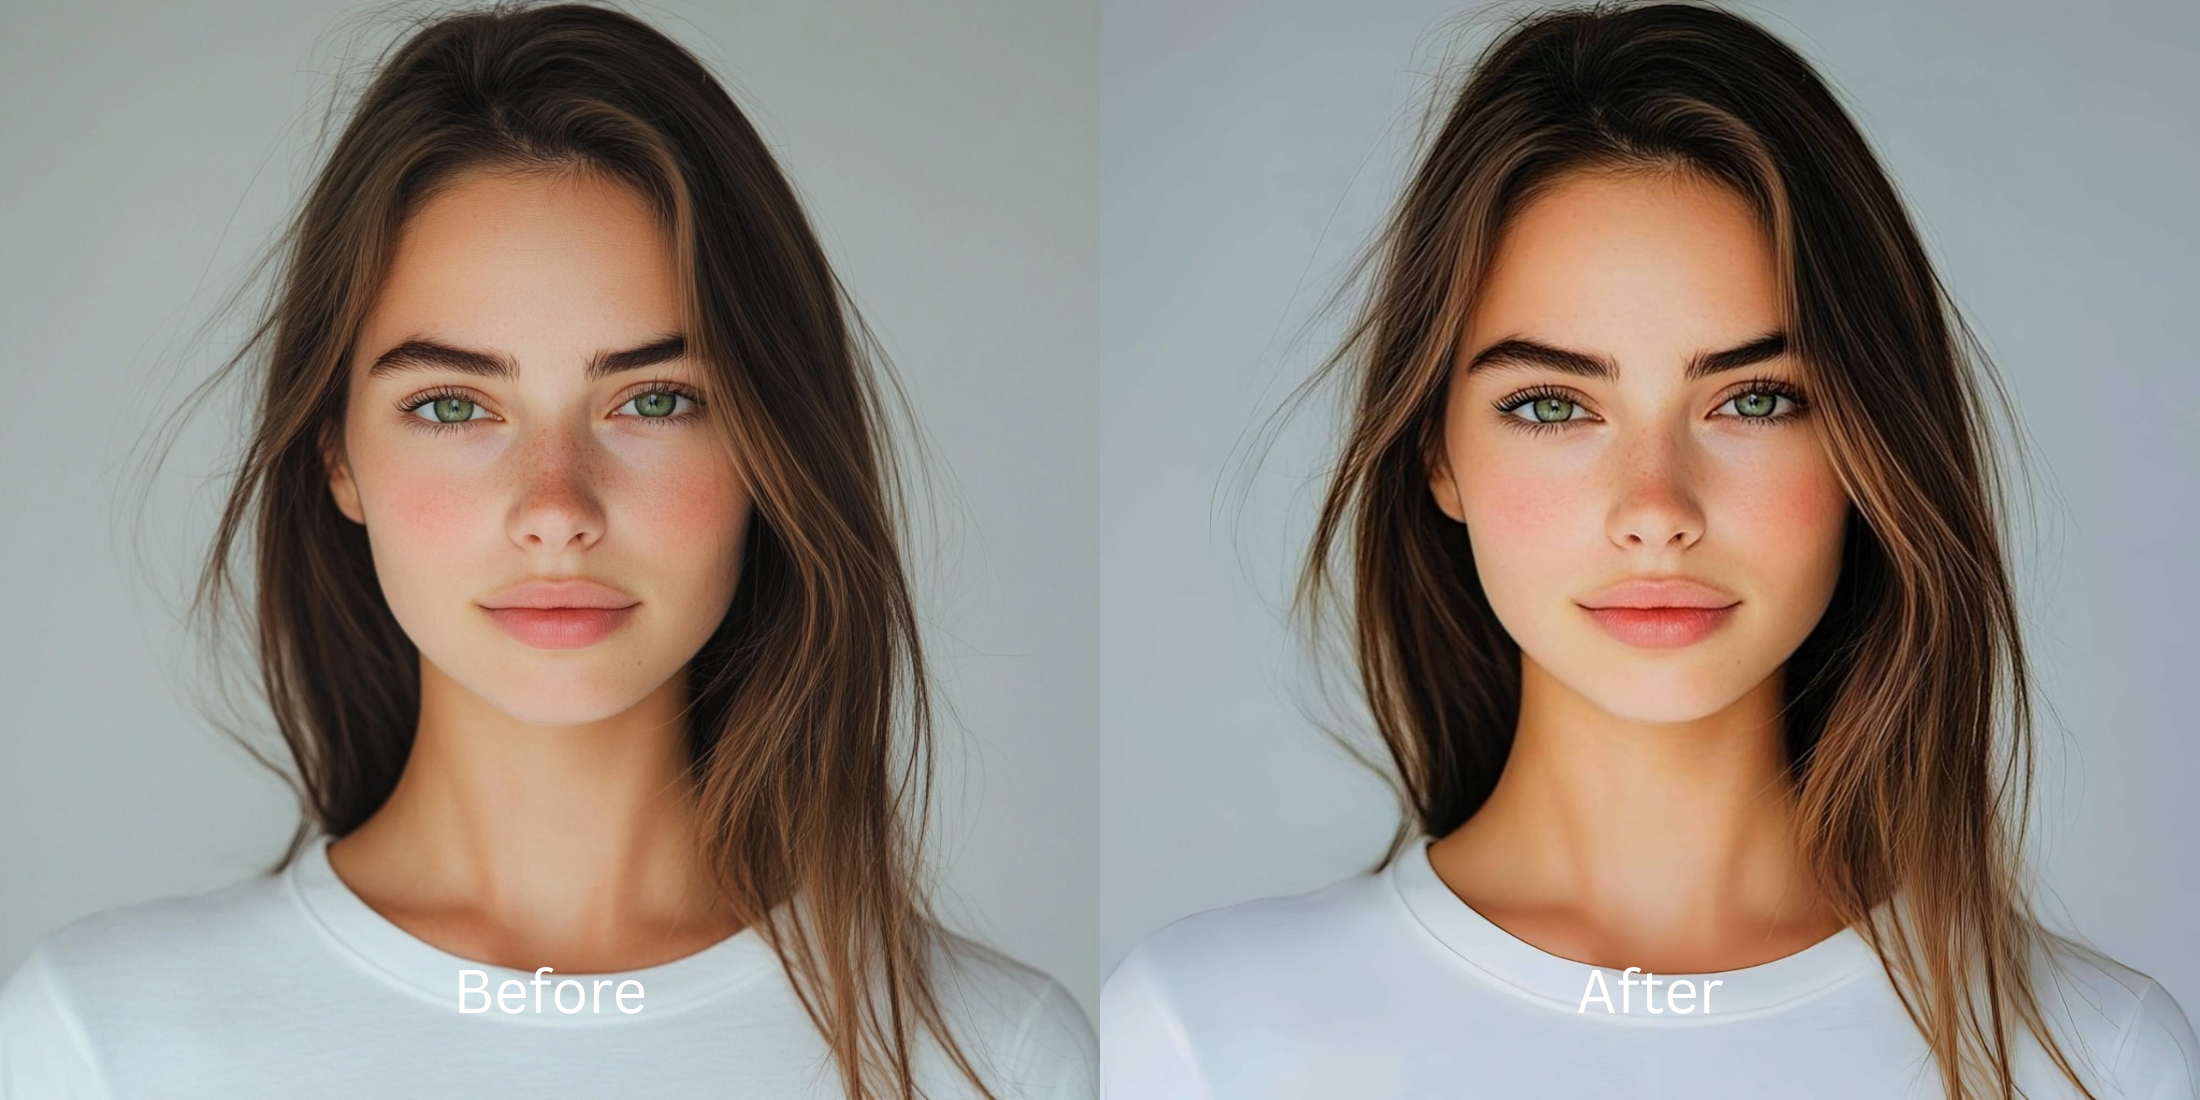
Bumble is highly competitive, and the algorithm favors pictures that look attractive yet completely authentic. When you use a heavy beauty filter to try and look better, the image signals that you might be catfishing. It erases your pores, alters your features, and breaks trust before a conversation even begins. To truly elevate your profile, you need an editor that fixes the flat lighting of bad camera lenses while leaving your natural identity intact.
To make your Bumble photo look attractive naturally, avoid global blurring tools entirely. In Citrus, skip the heavy skin presets and tap Enhance -> Colors & Lighting to correct dull shadows and restore vibrant depth. Once the light is balanced, tap Looks -> Glow Up to create a cohesive, photogenic impression that keeps your natural texture visible.
Why smartphone cameras ruin your Bumble profile pictures
Small phone lenses use a wide-angle perspective. When you take a selfie or grab a quick shot indoors, this perspective artificially widens your nose and flattens your cheeks. If the lighting is weak, it erases your natural shadows, leaving you looking puffy and exhausted. This technical failure is exactly why you might feel you look worse in photos than in the mirror. The solution is not to warp your face with a digital mask, but to recover the depth your lens failed to capture.
- Using heavy blur that turns your skin into flat plastic
- Brightening the whole image until vital shadows disappear
- Applying extreme thinning presets that warp the background walls
- Erasing your natural freckles, pores, and character lines
- Fixing overall image contrast so your face regains true depth
- Using targeted tools strictly for specific problematic shadows
- Keeping your facial structure and eye shape completely real
- Stopping the edit while skin texture remains highly visible
If your final image looks perfectly smooth but you seem like an avatar, you will lose trust immediately. Finding a reliable alternative to overprocessed beauty editors guarantees that you look like your best self without the fake filter look.
Restore contrast and keep your real face. A smart edit keeps reality intact.
How to naturally enhance your Bumble photo in 5 steps
Select a photo where the lighting is the main issue
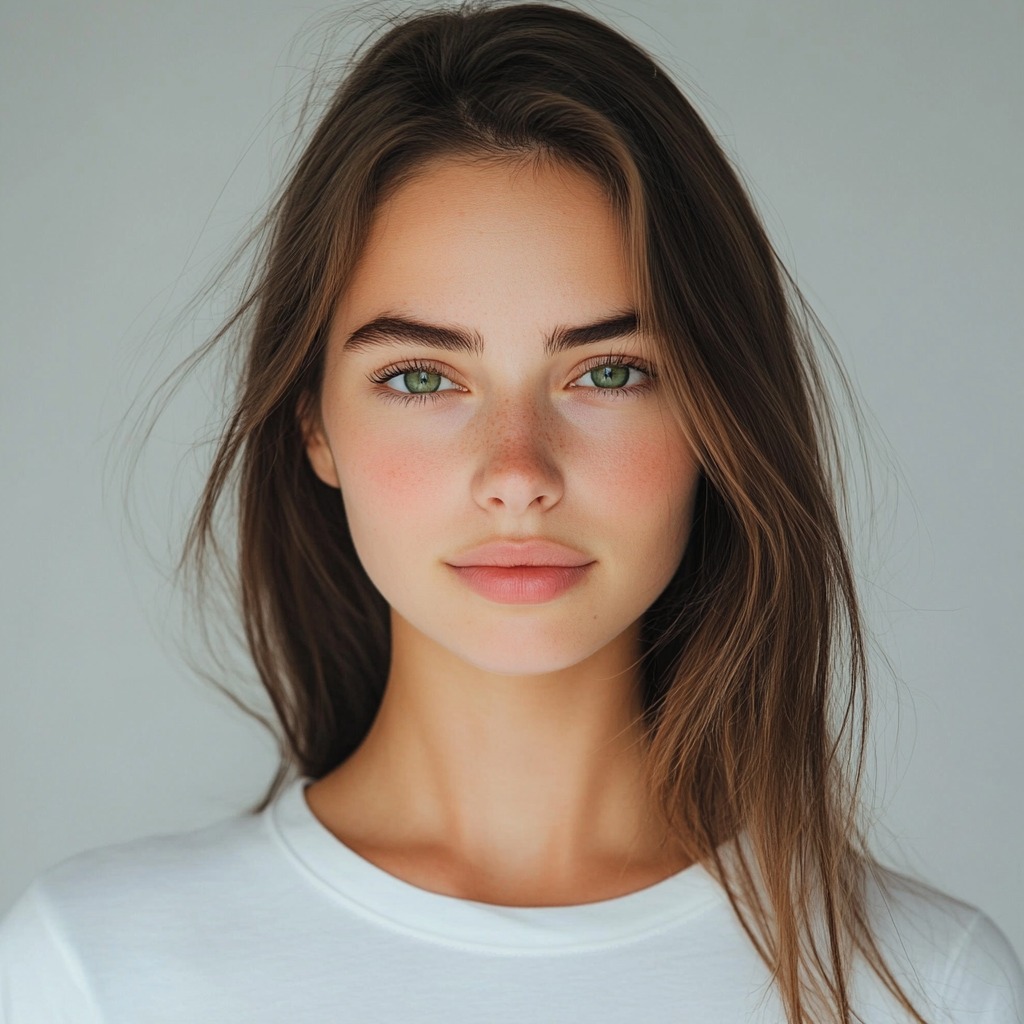
Find the picture where your expression is great, but the camera failed to capture the lighting properly. Using an intelligent ai photo enhancer for blurry pictures will easily restore the underlying raw data.
Let the instant preview process the overall image
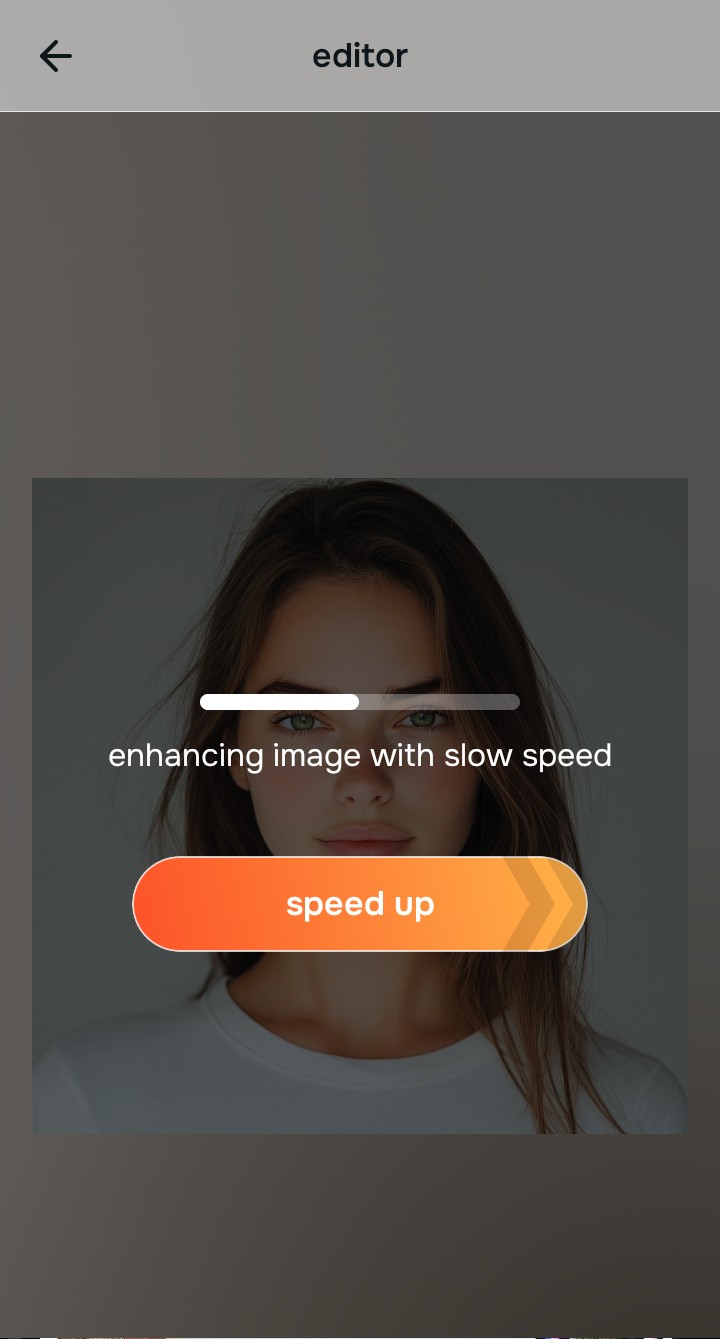
Citrus provides a first correction immediately. This ensures that any underlying contrast or exposure issues are recognized before you start trying to adjust your facial features manually.
Use Enhance to fix Colors & Lighting first
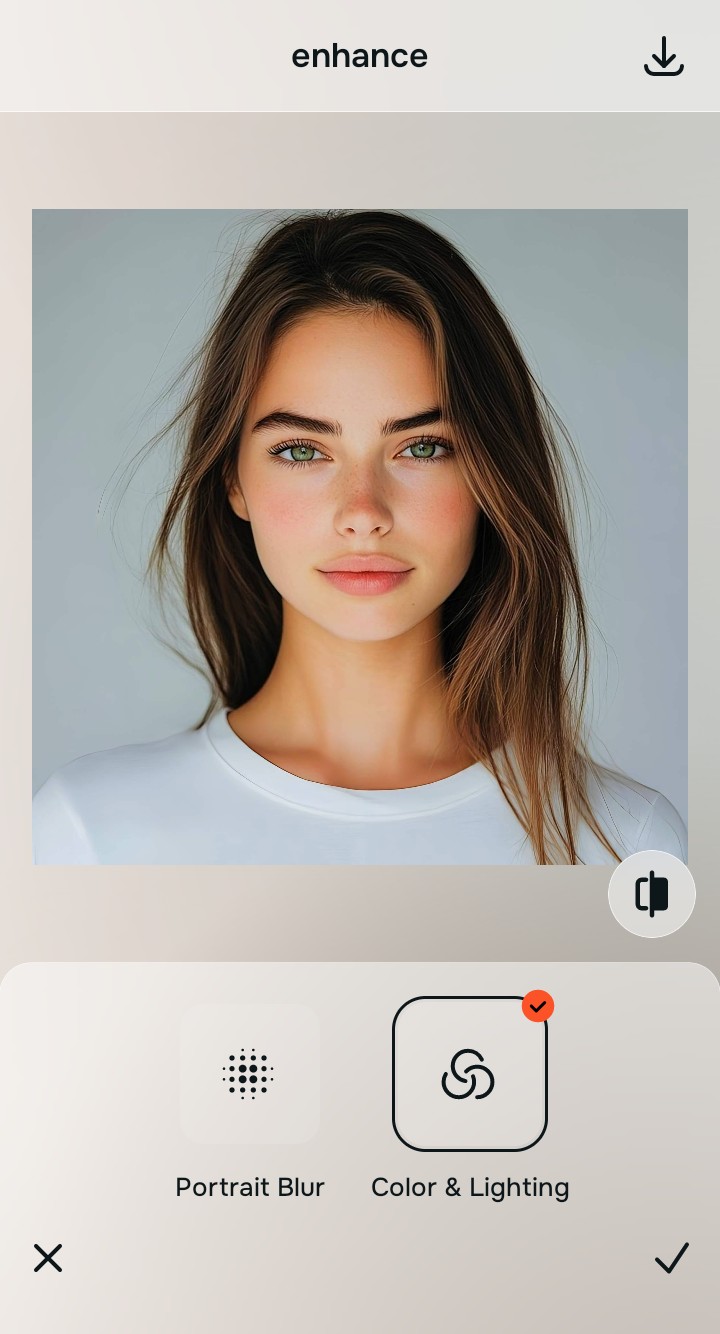
Because a dull selfie is an overall photo problem, tap Enhance -> Colors & Lighting. This strips away the muddy wash and restores vibrant shadows to the scene. It is the easiest way to make flat photos look more alive before attempting any aesthetic tweaks.

Always fix the flat lighting before using a beauty tool. Tap the Enhance options to restore image depth first.
Apply Looks tools for a cohesive, attractive vibe
Once the lighting is corrected, you can safely elevate your appearance. Tap Looks -> Glow Up to gently apply a cohesive, attractive polish. Doing this allows you to naturally get a natural glow in selfies without over-smoothing your entire face into plastic.
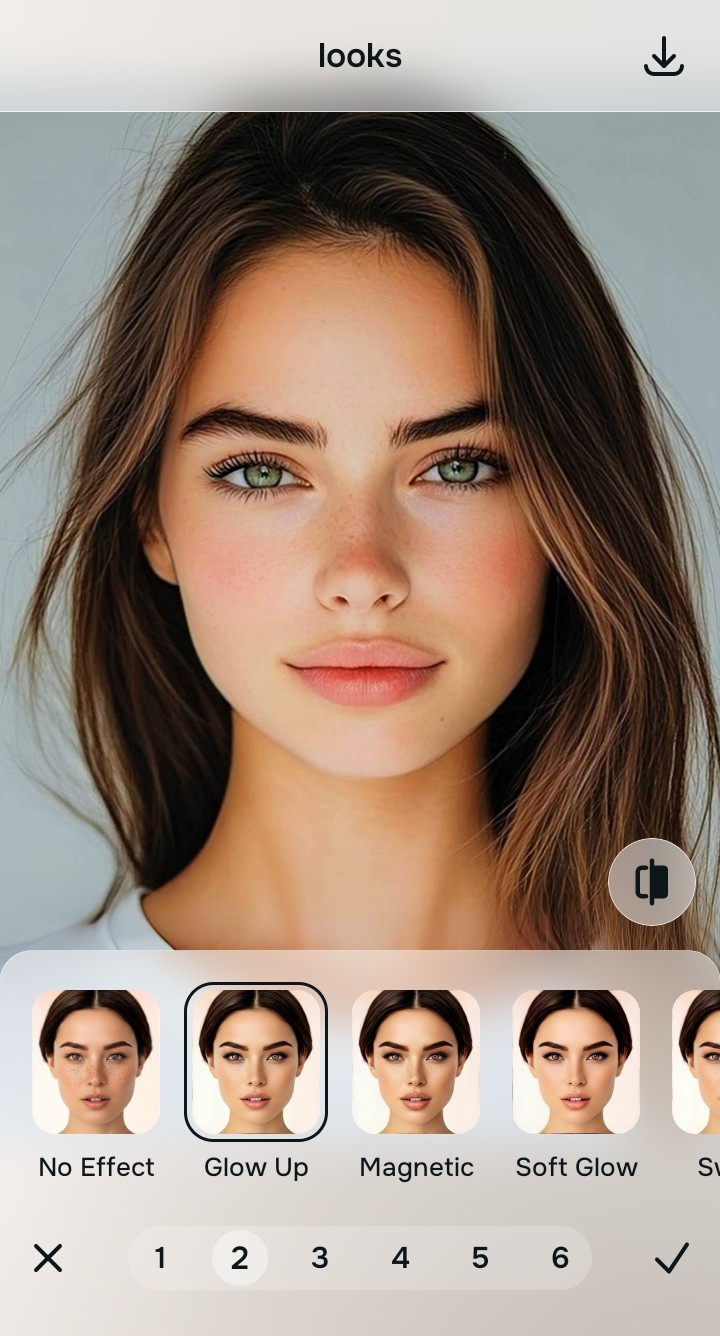
Save the photo when it still looks exactly like you
The true test of a good dating photo is whether your match recognizes you in person. Stop adjusting before the picture begins to look heavily filtered or warped. It allows you to improve a photo without changing your real face.
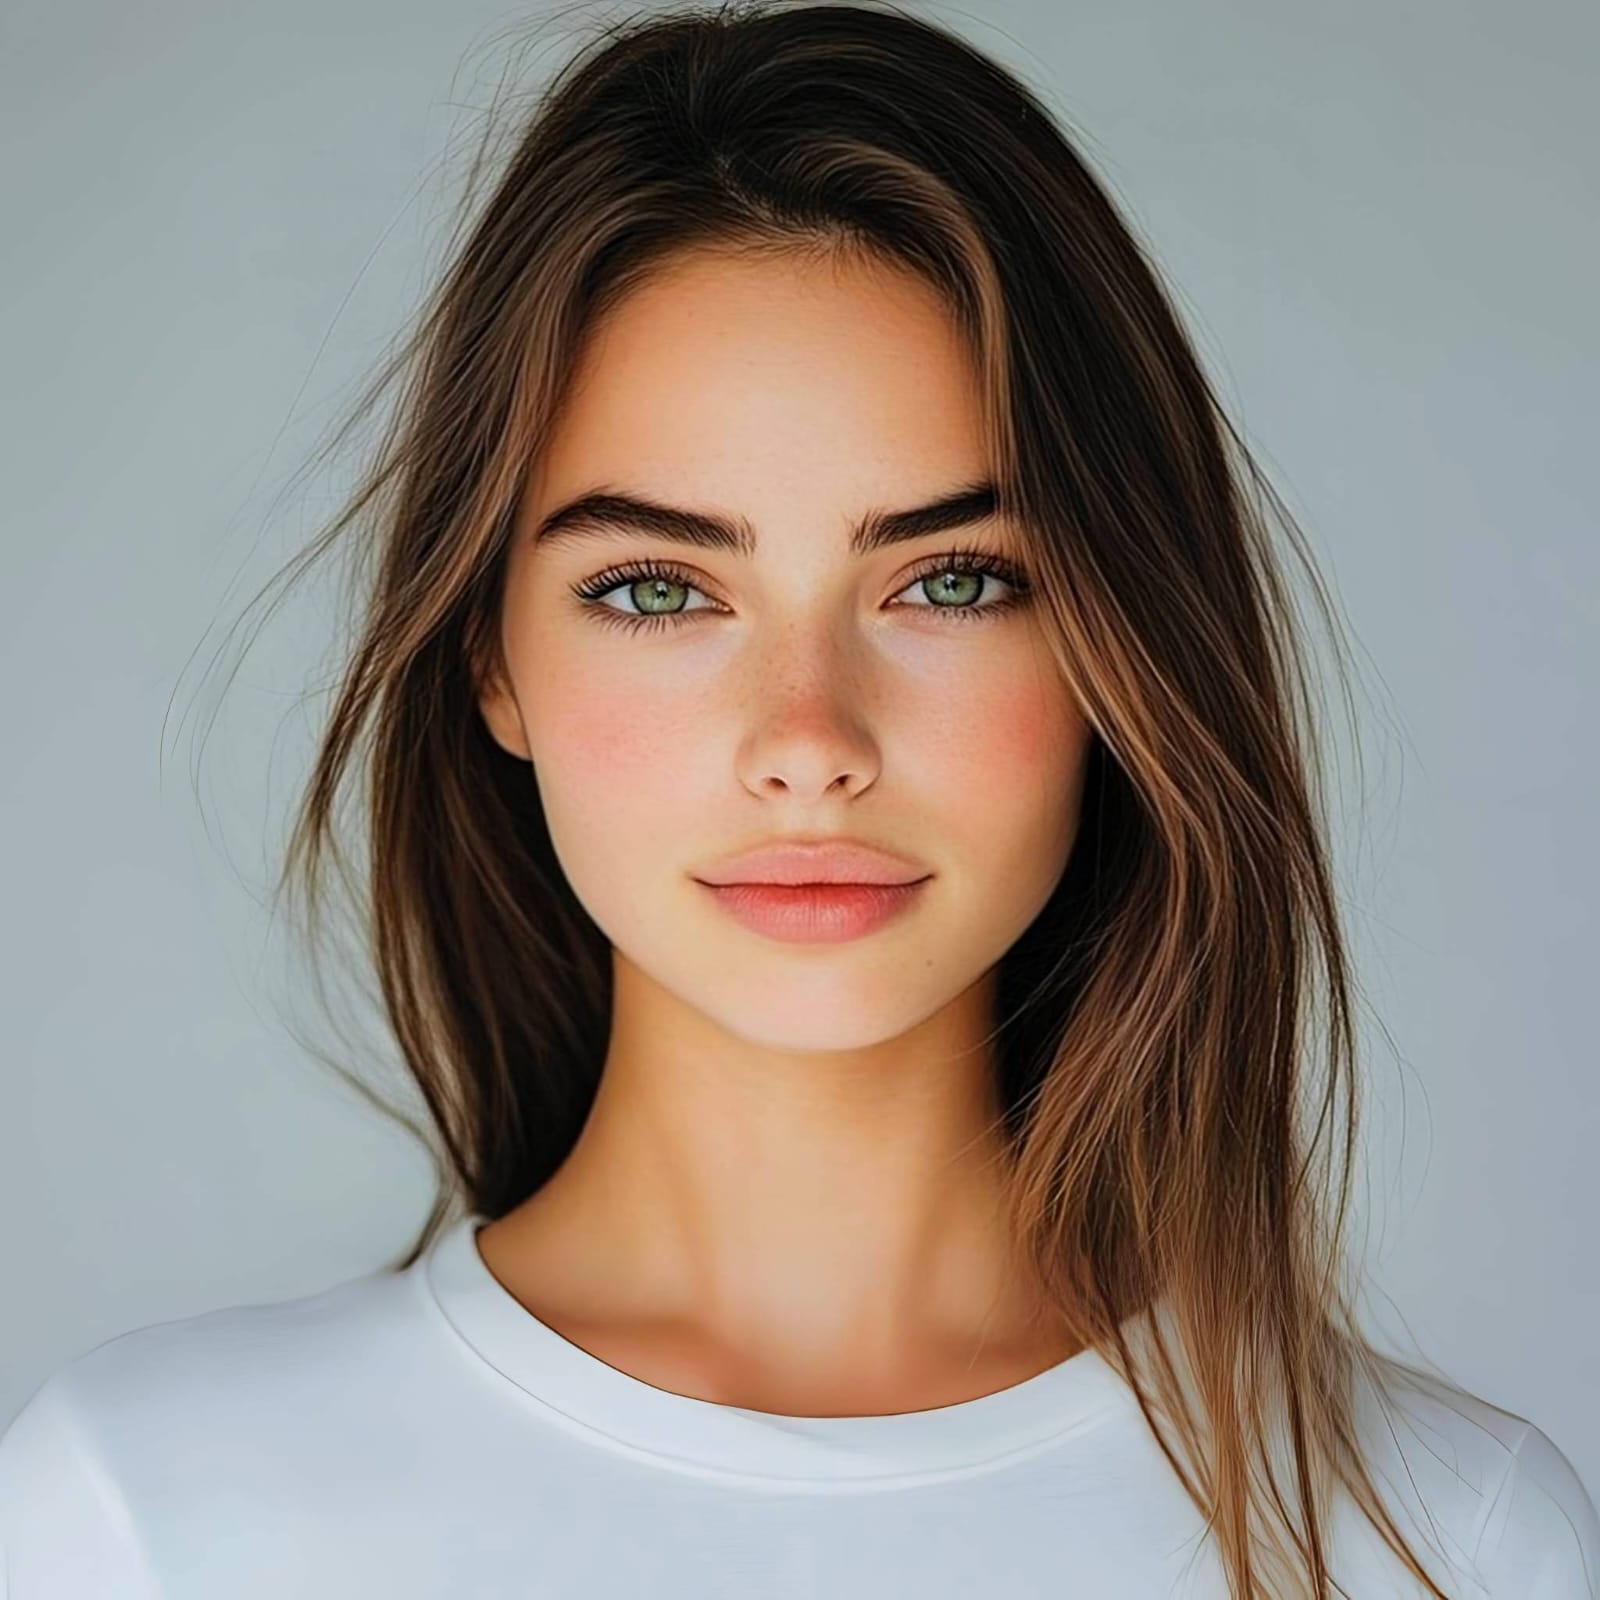
Why does your profile picture look unappealing?
Choose the description that fits best. Your starting point changes depending on what is actually flattening the picture.
Which Citrus tool delivers the best authentic finish
Different problems require entirely different tools. The goal is to get the best possible result by matching the tool to the actual error. This stops you from ruining the entire picture just to fix one small area.
| Tool | What it helps fix | When to use it |
|---|---|---|
| Enhance Start here | Overall darkness, weak light, muddy contrast, and lack of depth | Use this first when the whole image feels lifeless. Choose Colors & Lighting to restore depth and clear the sensor noise. |
| Looks | Photos that are technically balanced but still lack an attractive, cohesive impression | Use this after Enhance when the real issue is not severe darkness but a dull vibe. It creates a photogenic glow instantly. |
| Face | Specific puffy areas, uneven skin tone, or flat bone structure | Use this last, applying targeted tools to subtly define the face after the broader image already feels properly lit. |
“The most attractive edit recovers the lost light data instead of pasting an artificial blurring filter over your pores.”
Why intelligent contrast correction beats heavy face filters
There is a massive difference between adding dimension and wiping out reality. When you use an aggressive beauty slider, you turn the entire image into a flat plastic wash. The human brain instantly recognizes this loss of detail as an untrustworthy edit, which leads to fewer matches.
Real quality comes from correcting the underlying light data first. Utilizing an ai selfie enhancer for better looking photos ensures you restore true contrast. It provides a professional, believable foundation that manual blurring simply cannot achieve.