

May 2, 2026
How to Improve Bad Camera Lighting in One Tap


How to Improve Bad Camera Lighting in One Tap
Bad lighting ruins good moments. You take a photo, but the camera captures dark shadows, grainy textures, or washed out colors. Smartphone sensors struggle indoors and at night, making your skin look dull and flattening your facial features. The goal is not to crank up the brightness until the image looks like a cartoon. The goal is a photo that restores true contrast and looks exactly how you remember it.
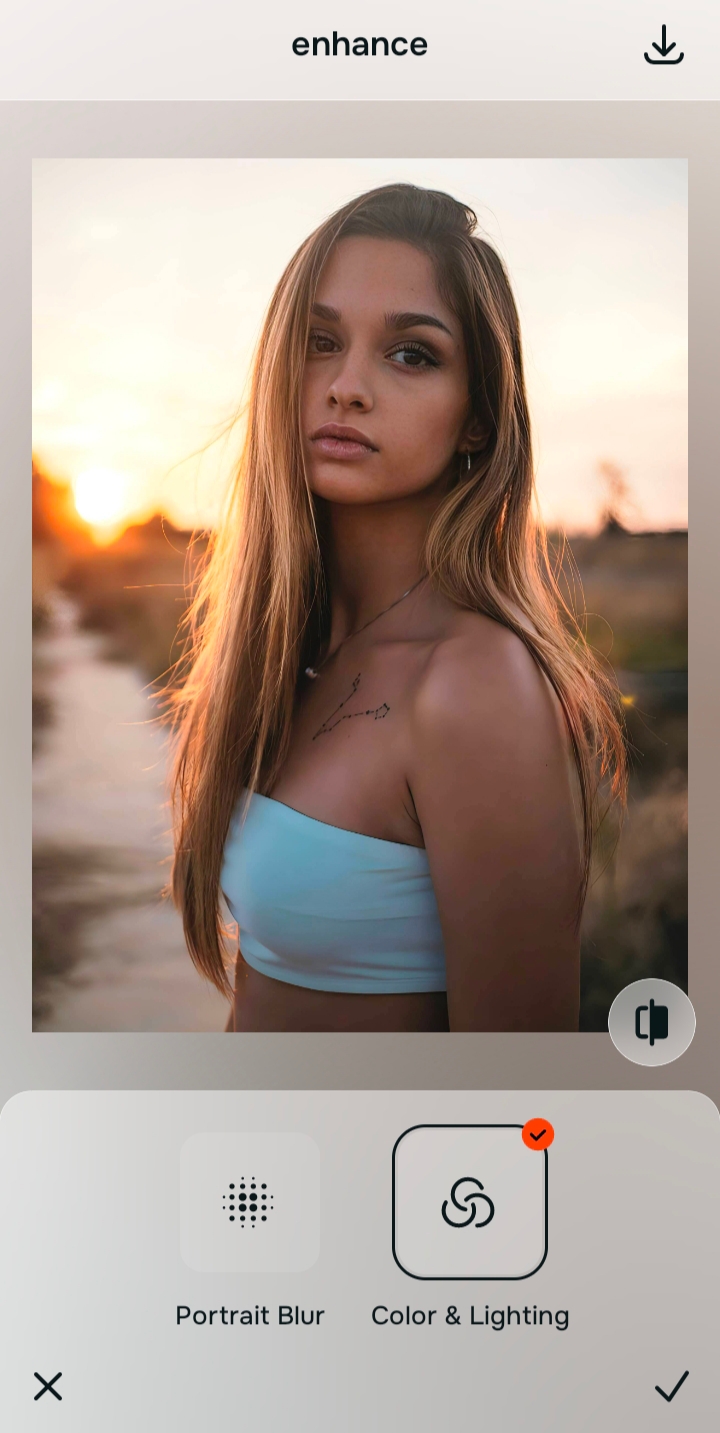
To improve bad lighting without making the photo look artificial, focus on overall color balance and contrast first. In Citrus, navigate directly to Enhance > Colors & Lighting. This intelligent feature lifts dark shadows and fixes tint before you even look at specific facial edits. Correcting the foundation is the only way to rescue a dark photo naturally.
Most heavy beauty apps fail because they treat poor lighting as a skin problem. They blur everything together to hide the shadows. If you are constantly struggling to make blurry photos clear again due to dim rooms, the camera sensor is already failing to capture enough light data. You have to correct the overall image exposure before adjusting your face.
Why standard smartphone lenses fail in low light
Small phone lenses cannot gather enough ambient light in restaurants, clubs, or living rooms. To compensate, the camera artificially boosts ISO, which adds heavy digital noise and creates harsh, unflattering contrast on your features. Discovering effective fixes for tired puffy flat-looking selfies always starts with understanding that the sensor caused the damage, not your actual face. A believable edit must correct this sensor error first.
- Brightening the whole image uniformly until it looks gray
- Smearing the skin heavily to hide low-light grain
- Leaving harsh shadows under the eyes and nose
- Washing out the natural warmth of the environment
- Restoring true contrast and balanced exposure
- Preserving natural skin textures while removing noise
- Lifting ambient shadows intelligently across the face
- Keeping the authentic colors of the original room
If your photo is finally bright enough to see but the colors look entirely washed out, you took the wrong approach. Using an intelligent tool to balance the light is the best way to make your face look better in pictures naturally.
Fix bad lighting without losing natural depth. A smart edit keeps reality intact.
How to fix dark shadows and bad lighting in 5 careful steps
Choose a dark or badly lit picture
Start with a photo where the shadows are too heavy or the colors feel entirely lost in the dark. You do not need to understand complex editing sliders to rescue it. In fact, finding an face enhancer that still looks real starts entirely with finding software that respects this bad baseline exposure.
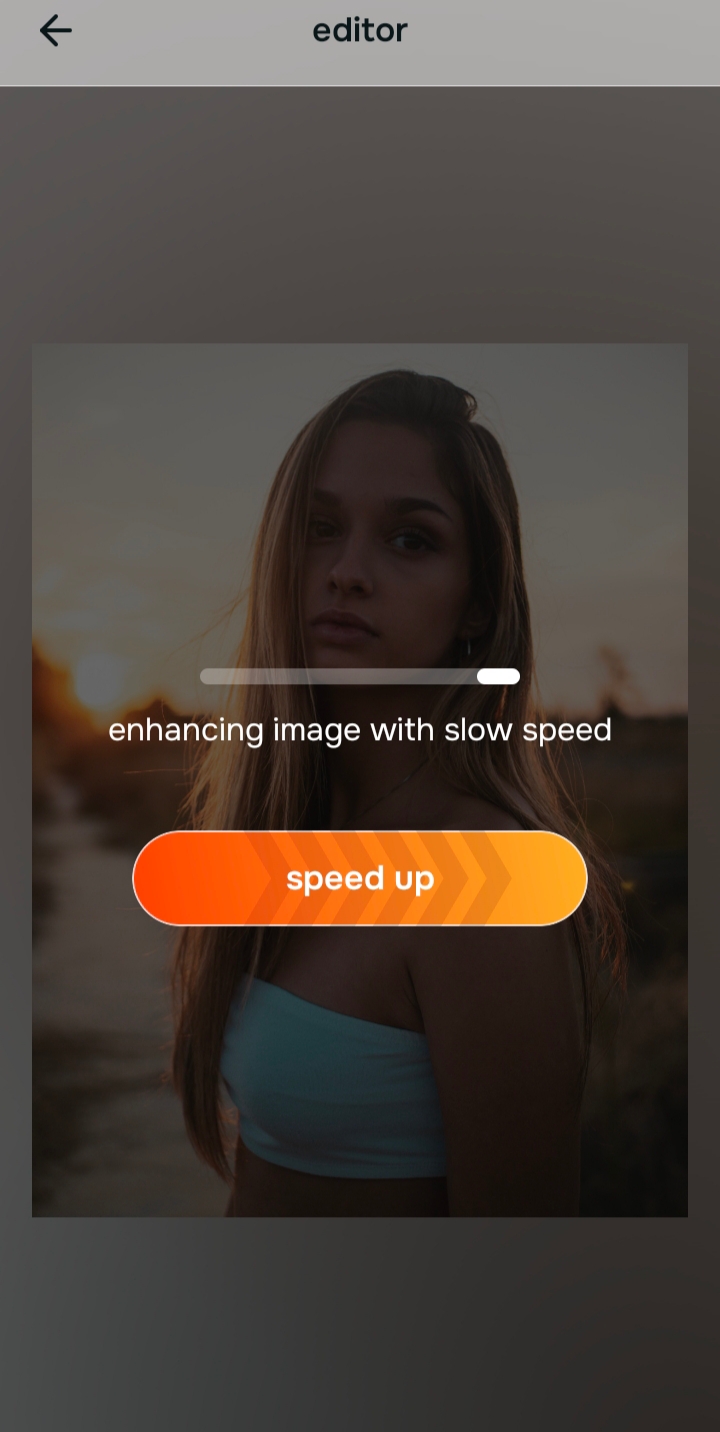
Let the instant preview process the baseline lighting
Citrus gives you a first correction immediately. This matters because lifting the ambient exposure often reveals that the photo simply lacked contrast, not detail. Let the software read the environment first before making any manual adjustments.
Use Enhance to fix Colors & Lighting
If the entire picture is struggling, start with Enhance and select Colors & Lighting. This specific feature targets muddy shadows and restores a realistic, balanced exposure.

Always fix dark shadows before applying any beauty adjustments. Use the Enhance options to rescue the exposure first.
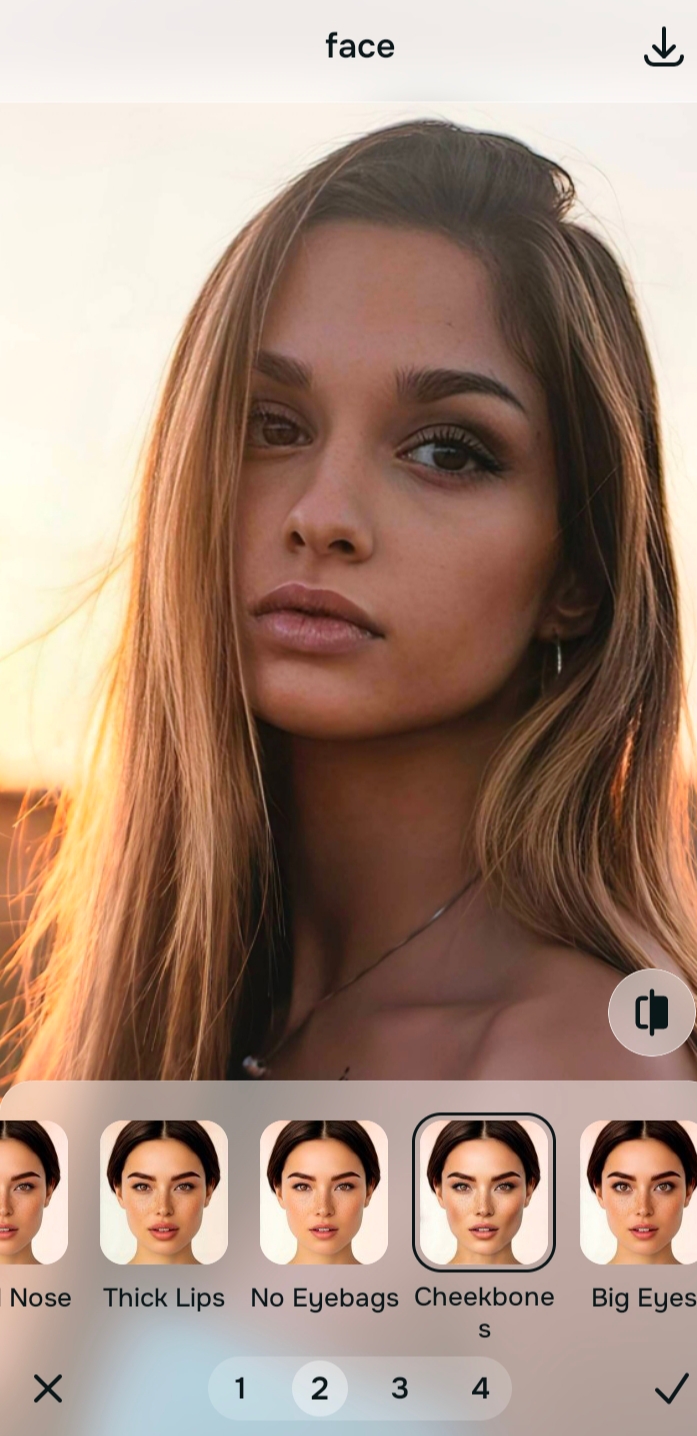
Apply Face tools only for targeted fixes
Once the room lighting is corrected, you can focus on specific distractions. Navigate directly to Face and apply a targeted correction. For example, if you want to add cheekbone definition in selfies, you must wait until this final step because heavy shadows hide your natural bone structure initially.
Compare and save the version that keeps you looking natural
The ultimate test is whether the image feels like it was taken on a better camera. If you are learning how to get glass skin in photos, saving the photo before it looks artificially bright is the secret to a flawless finish. Stop adjusting before the image starts to look heavily processed.

Why does the lighting look bad in your specific picture?
Choose the description that fits best. Your starting point changes depending on whether you are fighting heavy shadows or an overall dull capture.
Which Citrus tool corrects bad exposure
Different lighting problems require entirely different tools. The goal is to get the best possible result by matching the tool to the actual problem. This keeps the workflow simple and stops you from ruining a salvageable photo.
| Tool | What it helps fix | When to use it |
|---|---|---|
| Enhance Start here | Overall darkness, weak light, muddy shadows, low-energy image quality | Use this first when the whole photo feels badly lit. Choose Colors & Lighting to restore contrast and lift shadows. |
| Looks | Photos that are exposed okay but still need a stronger overall impression | Use this after Enhance, or instead of Enhance when the real issue is not severe darkness but a dull vibe. |
| Face | One specific distraction such as harsh shadows under the eyes or uneven skin tone | Use this last, after the broader image already feels properly lit. It works best as a targeted correction, like Face → Skin Tone. |
“The most natural lighting edit lifts the shadows caused by the camera without washing out the genuine colors of the room.”
Why intelligent light balance beats generic brightness sliders
There is a massive difference between adding artificial brightness and restoring natural light. When you just drag a generic brightness slider up, everything turns white. The shadows turn gray, the highlights blow out, and the picture looks entirely fake.
Real quality comes from correcting the specific areas that lack exposure while leaving the properly lit areas alone. When comparing natural photo enhancers which looks more real, the winner is always the one that restores lighting intelligently instead of slapping a flat filter over your face.