

May 1, 2026
How to Fix Yellow Indoor Lighting in Photos


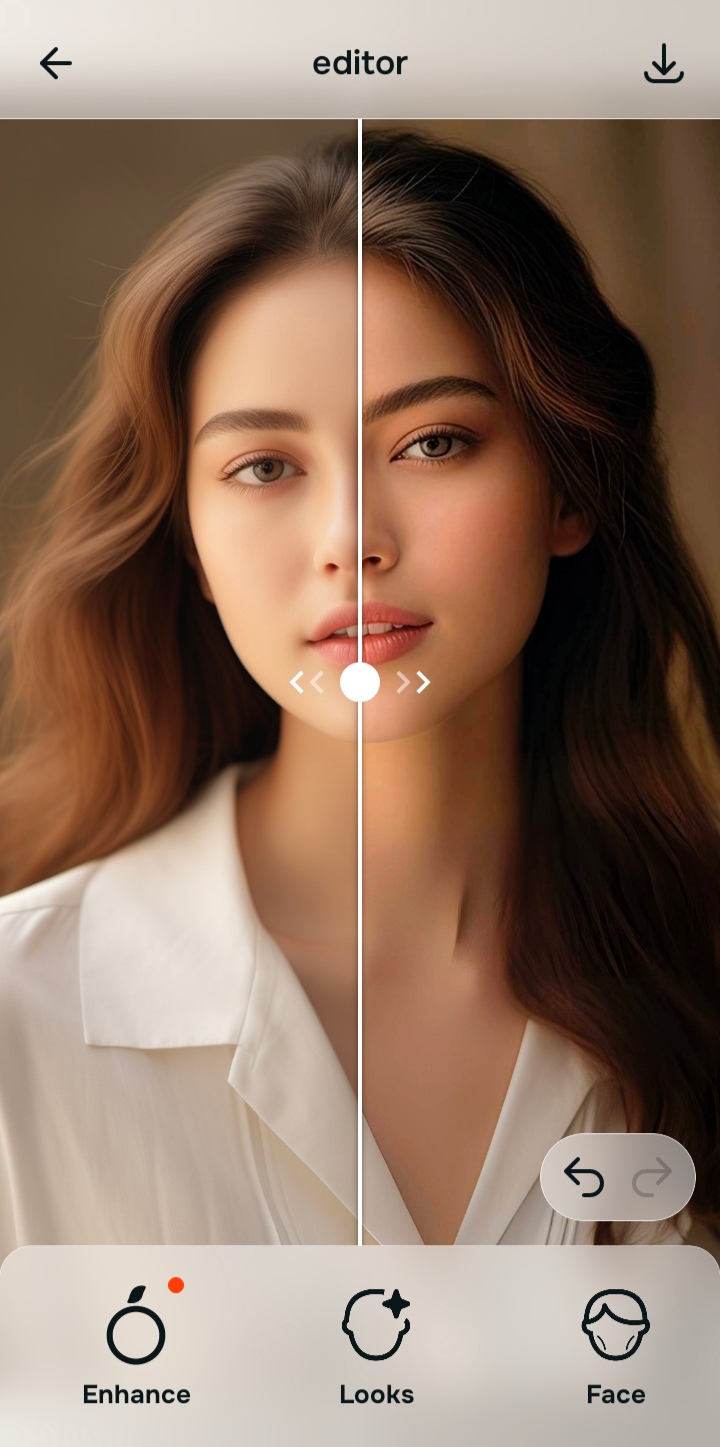
How to Fix Yellow Indoor Lighting in Photos Without Washing Out Your Skin
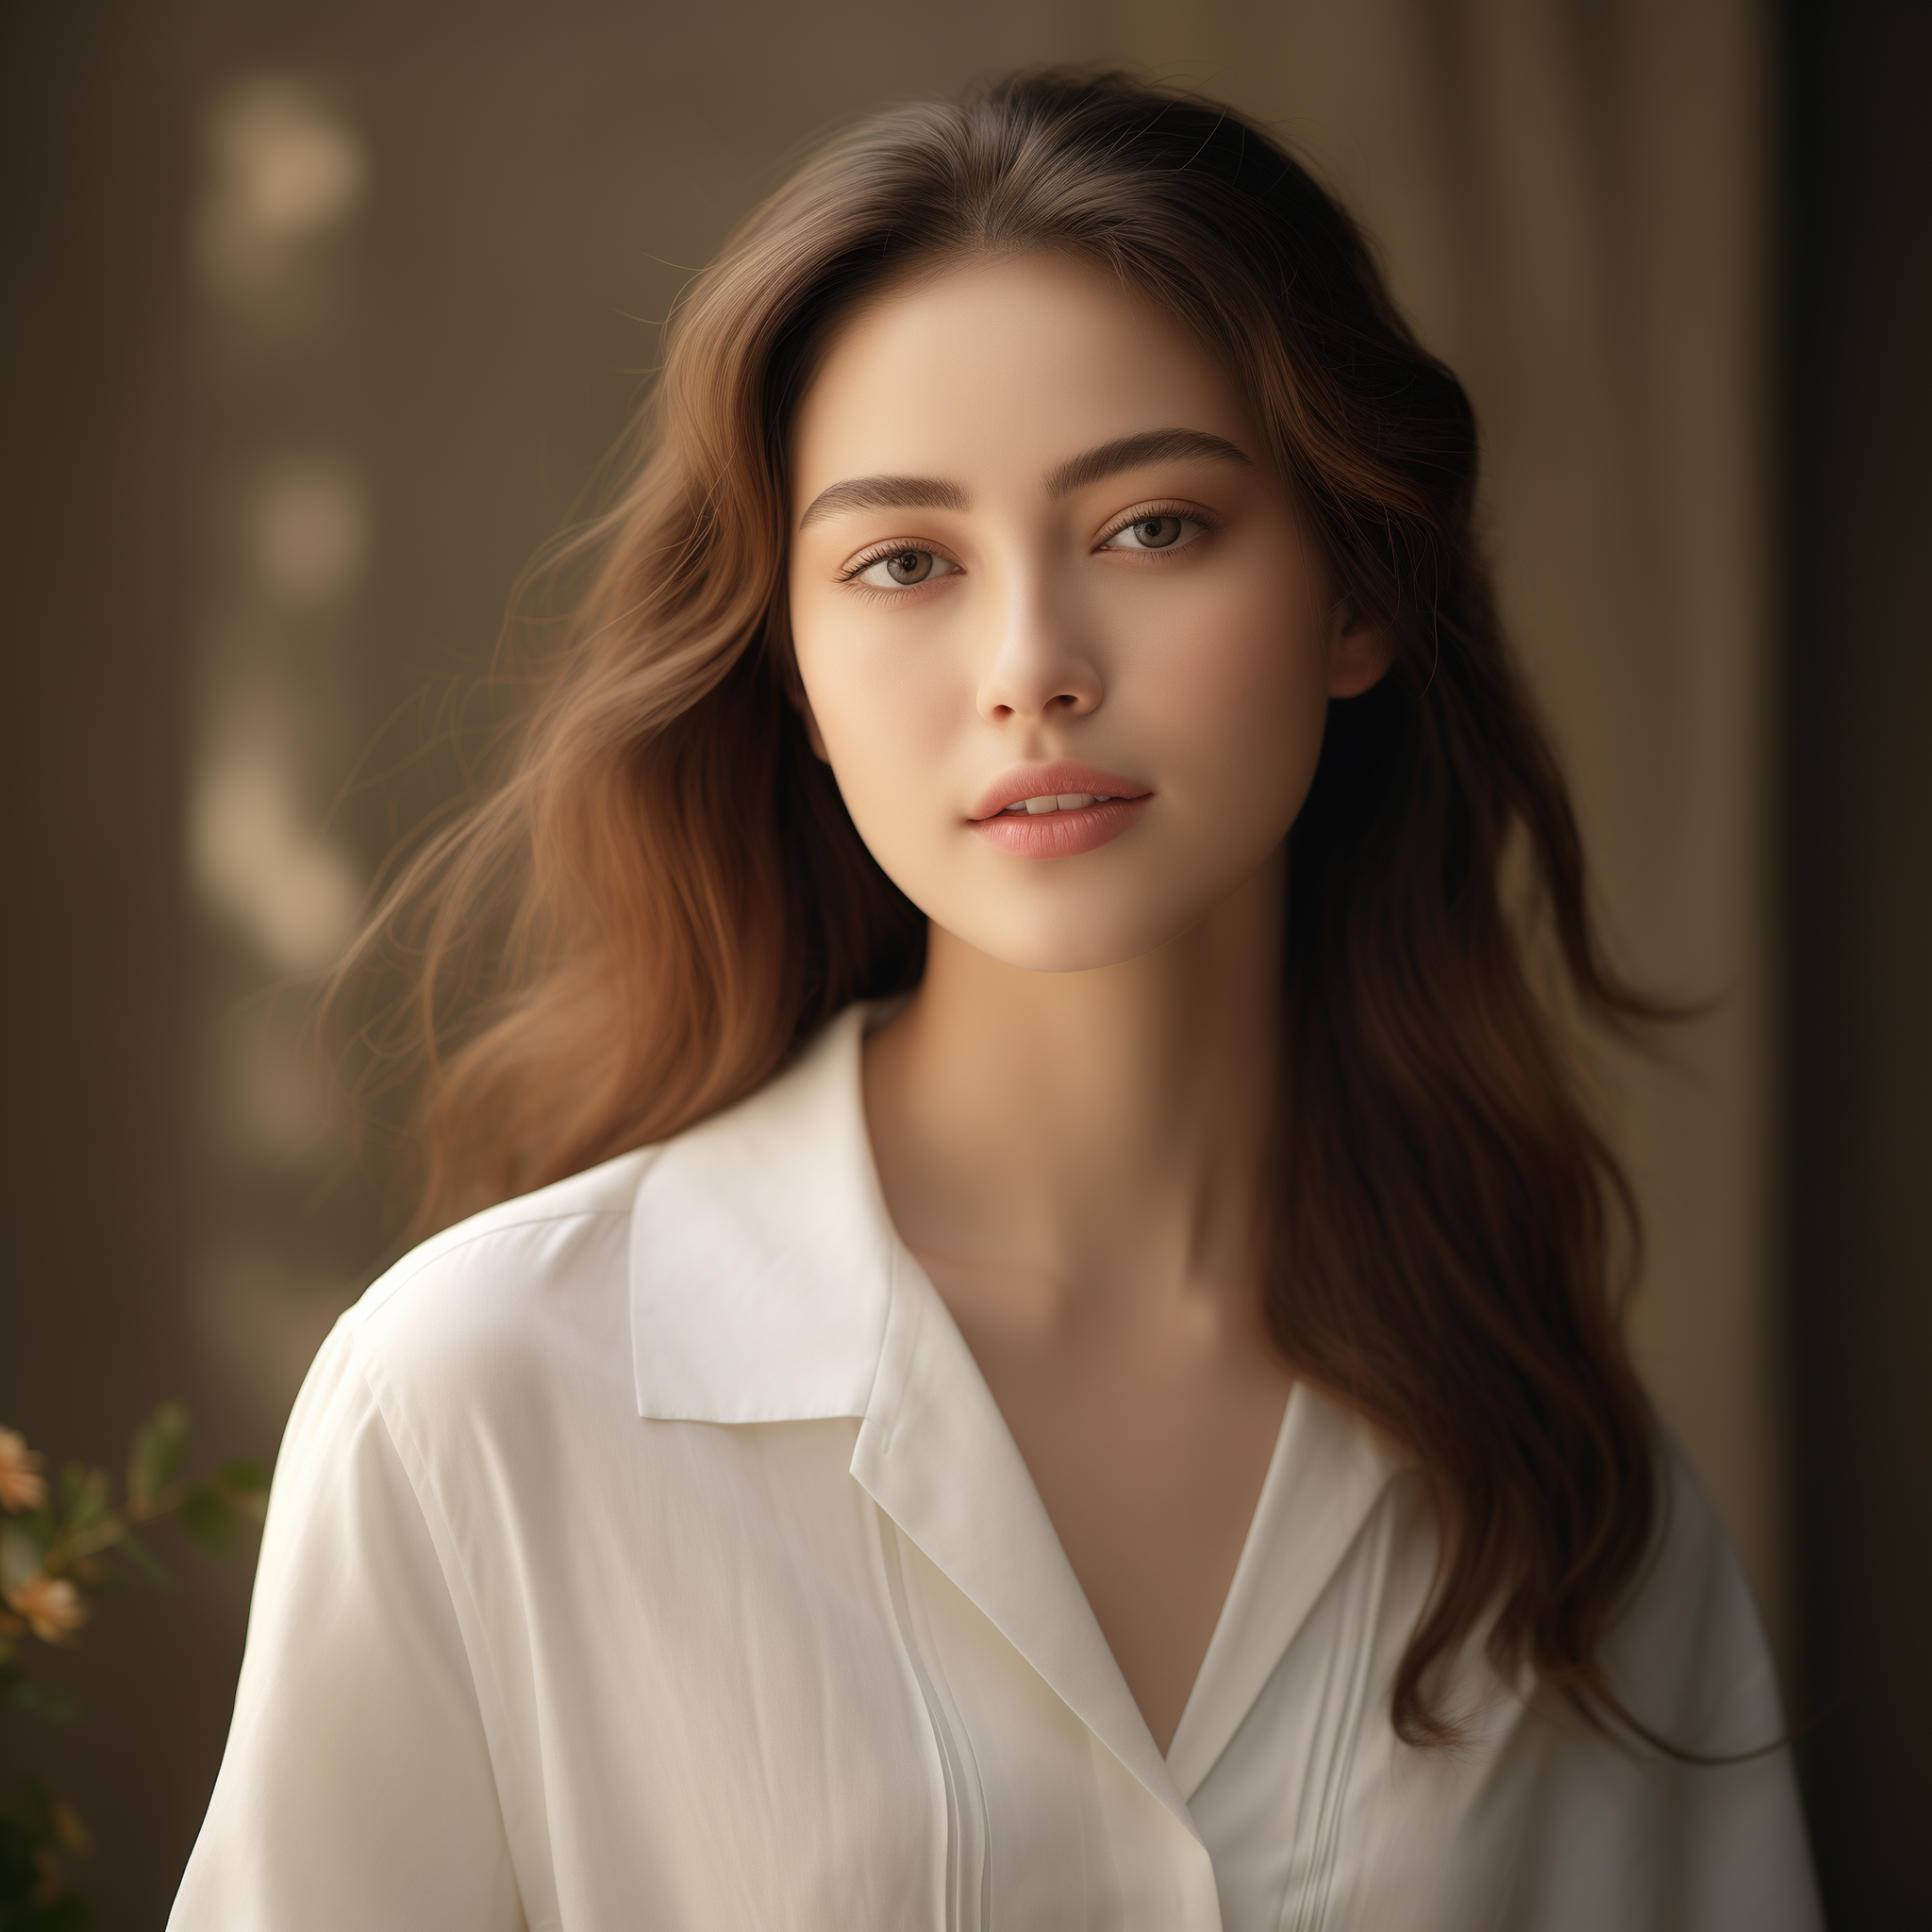
Warm indoor lighting can completely ruin a great picture. You take a photo in a restaurant or your living room, and suddenly everything has a heavy orange or yellow tint. Your skin looks jaundiced, the background feels muddy, and your teeth look yellow. The worst thing you can do is slap a blue cooling filter over it. A beautiful result requires neutralizing the color cast while preserving your natural warmth.
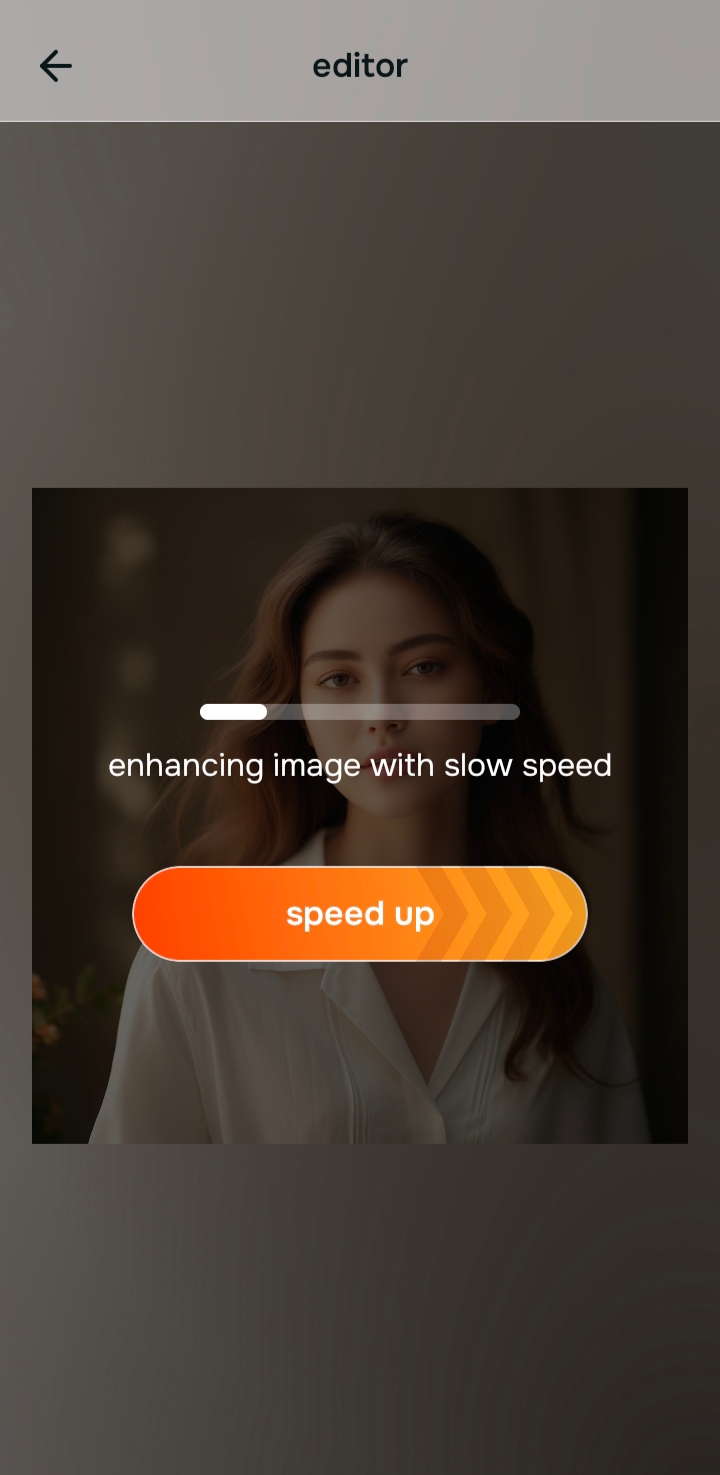
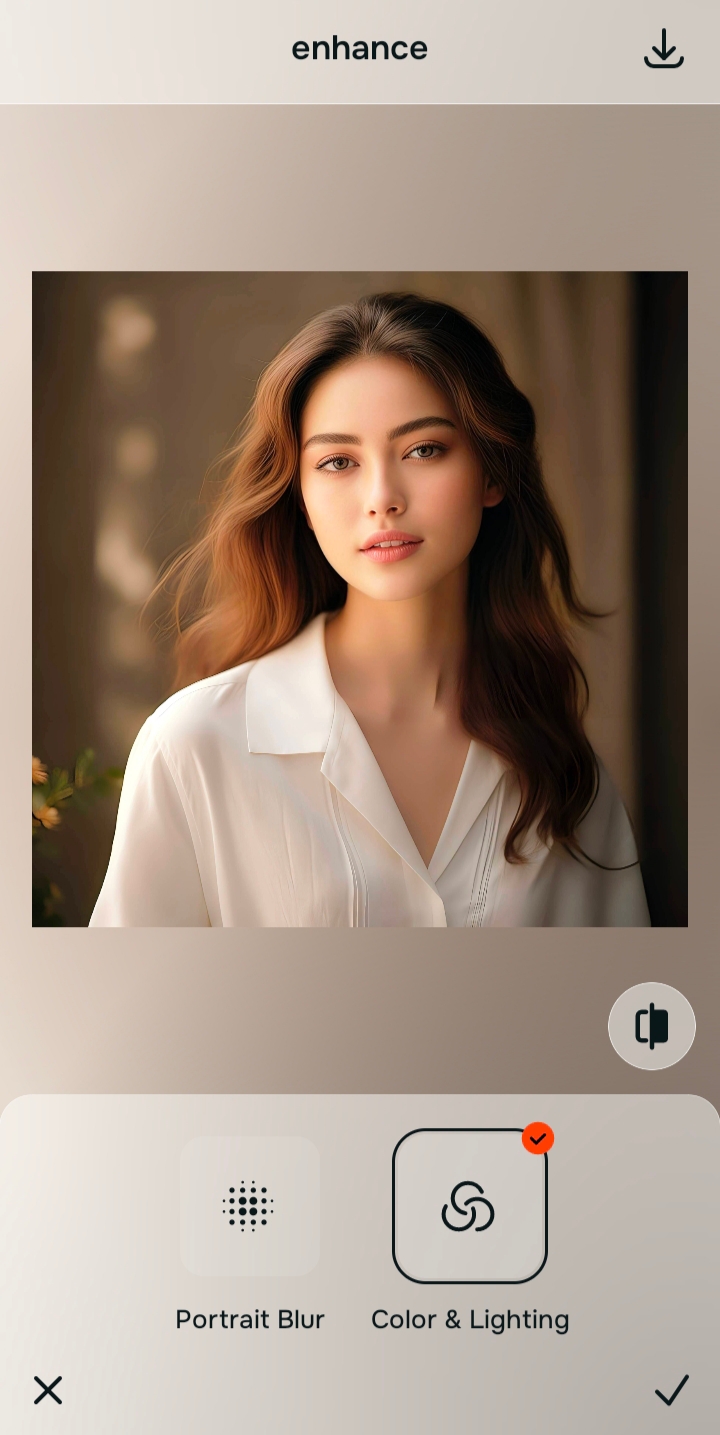
To fix yellow lighting without making your photo look cold and gray, you must balance the overall colors first. Using Citrus, navigate directly to Enhance > Colors & Lighting. This tool neutralizes the warm orange tint intelligently. Do this before attempting any specific facial adjustments.
Standard editors fail because they just overlay a blue tint on top of the yellow. This turns the yellow into a sickly green or gray. If you are trying to rescue blurry pictures taken in dim rooms, the camera sensor is already struggling with both detail and color. Real correction understands the difference between the yellow light bulb and your actual skin tone.
Why warm indoor light bulbs ruin your natural skin tone
People edit their indoor photos because the camera sensor gets confused by incandescent or warm LED bulbs. It bathes everything in an orange glow. The camera sensor is often exactly why we feel we look worse in photos than in the mirror. To fix this, you have to strip away the artificial light tint without stripping away your true complexion.
- Slapping a heavy blue cooling filter over the entire image
- Turning warm natural skin into a pale icy gray
- Trying to hide the yellow tint by blurring the skin heavily
- Leaving the teeth looking yellow while the background looks blue
- Correcting the overall white balance first
- Neutralizing the yellow cast while keeping skin looking healthy
- Restoring true whites in the eyes and background
- Stopping the correction before the image feels artificially cold
If your photo looks crisp but you look like you have the flu, you missed the mark. True correction requires a smart sequence that balances light without learning Photoshop or relying on manual sliders.
Remove the yellow cast without losing your natural warmth. A smart edit keeps reality intact.
How to color correct yellow indoor lighting in 5 careful steps
Choose a photo where the lighting turned everything orange
Find the picture where the restaurant or living room lights completely took over. You do not need a perfectly clear shot to start. You simply need a photo where you desperately want to restore the true colors of the scene.
Let the instant preview process the baseline lighting
Citrus will show you a first correction immediately. This matters because lifting the shadows can often reveal that the color cast is the main issue. An intelligent software engine reads the light balance before doing anything else.
Use Enhance and choose Colors & Lighting
This is the mandatory first step for yellow photos. Tap Enhance and select Colors & Lighting. It strips the heavy orange tint and brings back a neutral, realistic color palette.
By fixing the environment first, you avoid the heavy fake filter look that ruins so many memories.

Always fix bad color balance before applying a beauty filter. Use the Enhance options to rescue a yellow picture first.
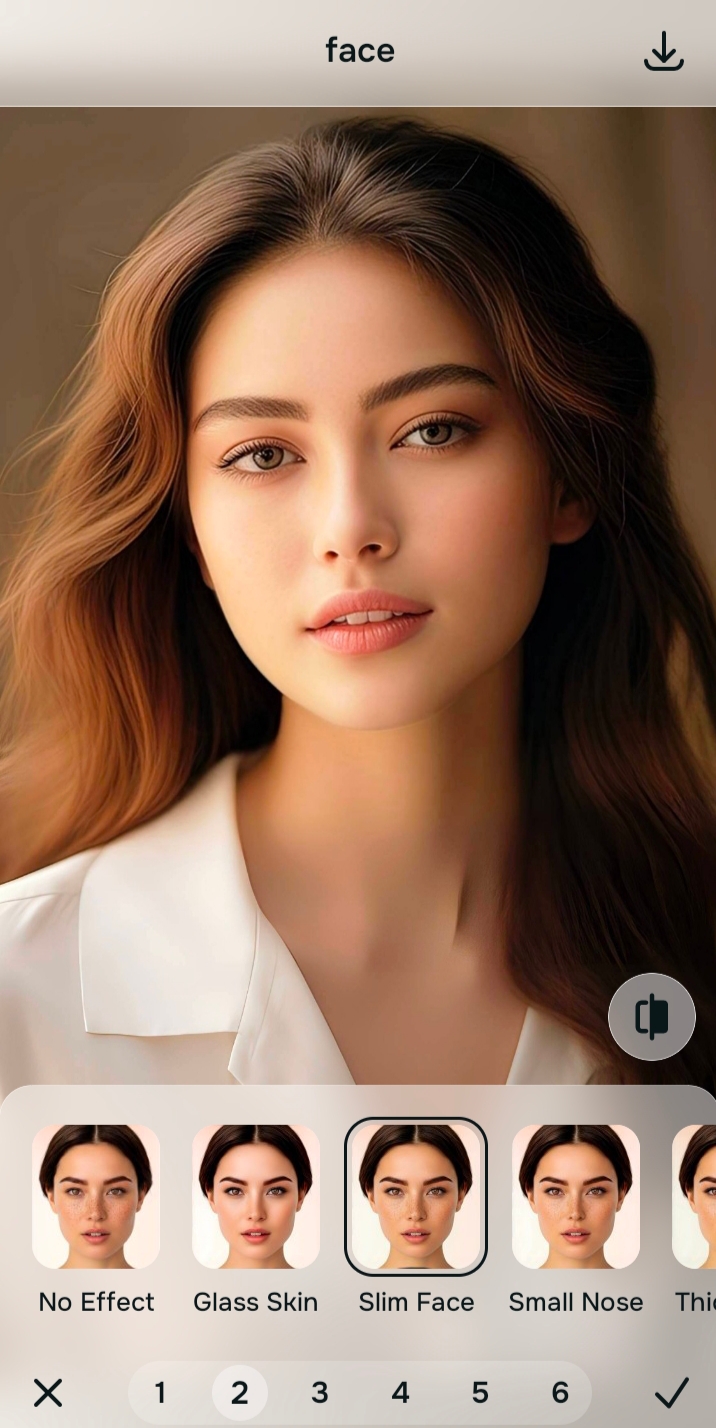
Apply Looks or Face tools for a polished vibe
Once the yellow tint is gone, you can look at the actual details. If the photo lacks a good aesthetic, navigate to Looks. If you need a specific fix, use the Face tools. Doing it in this exact order is what looks more real compared to basic phone editing apps.
Compare and save the version that keeps you looking healthy
The ultimate test is skin vitality. You can brighten the room without overediting the final image. Does your skin look human? If yes, save the photo immediately.
Why does your photo look bad in this lighting?
Choose the description that fits best. Your starting point changes depending on whether you are fighting a heavy ambient cast or just a lack of finishing polish.
Which Citrus tool corrects bad exposure and color balance
Different problems require entirely different tools. The goal is to get the best possible result by matching the tool to the actual problem. This keeps the workflow simple and prevents you from over-correcting issues that were not there.
| Tool | What it helps fix | When to use it |
|---|---|---|
| Enhance Start here | Overall softness, weak light, yellow color casts, muddy quality | Use this first when the whole image feels wrong. Choose Colors & Lighting to strip the yellow tint and restore true whites. |
| Looks | Photos that are technically balanced but still need a stronger overall impression | Use this after Enhance, or instead of Enhance when the real issue is not the light bulb but a photo that feels underwhelming. |
| Face | One specific distraction such as uneven skin, red patches, or tired eyes | Use this last, after the broader image already feels fair. It works best as a targeted correction, like Face → Skin Tone, not the starting point. |
“The most natural color edit removes the light bulb's tint while keeping the warmth of your actual skin.”
Why true color correction beats throwing a blue filter on your picture
There is a clear reason heavy cooling filters ruin pictures. They are just a lazy overlay. When you aggressively push a blue tint over a yellow photo, the viewer instantly feels the artificial coldness, making the environment look lifeless.
Real confidence comes from properly balancing a capture. By using a tool that neutralizes the ambient light while protecting skin tones, you create an image that provides natural-looking results every single time.