


April 23, 2026
Free AI Tool to Fix Bad Selfies Naturally
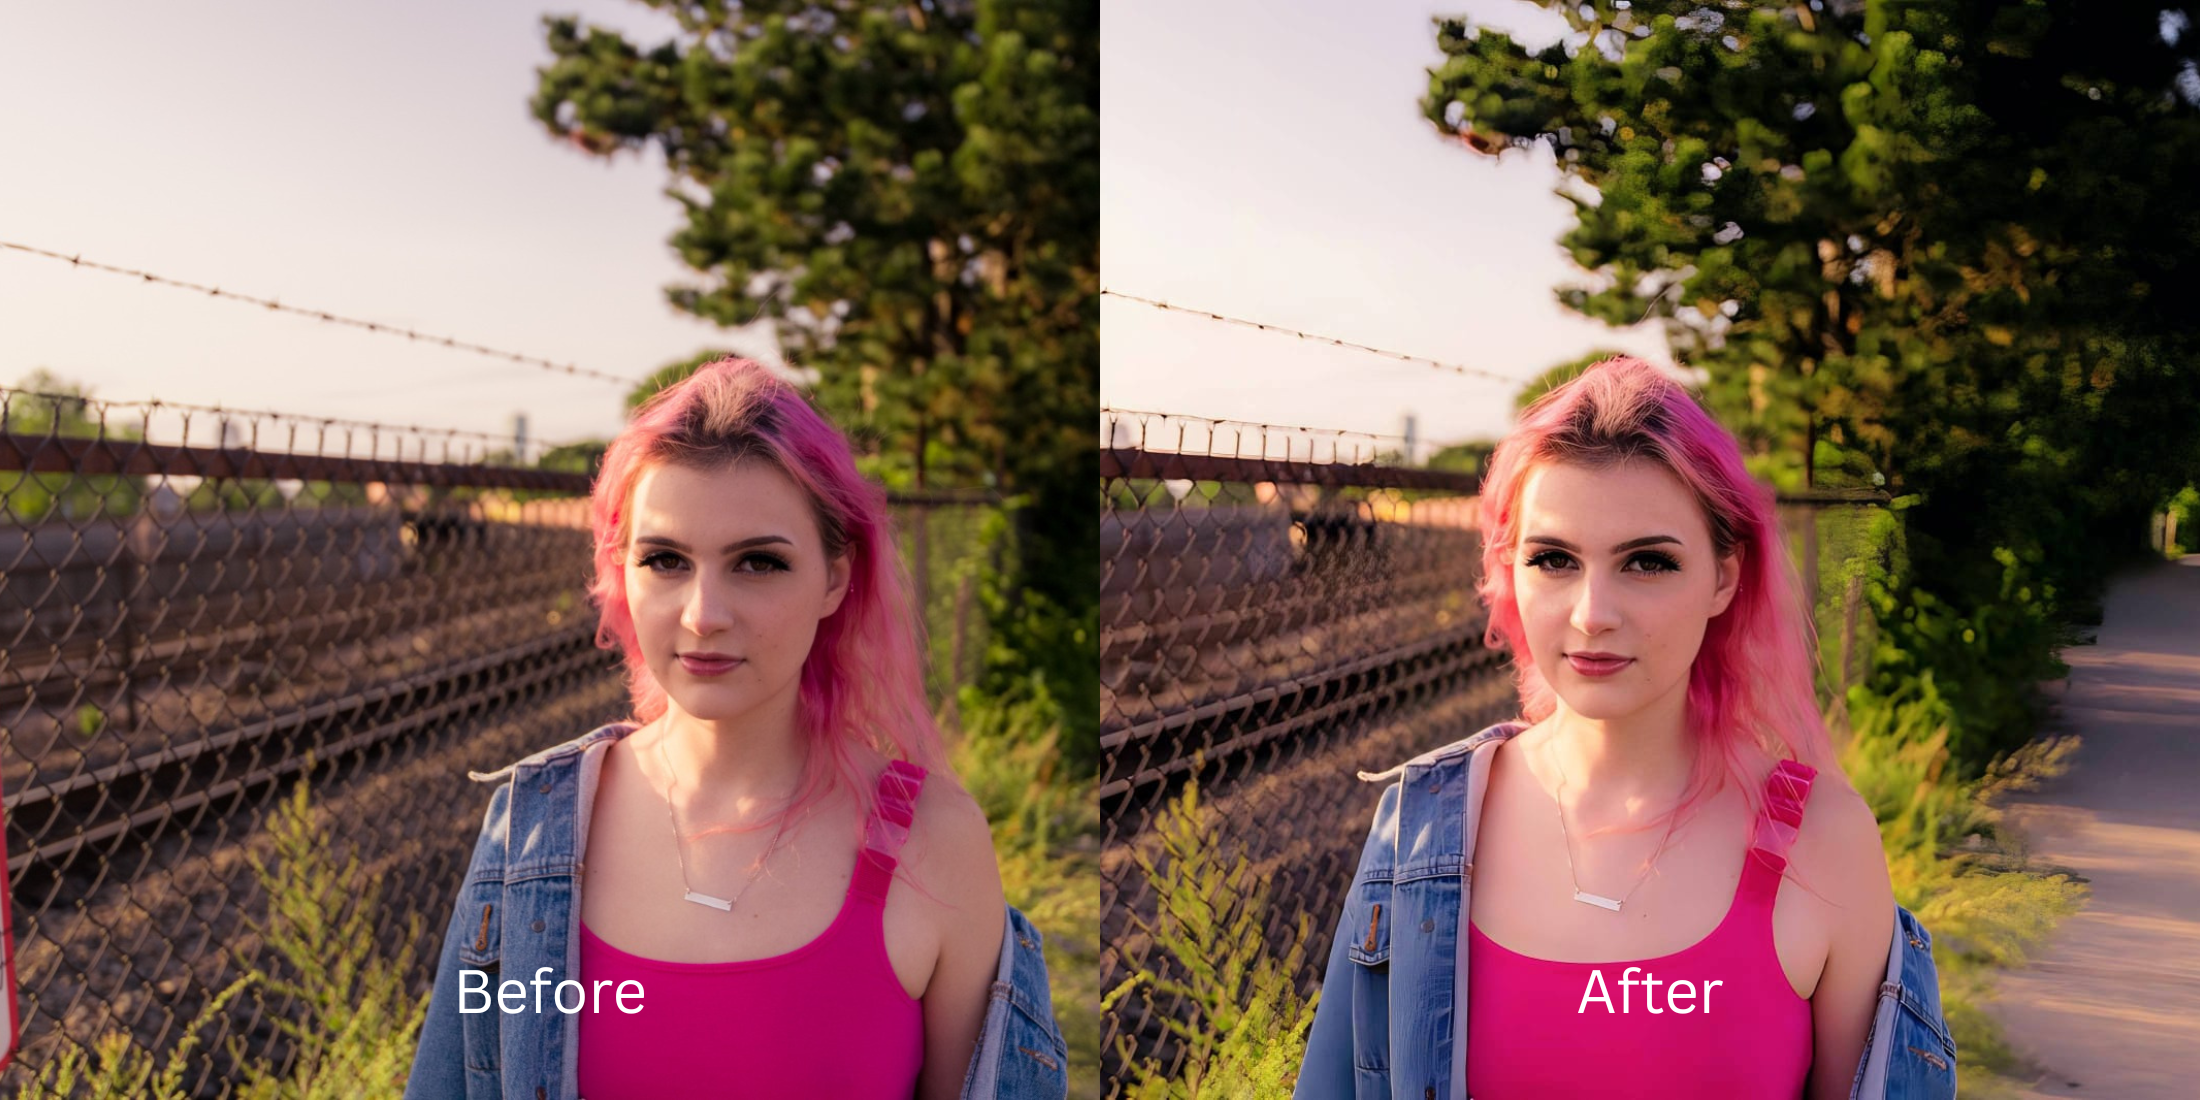

Free AI Tool to Fix Bad Selfies Naturally
Taking a bad selfie is incredibly frustrating, but trying to fix it with traditional editing apps often makes things worse. Most apps lock basic tools behind expensive subscriptions, and their free features just smear your skin until you look like a plastic doll. Phone cameras inherently distort your features and wash out lighting. If you are looking for free apps to look better, you need a solution that corrects the lens distortion and poor lighting without trapping you in a paywall.
To fix a bad selfie for free without using heavy beauty filters, you must correct the bad lighting and physical lens distortion first. In Citrus, skip manual brushing and tap Enhance -> Colors & Lighting to restore deep, natural contrast. Once the lighting is fixed, use Face -> Small Nose to instantly pull back the wide-angle camera stretch without hitting a paywall.
Why your phone camera creates bad selfies
Small smartphone lenses use a wide-angle perspective. When you hold the camera close to take a selfie, this perspective artificially enlarges the center of your face (like your nose) and flattens your cheeks. Additionally, weak indoor lighting erases your natural shadows. This optical failure is the real reason your picture looks bad. You can fix yellow indoor lighting and physical distortion simultaneously if you stop trying to blur your skin and start fixing the raw data.
- Paying expensive monthly subscriptions just to export a clear photo
- Using heavy blurring tools that make you look like a plastic avatar
- Warping background walls with manual push tools to fix wide angles
- Leaving harsh, yellow office lighting completely uncorrected
- Getting professional-level correction without any hidden paywalls
- Fixing overall image contrast so your face regains true depth
- Applying targeted contouring that corrects wide-angle stretch
- Stopping the edit while your natural pores remain highly visible
If your final image looks perfectly smooth but you seem completely fake, you will lose trust instantly. Using a smart tool helps you make a bad photo good while keeping your authenticity fully intact.
Fix bad lighting and distortion instantly. A smart edit keeps reality intact.
How to fix a bad selfie naturally in 5 steps
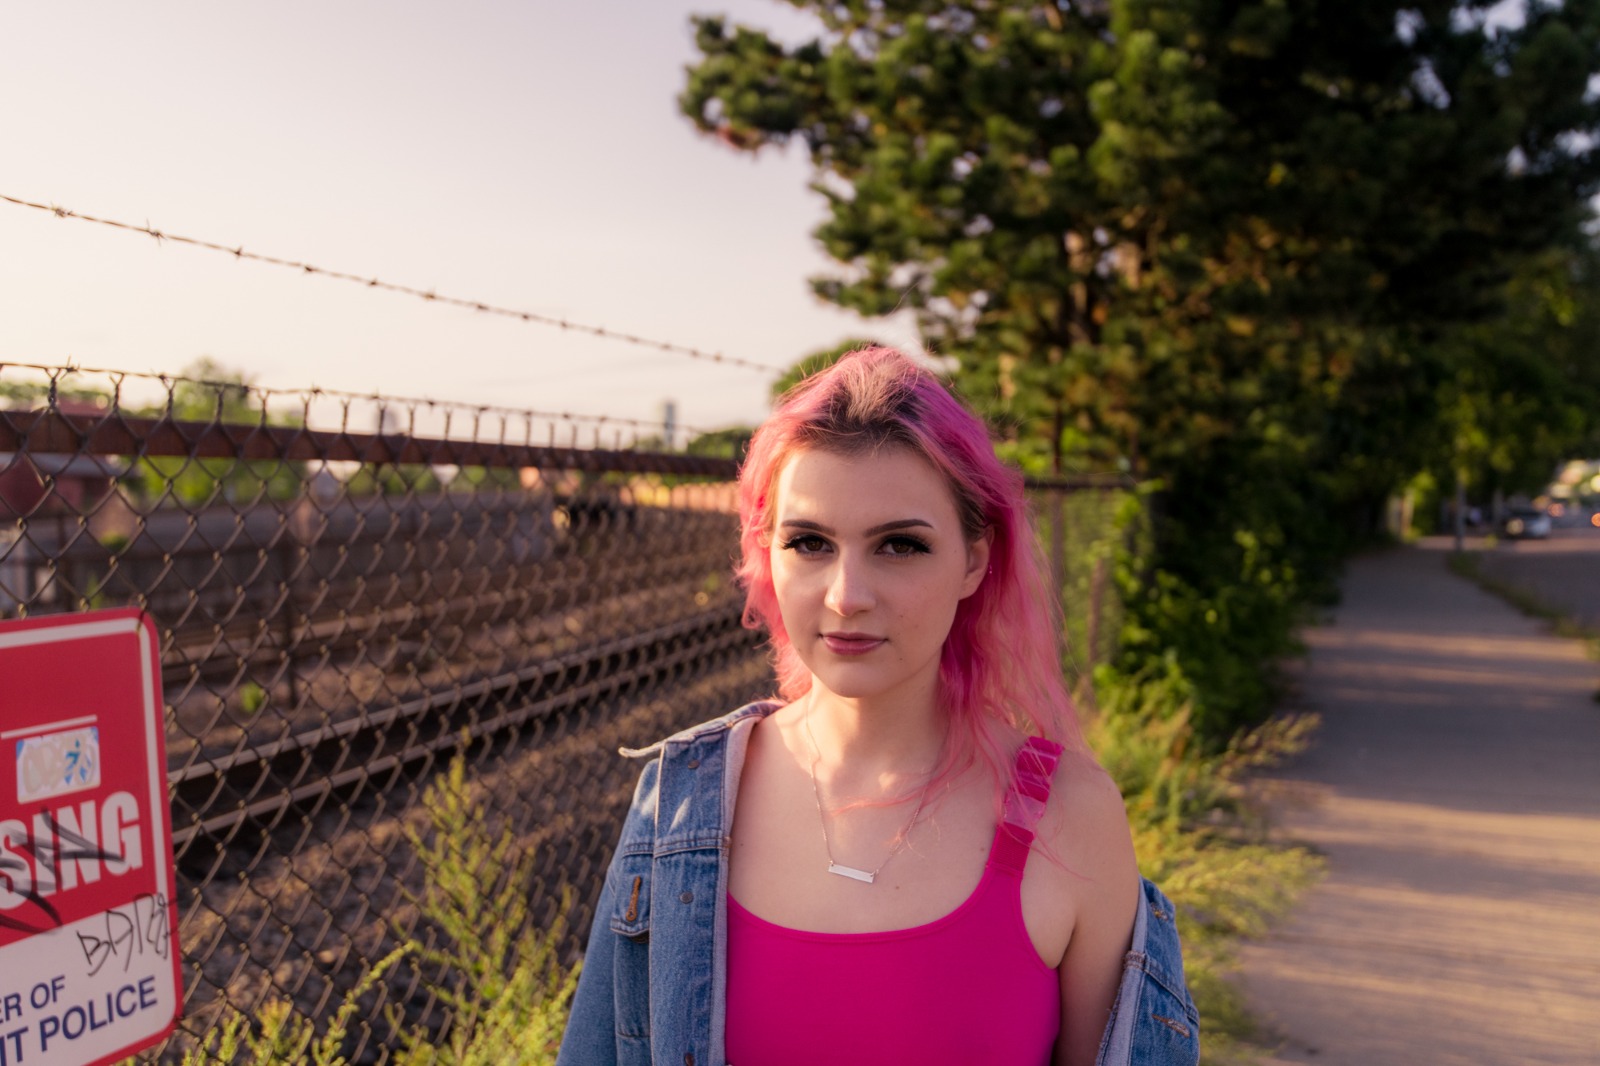
Select a selfie ruined by bad lighting
Find a picture where the camera failed you. You do not need to settle for an image covered in digital noise or flat shadows. You can instantly access fixes for tired puffy selfies directly from your phone.
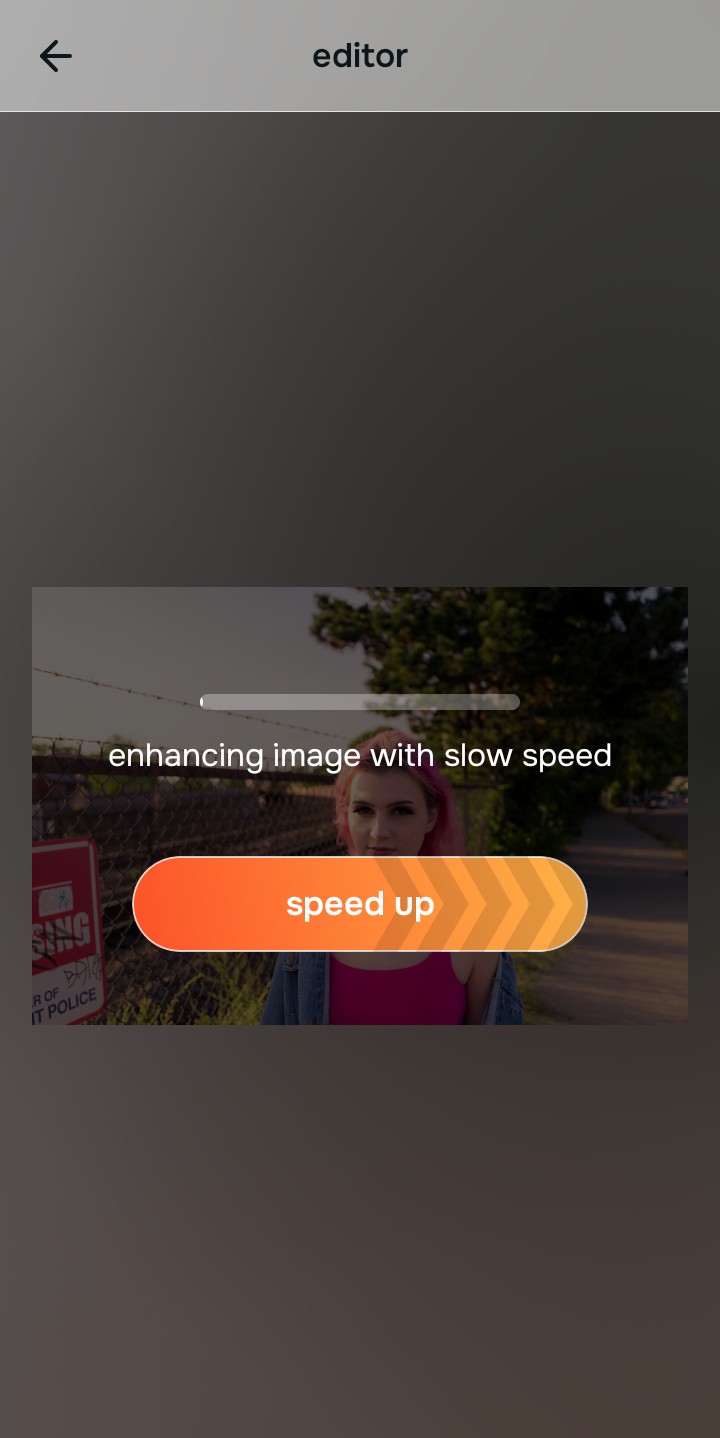
Let the instant preview analyze the damage
Citrus provides a first correction immediately without asking for payment. This ensures that any underlying contrast issues are recognized before you start trying to adjust your facial structure.
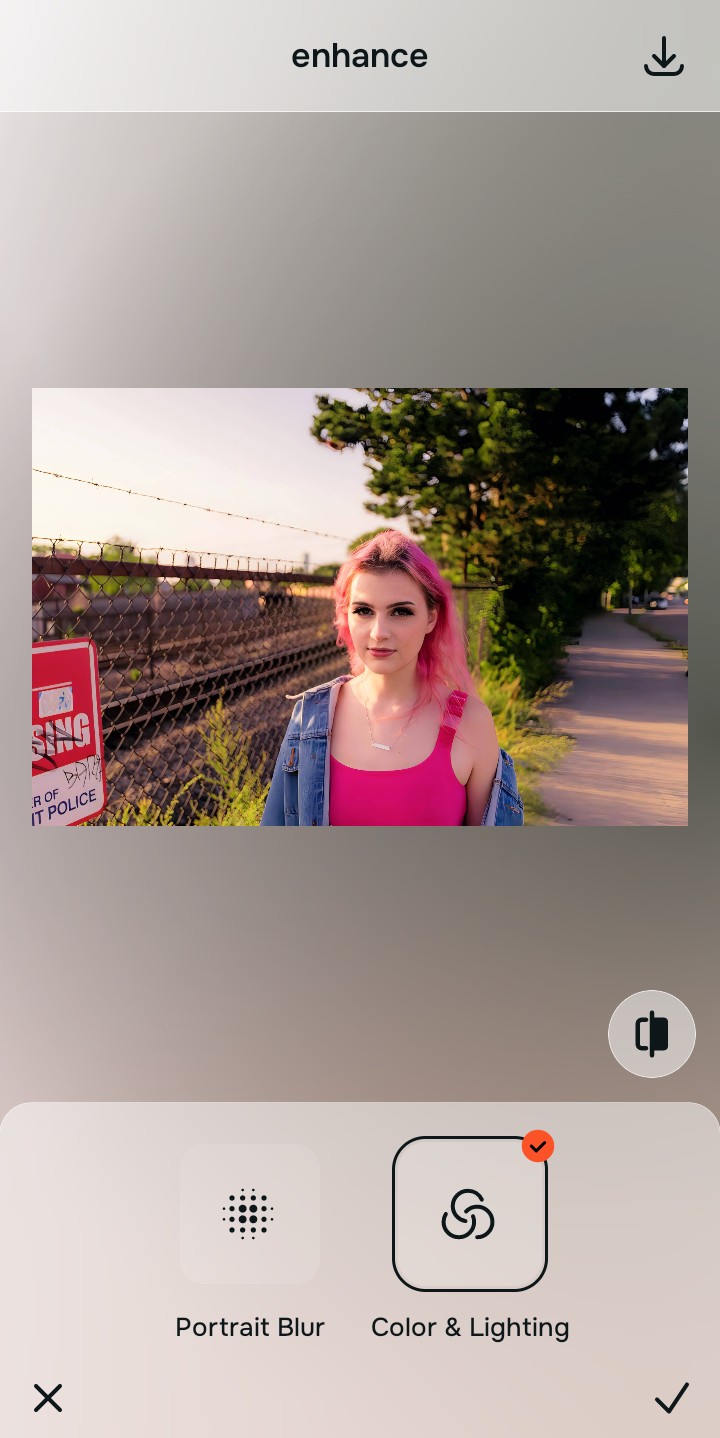
Use Enhance to fix Colors & Lighting first
Because bad selfies are usually a fundamental lighting problem, tap Enhance -> Colors & Lighting. This strips away the muddy wash and restores shadows to the scene. It is the absolute fastest way to improve bad camera lighting before attempting any retouching.
Always fix the flat lighting before using a contouring tool. Tap the Enhance options to restore image depth first.
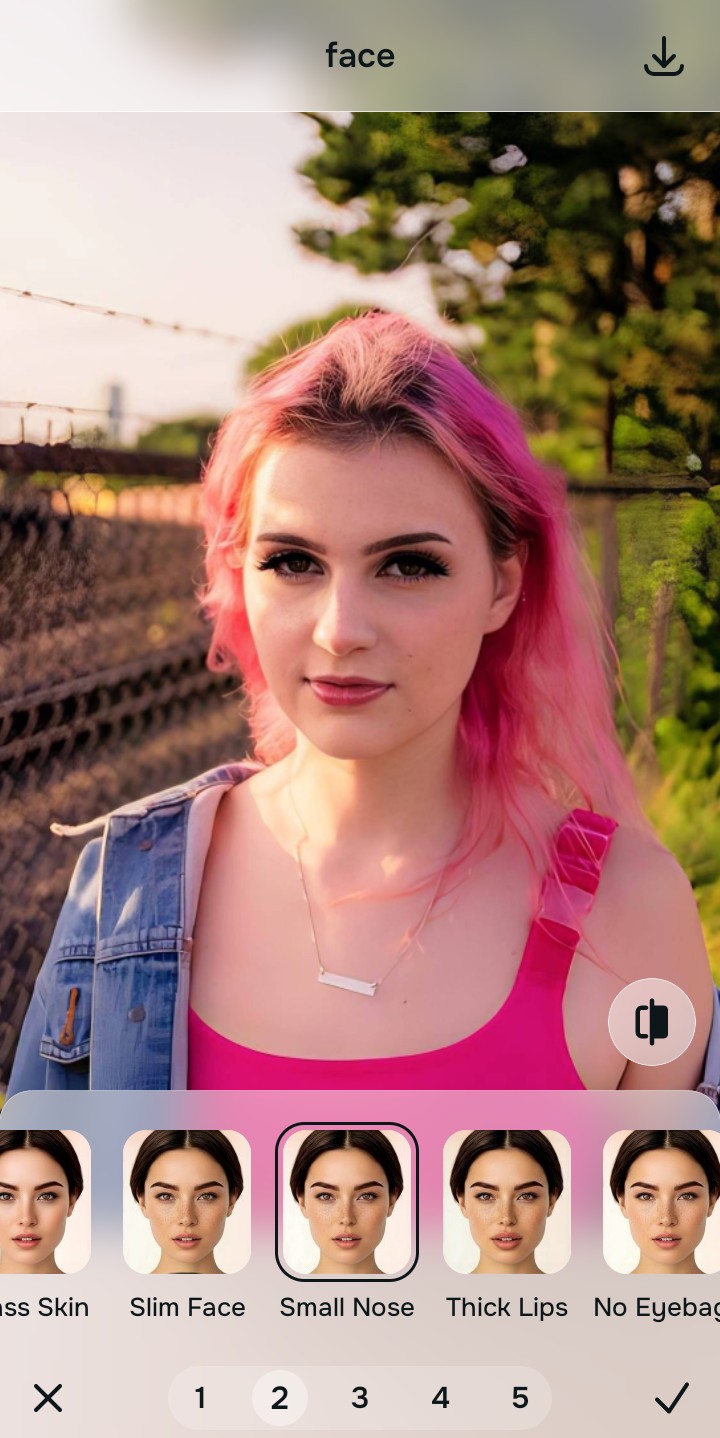
Apply Face tools to counteract lens distortion
Once the lighting is balanced, you can correct the camera stretch safely. Tap Face -> Small Nose to subtly pull back the wide-angle camera widening. This allows you to make your nose look smaller without bending the walls behind you.
Save the high-resolution photo instantly
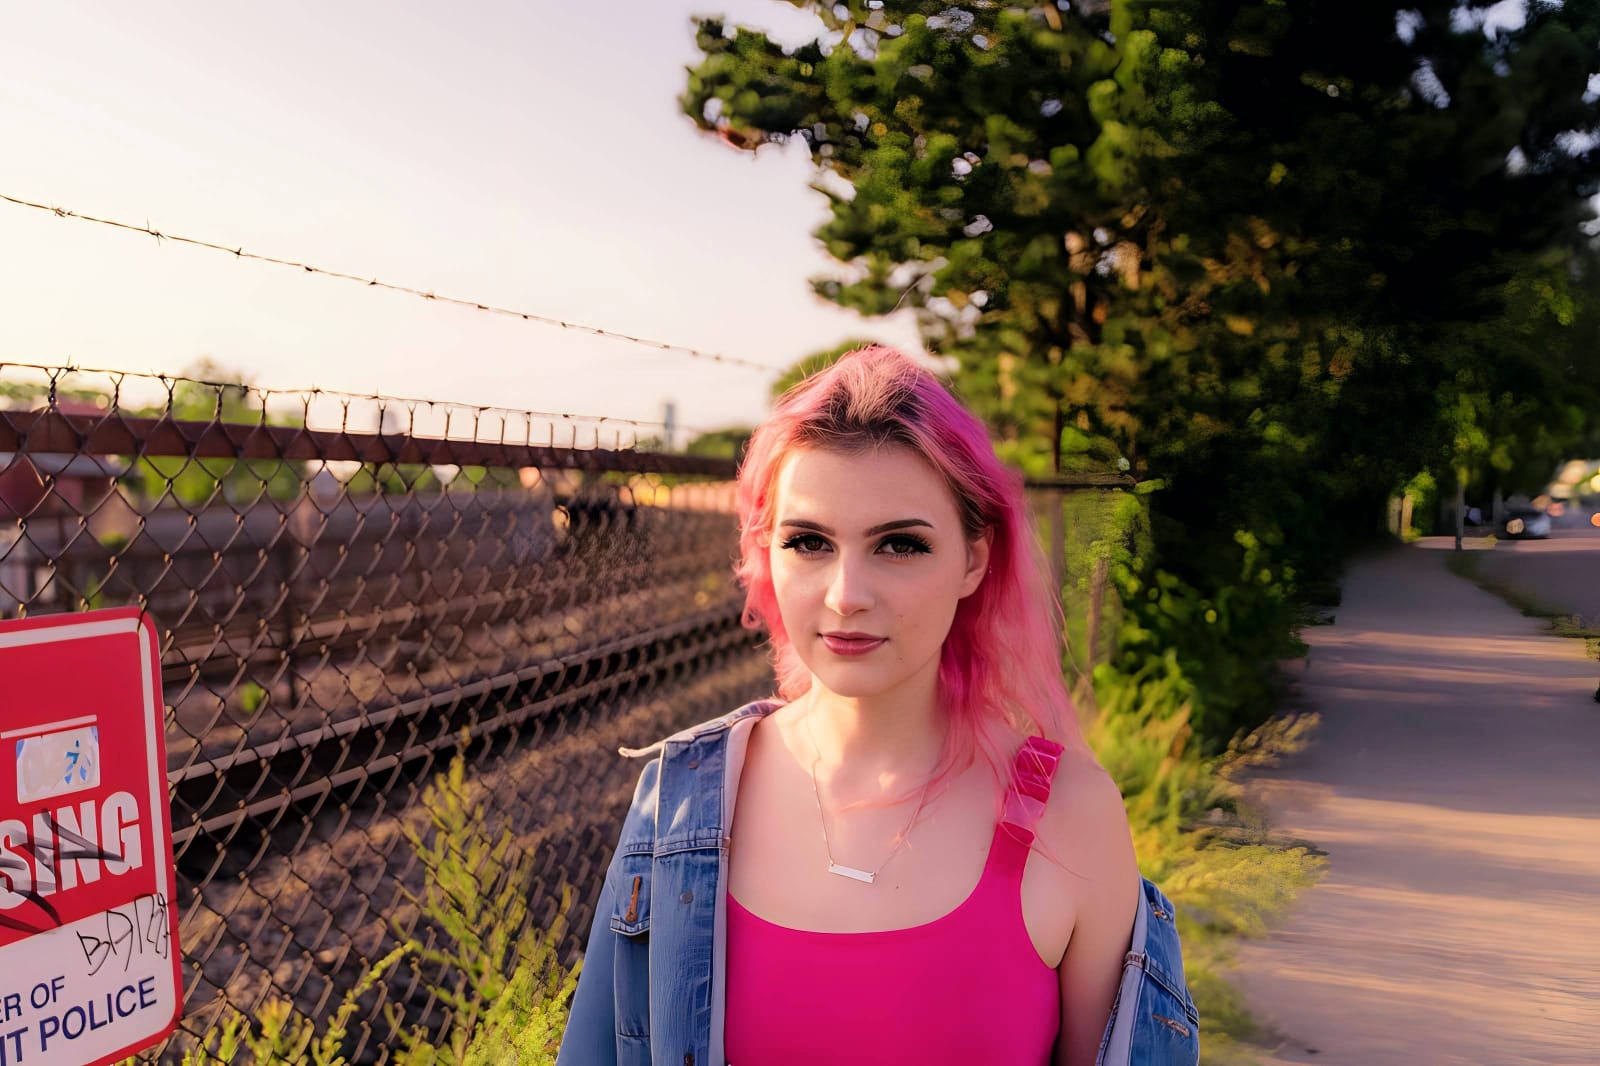
Unlike premium apps that charge you to export a clear photo, you can save your results instantly. Stop adjusting before the picture begins to look heavily filtered, and enjoy a high-quality save.
Why did your camera ruin this photo?
Choose the description that fits best. Your starting point changes depending on what is actually flattening the picture.
Which free Citrus tool delivers the best natural fix
Different problems require entirely different tools. The goal is to get the best possible result by matching the tool to the actual camera error. This stops you from ruining the entire picture with an automated, paid filter.
| Tool | What it helps fix | When to use it |
|---|---|---|
| Enhance Start here | Overall darkness, weak light, muddy contrast, and lack of depth | Use this first when the whole image feels lifeless. Choose Colors & Lighting to restore depth and clear the sensor noise for free. |
| Looks | Photos that are technically balanced but still lack an attractive impression | Use this after Enhance when the real issue is not severe darkness but a dull vibe. It creates a photogenic, Gentle glow instantly. |
| Face | Specific wide-angle lens distortion or flat bone structure | Use this last, applying targeted tools like Small Nose to subtly pull back lens stretch after the broader image already feels properly lit. |
“The best way to fix a bad selfie is to recover the lost light data instead of paying a monthly fee to plaster an artificial blurring mask over your face.”
Why automated lighting correction beats paid filters
There is a massive difference between adding dimension and manually wiping out reality. When you use an aggressive, paid beauty filter, you turn the entire image into a flat plastic wash. The human brain instantly recognizes this loss of detail as a cheap edit.
Real quality comes from correcting the underlying light data instantly. Using free enhancers for low light selfies allows you to save money while ensuring you look completely authentic online.