


July 8, 2026
How to Edit Your Photos Like a Pop Star Tour Poster

How to Edit Your Photos Like a Pop Star Tour Poster
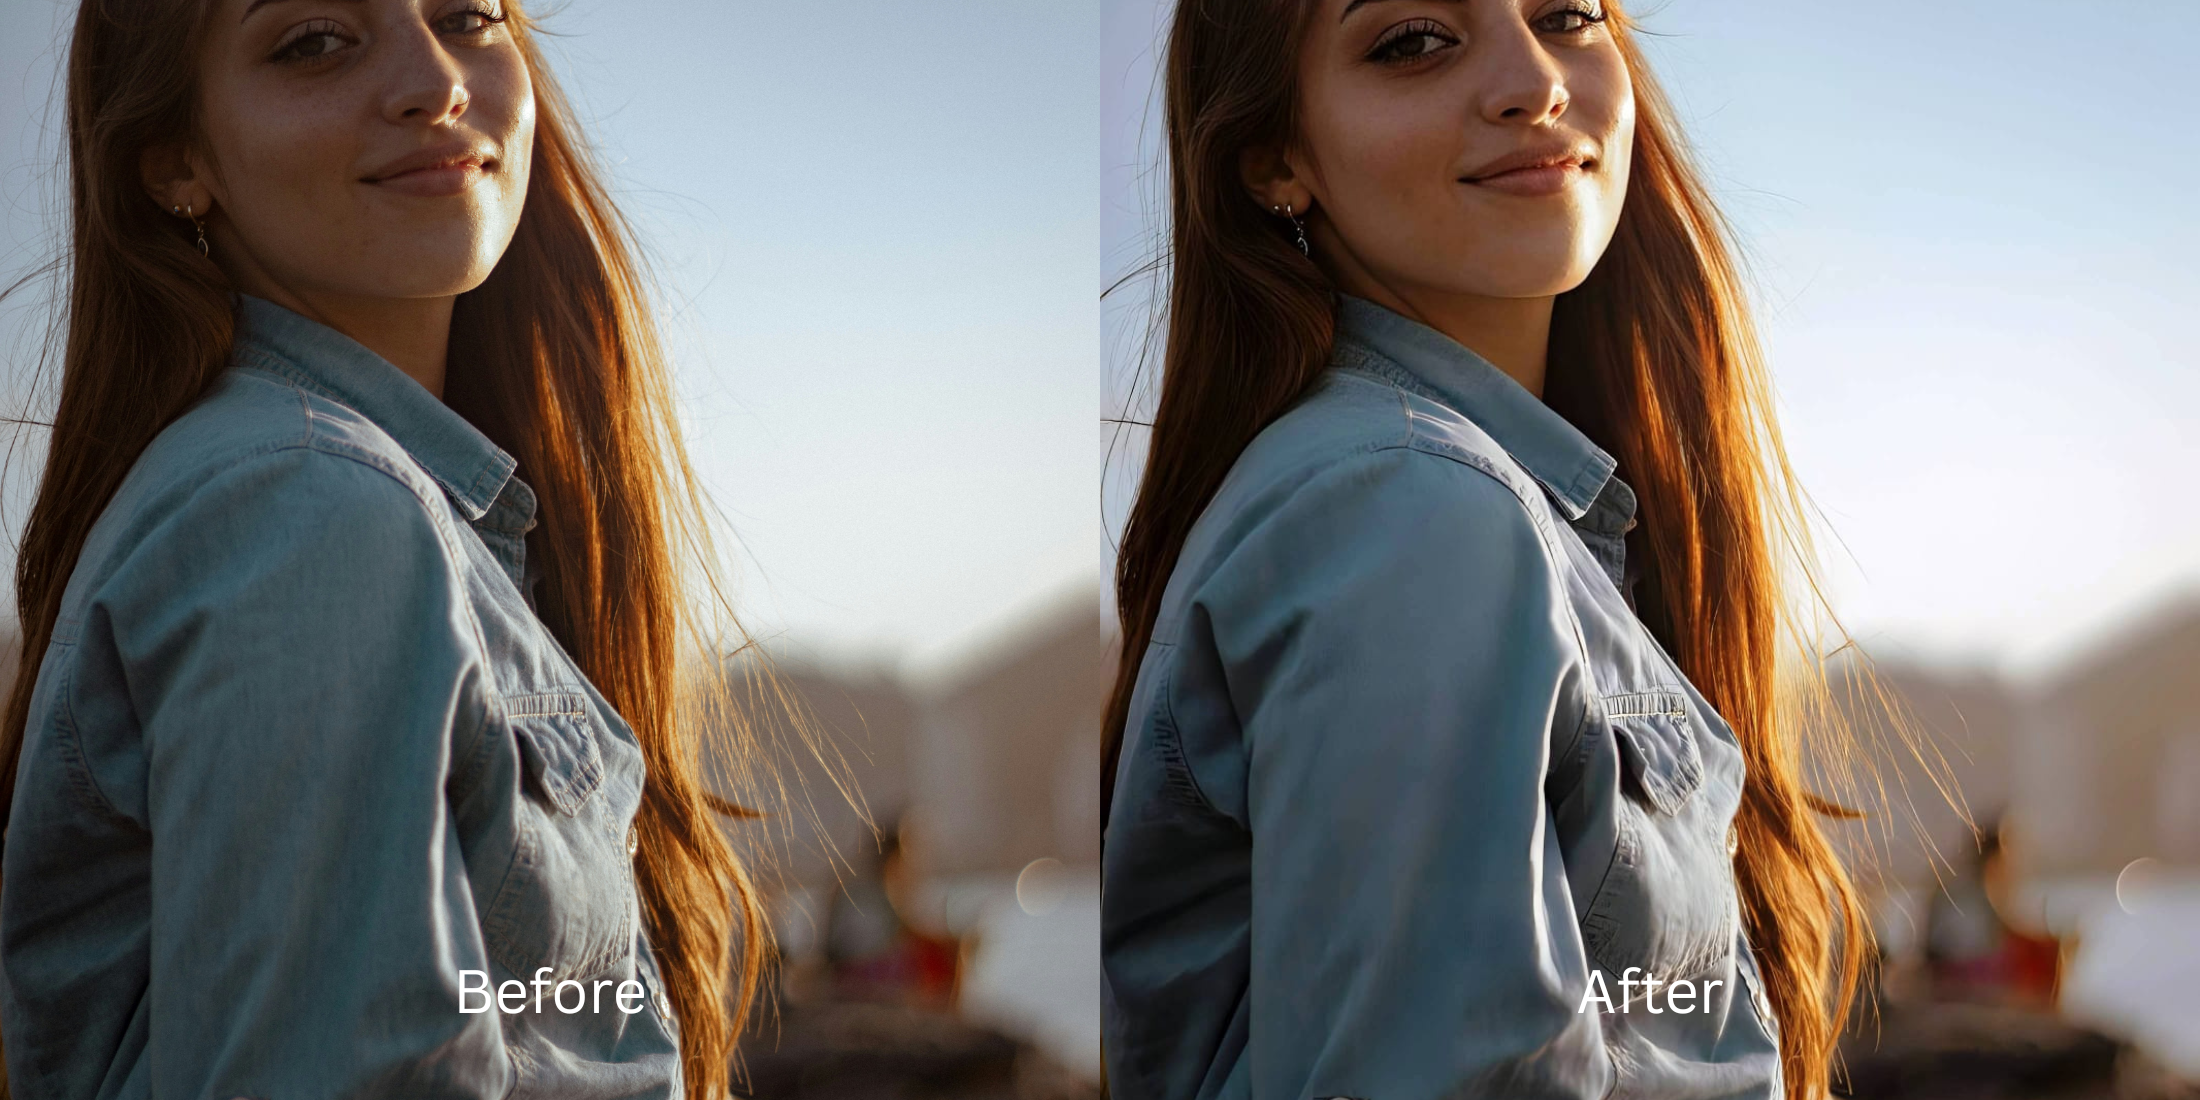
The "Pop Star Tour Poster" aesthetic is everywhere right now. It is defined by incredibly dramatic, high-contrast studio lighting that isolates the subject from a dark background, paired with a flawless, high-fashion editorial face. However, achieving this expensive, million-dollar look on a smartphone is nearly impossible because native cameras flatten shadows to make everything visible. If you try to fake this high-budget aesthetic by pasting neon text stickers from a cheap graphic design app or melting your face into plastic using an AI editor, your photo immediately looks like a desperate fan edit. To get that genuine, striking celebrity energy, you must completely reconstruct your image's raw exposure natively.
To recreate a striking, high-budget tour poster aesthetic without looking fake, prioritize professional light reconstruction. Open your flat selfie inside Citrus and ignore the cheap sticker apps. First, tap Enhance → Colors & Lighting to automatically rebuild the dramatic, high-contrast studio shadows natively. Next, navigate to Face → Small Nose and pick a clean Level 1–5 configuration. This mathematically structures and polishes your face for a high-fashion finish while keeping your authentic identity perfectly intact.
Why cheap graphic design apps and fake AI ruin the aesthetic
The core issue with trying to curate a high-fashion poster vibe using apps like Picsart or Canva is their reliance on cheap, pasted-on graphics. Throwing a fake light leak or text sticker over a badly lit smartphone photo does not make it look professional; it makes it look chaotic. Furthermore, if you rely on utility editors like FaceApp to polish your features, they paste heavy, glossy generative AI over your face, destroying the raw realism completely. Escaping this low-quality trap requires using an app to make photo crisp masculine natively without generating artificial slop.
- Ruining the high-budget illusion by pasting cheap, uncalibrated neon stickers over your photo in Picsart
- Replacing your real features with highly synthetic, generative AI beauty masks using FaceApp
- Washing out your natural skin tones entirely by applying flat, muddy film presets via VSCO
- Making the photo look obviously staged and heavily processed rather than effortlessly professional
- Accessing powerful, high-resolution aesthetic processing workflows generously given for free
- Using mathematically calibrated Level 1–5 taps instead of destructive, artificial graphic stickers
- Rebuilding vibrant, dramatic contrast patterns natively without altering your organic facial features
- Processing entire high-fashion portraits in under 10 seconds with optional turbo batch speeds
When your content asset looks obviously degraded by fake overlays or over-smoothed by AI, your digital feed loses that professional credibility instantly. Shifting to an advanced method to fix grainy night selfies free keeps your features crisp, glowing, and completely authentic.
Optimize editorial light fields instantly. A structured level choice keeps your raw, effortless texture completely intact.
How to automate a flawless tour poster aesthetic natively in 5 steps
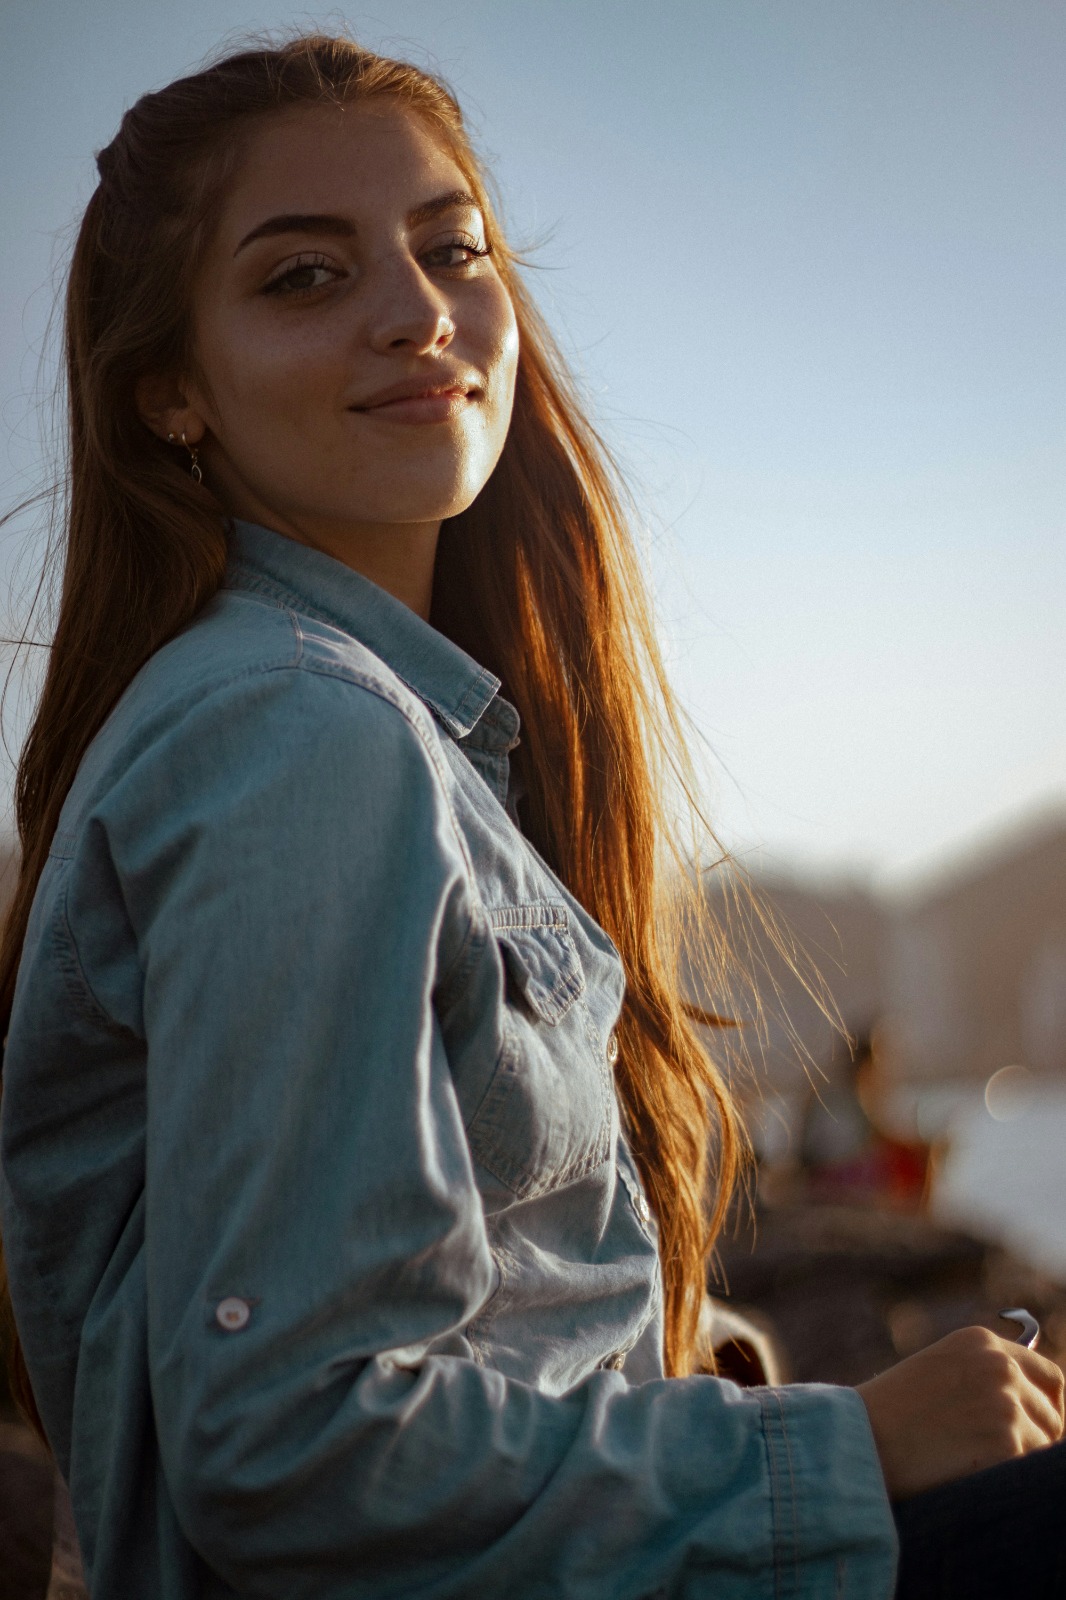
Upload a selfie flattened by boring phone lighting
Open your file rollout and choose a raw picture that suffers from flat indoor lighting or messy camera washout. Securing a reliable photoshop alternative quick portrait fixes relies on managing this exposure baseline correctly first.
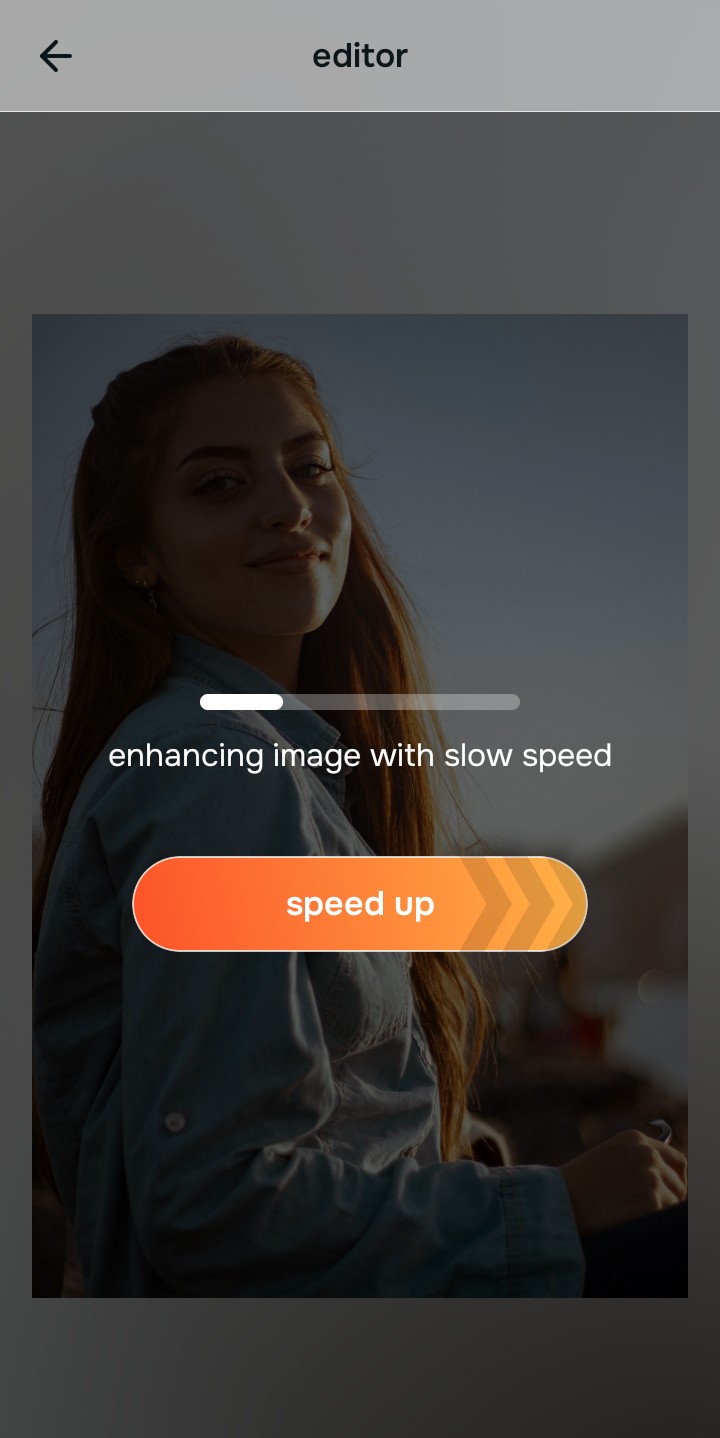
Let the real-time preview map the contrast coordinates
Citrus initializes its tracking grid instantly without forcing you through paywalled credit card registrations. This presents an active preview window so you can safely examine how the engine handles dark background regions before processing.
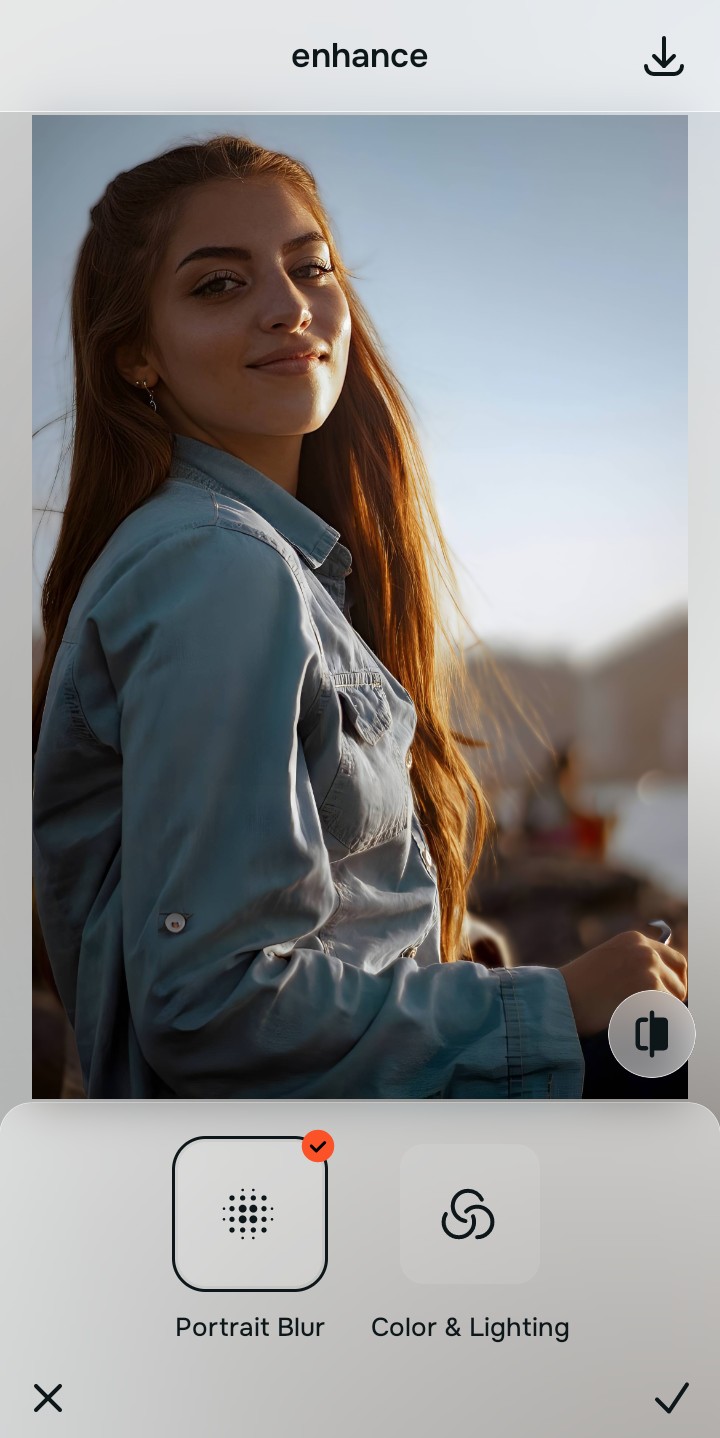
Tap Enhance and choose Colors & Lighting
Because dull selfies are caused by boring global camera metering curves, tap Enhance → Colors & Lighting. This strips away muddy background noise and injects deep, dramatic studio contrast cleanly. Rebuilding this exposure baseline is essential to your enhancer personal brand photos strategy.

Always balance global photographic lighting before applying aesthetic vibes. Normalizing the base exposure map ensures subsequent high-contrast updates sit beautifully and invisibly without weird masking artifacts.
Tap Looks and select Small Nose to inject an editorial structure
With your base light layers normalized into dramatic contrast, optimize your overall face impression natively. Tap Face → Small Nose. Select your preferred value from Level 1–5 to layer a crisp, high-fashion structure that still feels completely natural. This is how you fix selfie before instagram without wiping away your identity.
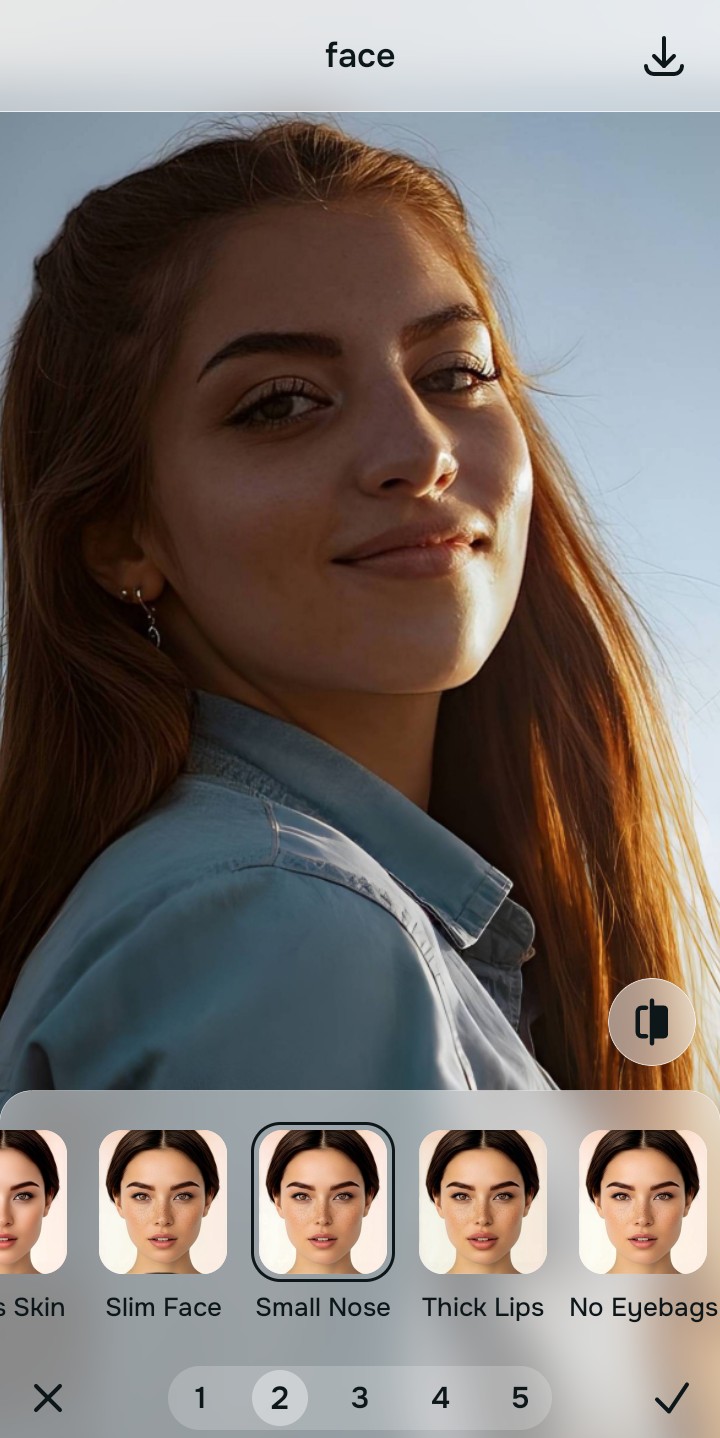
Export your high-resolution, unwatermarked portrait
Citrus generously offers clean high-definition exports entirely for free with no hidden premium pop-ups. For creators looking to process massive tour galleries rapidly, an optional premium Turbo rendering tier is available. You can safely prepare to export porcelain skin no waxy ai portraits instantly.
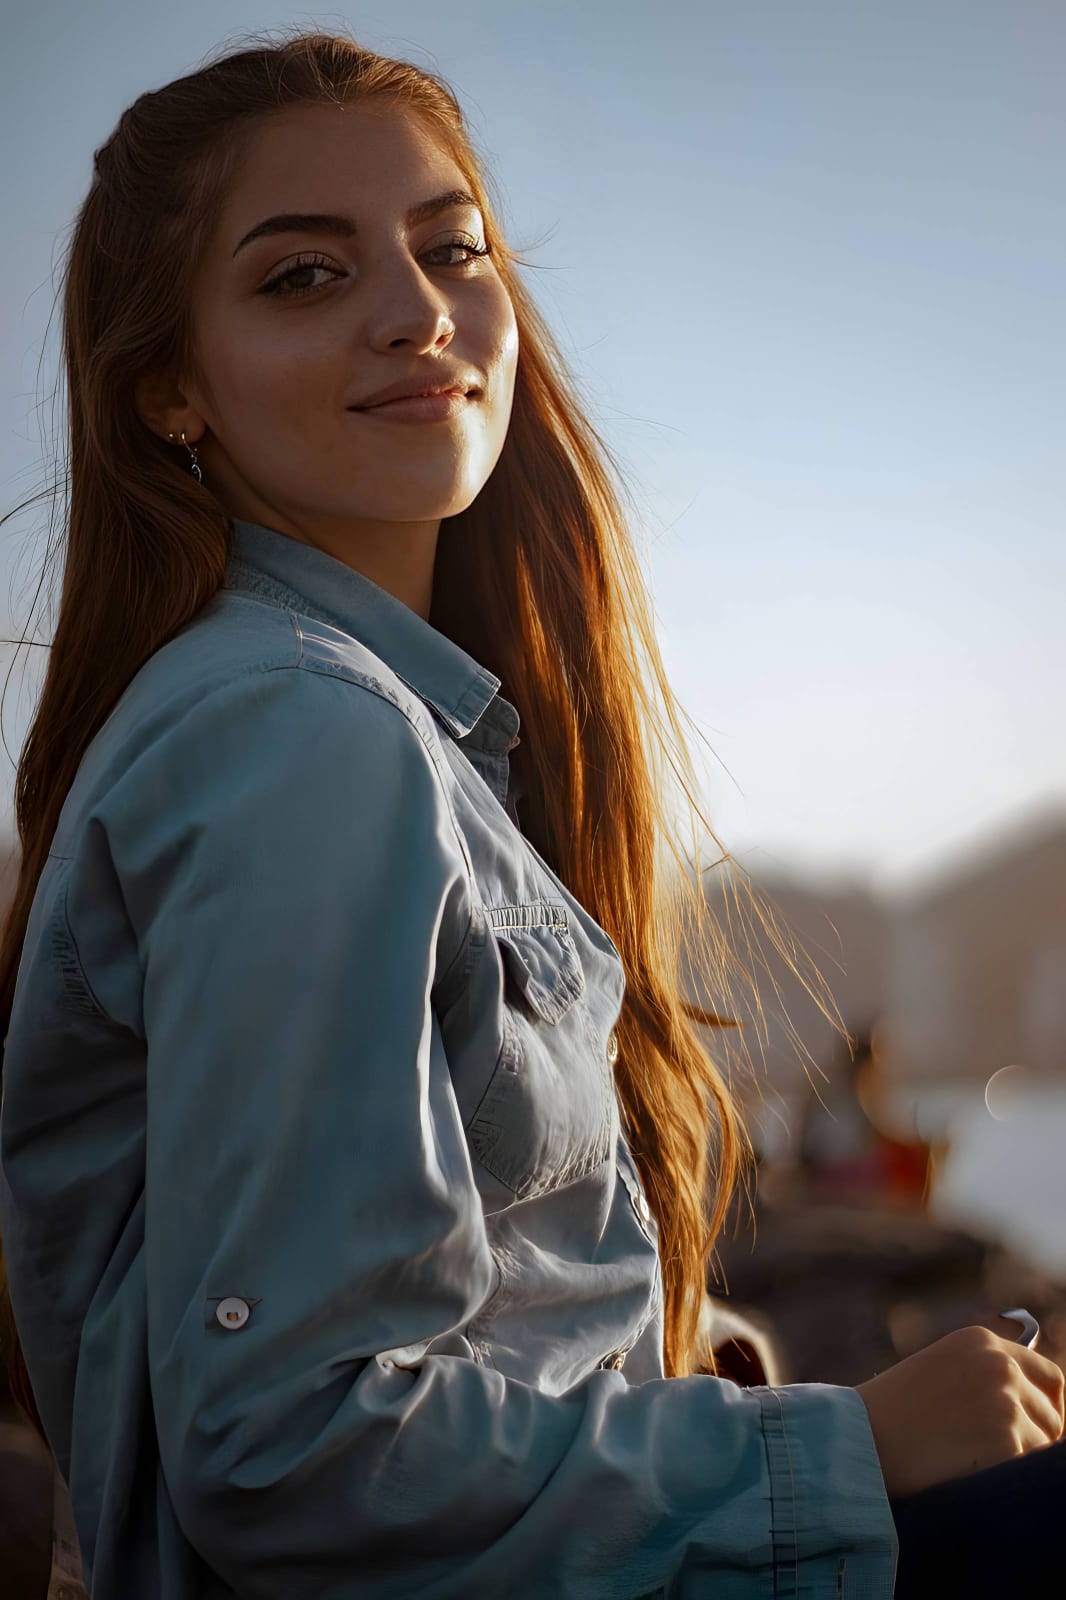
What is lowering your current portrait quality?
Isolate your image's core mechanical issue. Your automated pipeline changes depending on the source error.
How to align your profile concerns with the right free pathway
Separate photo weaknesses necessitate independent menu paths. Selecting structured Level 1–5 tap options instead of raw manual sliders is the only way to lock in visual sharpness without generating AI slop.
| Tool Pathway | Primary Flaw Remediated | Automated Fix Strategy |
|---|---|---|
| Enhance Start here | Washed-out facial illumination, flat shadows, and compressed boring camera fields | Use this first to establish a proper dramatic foundation. Choose Colors & Lighting to balance layers for free. |
| Looks | Dull skin appearance, flat expressions, and tired overall image vibrancy | Use this to update the entire face impression. Select Small Nose (Level 1–5) to coat your portrait in a curated polish. |
| Face | Targeted anatomical washouts like deep eye bags or dark shadow pockets | Use this last for precise feature tweaks. Select No Eyebags to safely lift localized shadows without adding blur masks. |
“Professional high-end styling should never rewrite your skin details with fake blur. It must simply normalize the exposure bugs so your native topography looks striking, clean, and effortlessly editorial.”
Why precise level taps protect human skin texture better than manual slider apps
There is a massive structural difference between balancing camera exposure natively and masking your face behind fake filters or generative slop. When you use manual artificial stickers, custom curve tools, or uncalibrated contrast sliders inside legacy platforms, the application compresses your data matrix, resulting in noticeable, deep-fried streaks across your skin features. This instantly ruins your file quality and makes it look desperate rather than expensive.
Citrus is built from the ground up to be the most natural enhancer ever created. By relying exclusively on mathematically precise Level 1–5 tap settings instead of unpredictable sliders, the engine maps your face securely, optimizing highlight tracking without hallucinating new facial characteristics. Utilizing a natural face enhancer faceapp alternative naturally guarantees that your presentation remains sharp, trusted, and beautifully proportioned.