


June 18, 2026
How to Remove Weird Background Mess From a Photo Without Cropping Yourself Out
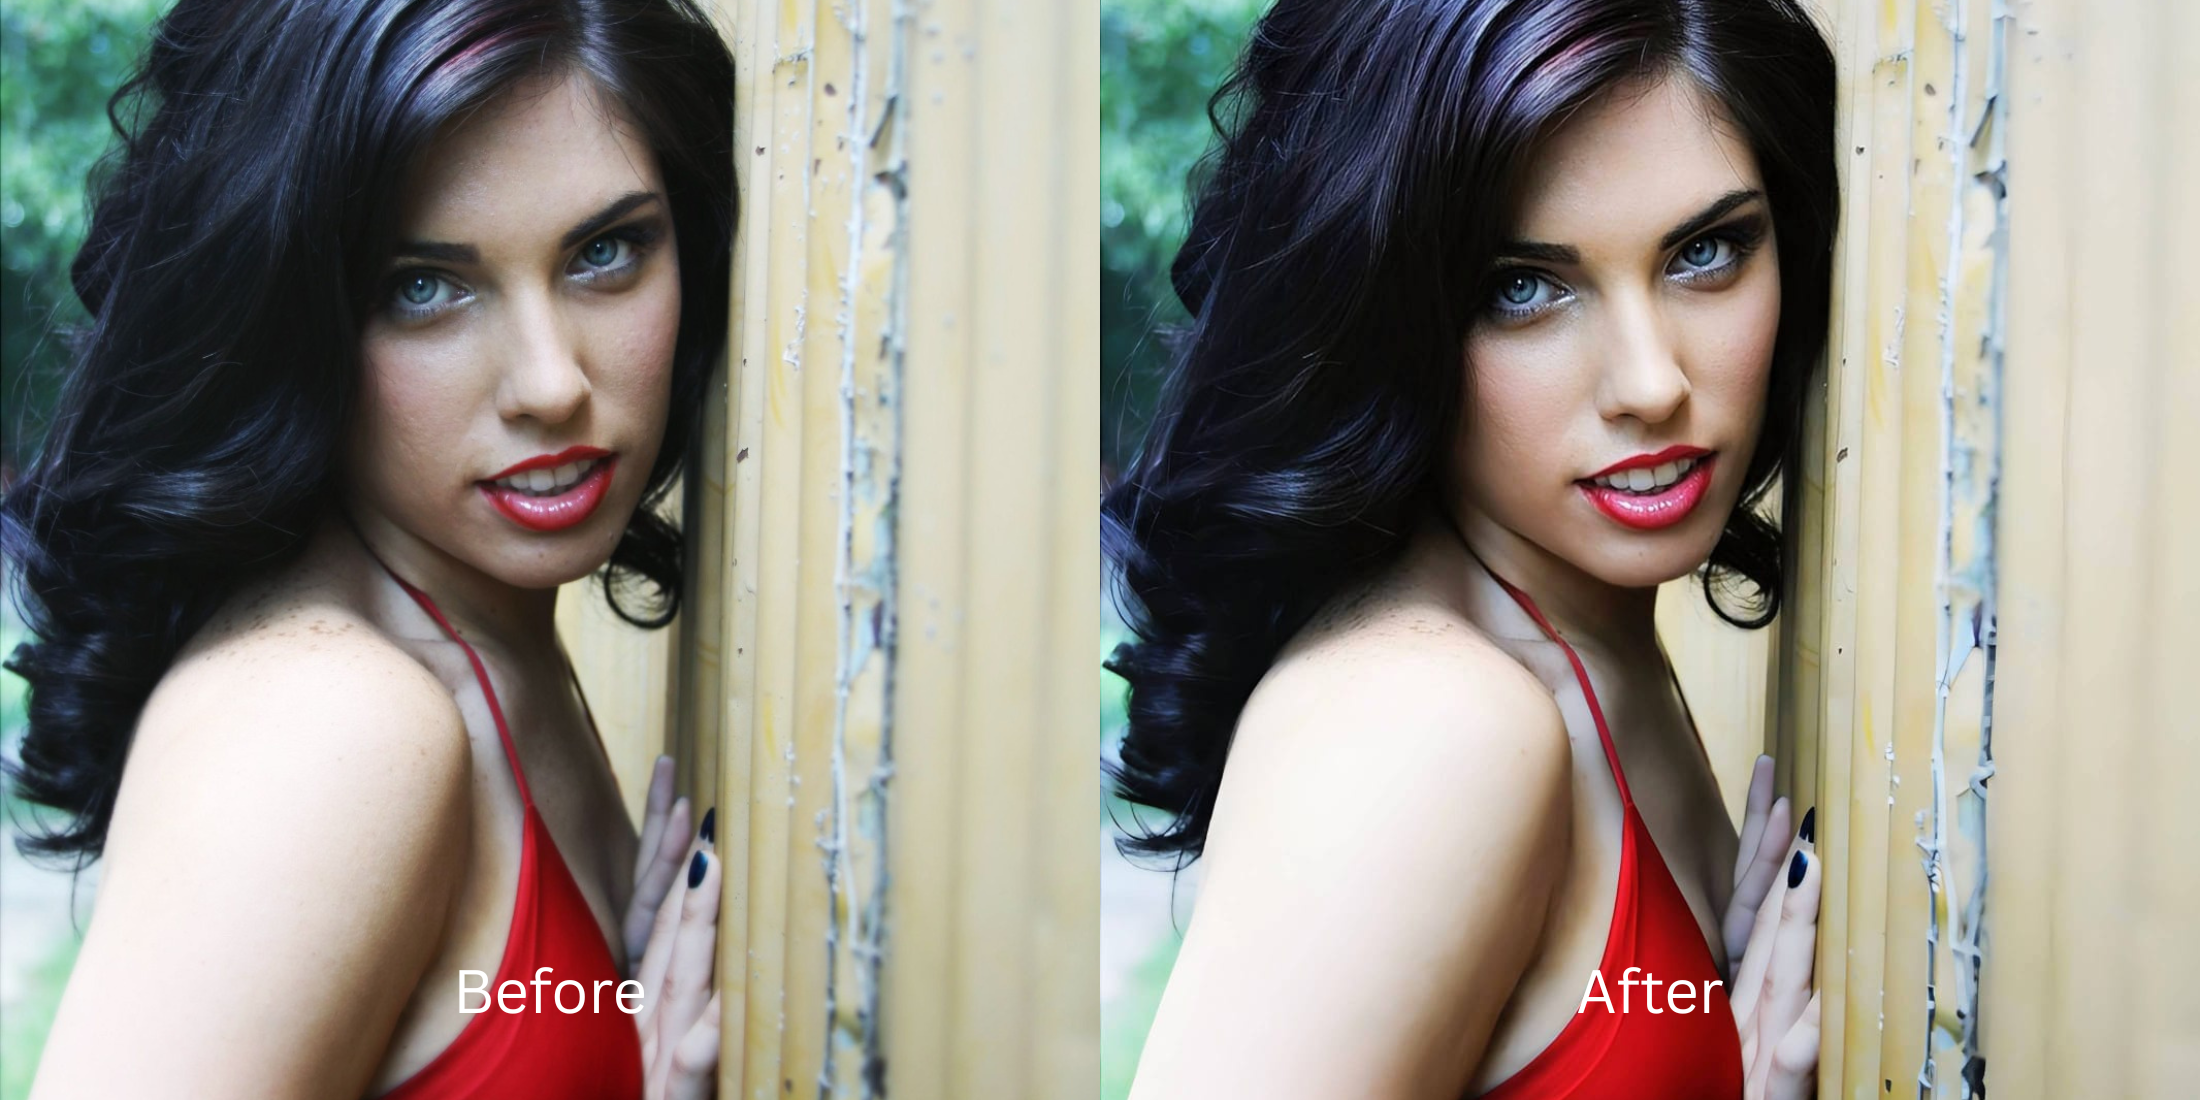

How to Remove Weird Background Mess From a Photo Without Cropping Yourself Out
You just took a photo with the perfect outfit and incredible lighting, but then you notice it: a pile of dirty laundry on your bed, a messy kitchen counter, or a random person photobombing you in the background. Your first instinct is to crop the photo, but that completely ruins the composition and cuts off your arms or legs. If you try to use an AI "Magic Eraser" app to delete the mess, the AI inevitably leaves a warped, pixelated "ghost smudge" right where the object used to be, exposing your edit to everyone. If you try to paste yourself onto a fake white background, you look like a floating head in a dropshipping ad. To naturally hide background mess without looking heavily edited, you must simulate professional optical depth.
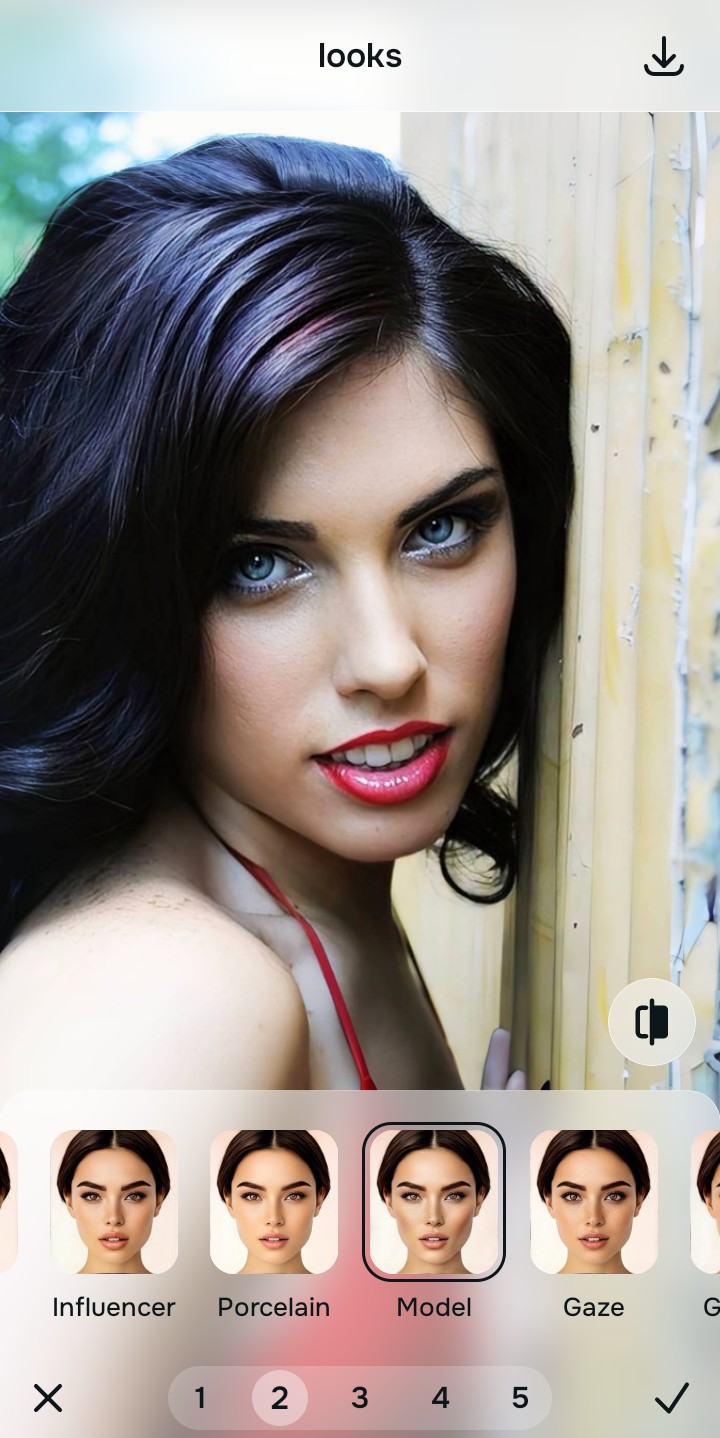
To hide background mess without leaving warped AI smudges, prioritize DSLR depth-of-field over magic eraser tools. Open your messy room photo inside Citrus. First, tap Enhance → Portrait Blur to mathematically separate yourself from the clutter, melting the messy laundry or photobombers into a creamy, professional blur. Next, navigate to Looks → Model and pick a clean Level 1–5 configuration. This instantly injects crisp, high-end contrast into your face and outfit, ensuring you pop out perfectly against the newly blurred background.
Why "Magic Erasers" and fake AI cutouts ruin your photo
The core issue with trying to rescue a cluttered photo using apps like Retouch or Google Magic Eraser is their reliance on artificial cloning. When you try to erase a pile of clothes, the AI has to guess what the wall behind it looks like, usually resulting in a terrifying, warped smudge that screams "I Photoshopped this." Furthermore, using apps like Photoroom to paste your body onto a fake solid background destroys the ambient lighting, making you look completely artificial. Escaping this low-quality trap requires knowing how to unblur face without overediting while using depth to hide the background naturally.
- Leaving a warped, pixelated "ghost smudge" on the wall by using an AI magic eraser tool
- Looking like a floating, fake head by pasting yourself onto an artificial white background
- Ruining your outfit and the photo's framing entirely by awkwardly cropping the mess out
- Making the photo look incredibly cheap and heavily processed rather than like a casual photoshoot
- Accessing powerful, high-resolution DSLR depth processing natively given for free
- Using mathematically calibrated optical blur to hide messes instead of creating warped clone smudges
- Rebuilding vibrant, crisp contrast on your outfit natively so you pop against the background
- Processing cluttered bedroom photos safely in under 10 seconds to look effortlessly professional
When your content asset looks obviously degraded by warped AI erasers or bad cropping, your digital feed loses that effortless credibility instantly. Shifting to an advanced photoshop alternative quick fixes method natively ensures your outfit looks crisp, high-end, and completely authentic.
Optimize portrait depth fields instantly. A structured level choice keeps your genuine, high-quality outfit completely intact.
How to automate a flawless, mess-free portrait in 5 steps
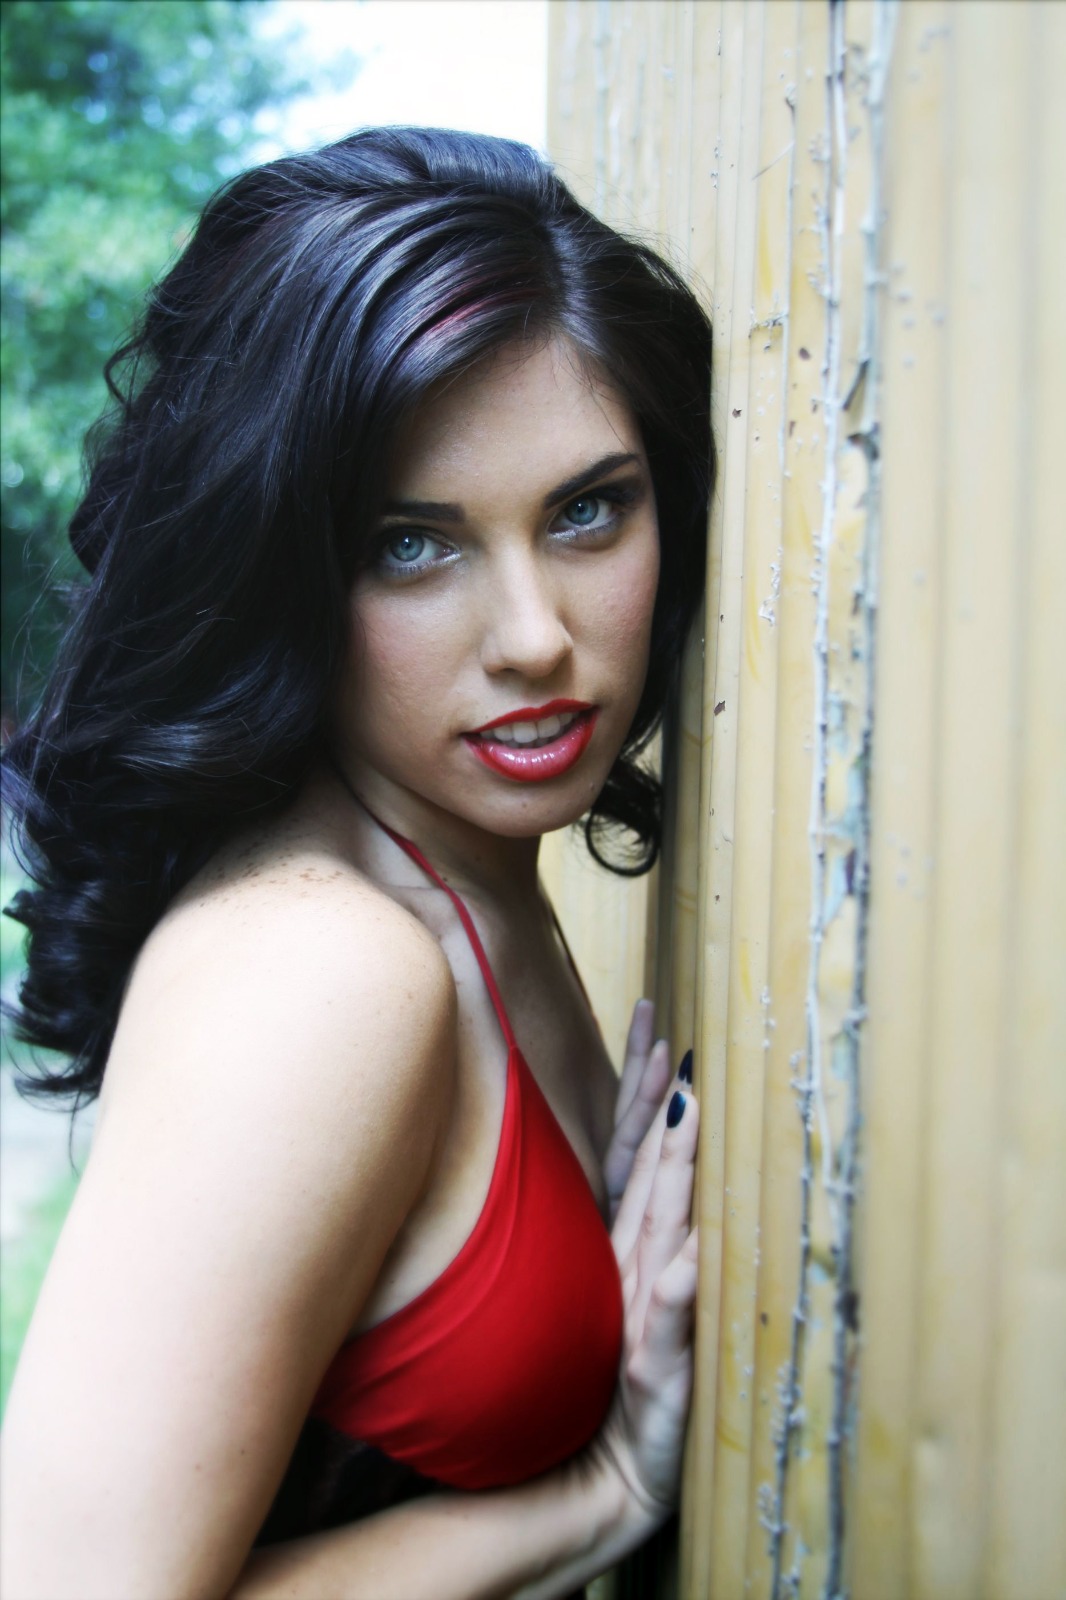
Upload the great outfit photo ruined by a messy room
Open your file rollout and choose the raw picture that suffers from distracting background clutter like dirty laundry or photobombers. Ensuring your casual portraits look professional starts by managing this depth baseline correctly without deleting pixels.
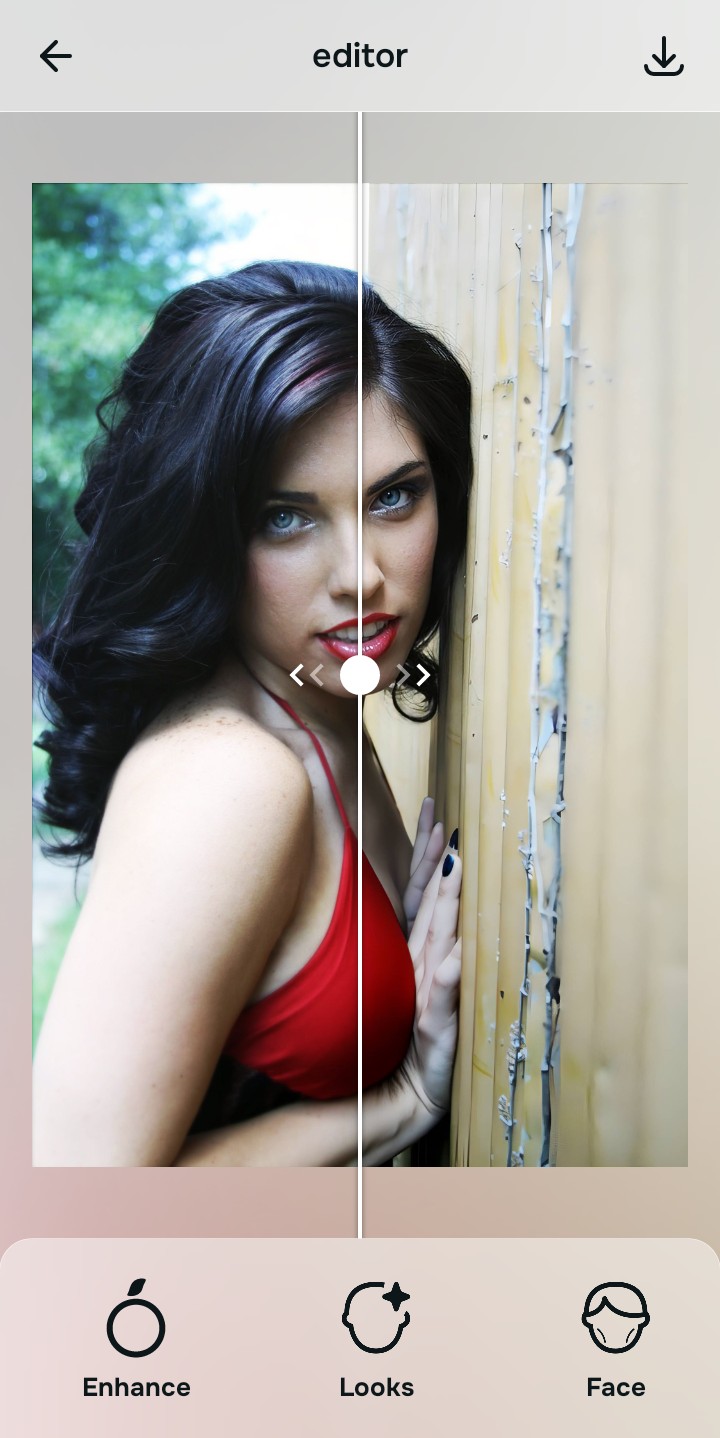
Let the real-time preview map the subject coordinates
Citrus initializes its tracking grid instantly without forcing you through paywalled credit card registrations. This presents an active preview window so you can safely examine how the engine isolates your body from the clutter before processing.
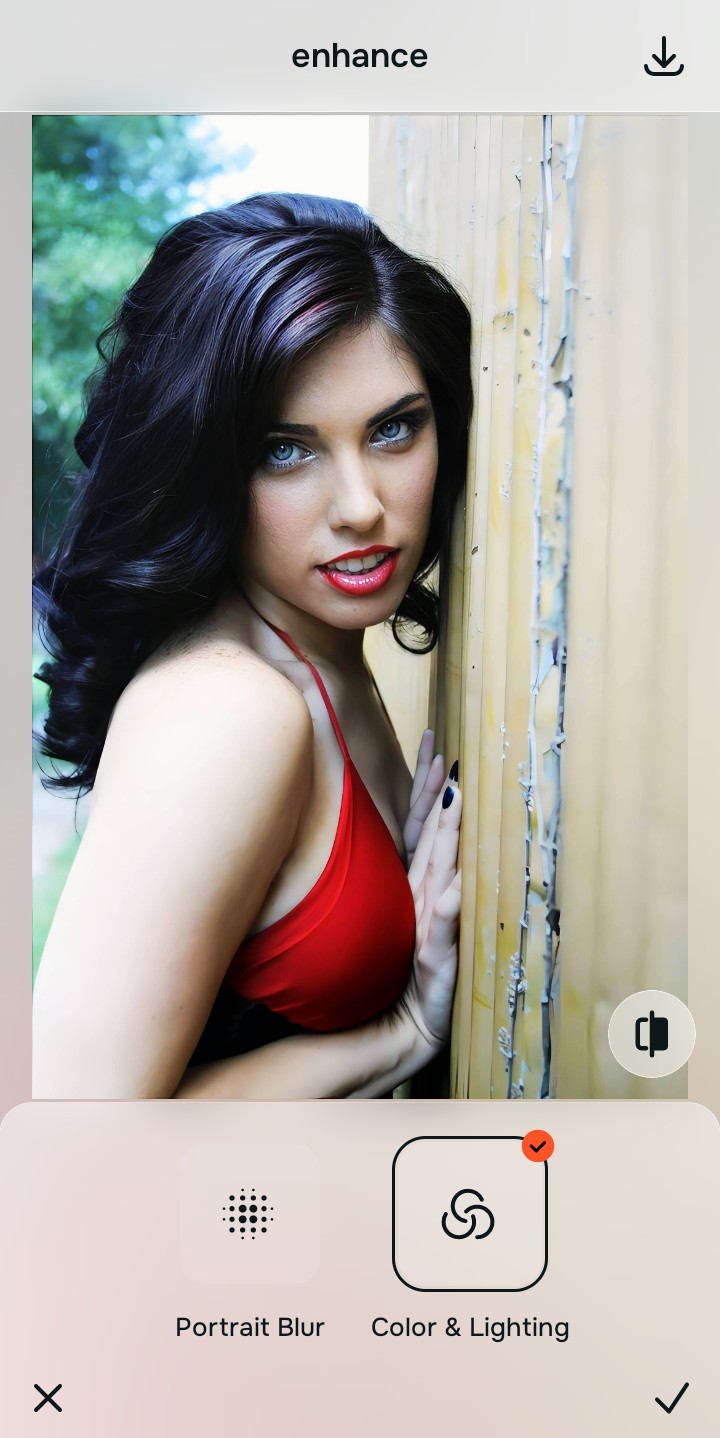
Tap Enhance and choose Portrait Blur
Because messy bedrooms immediately make a photo look cheap, tap Enhance → Portrait Blur. This mathematically separates you from the background, melting away the laundry and trash into a creamy, high-end DSLR blur without leaving AI smudges. Rebuilding this depth is essential to finding a natural results photo enhancer that works.

Always establish professional depth before applying aesthetic updates. Normalizing the base focus map ensures subsequent Model updates sit beautifully and invisibly without making you look like an AI cut-out.
Tap Looks and select Model to inject high-end structure
With your distracting background melted into a smooth blur, optimize your overall face and outfit impression natively to break the flat look. Tap Looks → Model. Select your preferred value from Level 1–5 to layer a rich, high-definition style that makes you pop against the background. Utilizing this tool is the best way to elevate your style just like finding the best app blurry pictures solution.
Export your high-resolution, unwatermarked outfit shot
Citrus generously offers clean high-definition exports entirely for free with no hidden premium pop-ups. For creators looking to fix yellow indoor lighting rapidly alongside depth issues, an optional premium Turbo rendering tier is available for processing massive batches.

What is ruining your outfit photo currently?
Isolate your image's core mechanical issue. Your automated pipeline changes depending on the source error.
How to align your photo concerns with the right free pathway
Separate photo weaknesses necessitate independent menu paths. Selecting structured Level 1–5 tap options instead of manual magic erasers is the only way to lock in visual sharpness without leaving warped smudges.
| Tool Pathway | Primary Flaw Remediated | Automated Fix Strategy |
|---|---|---|
| Enhance Start here | Distracting background clutter like messy beds, floors, trash, or photobombers | Use this first to establish a high-end lens foundation. Choose Portrait Blur to melt away the mess for free. |
| Looks | Flat textures, dull clothing appearance, and lack of expensive, high-definition vibrancy | Use this to update the entire aesthetic impression. Select Model (Level 1–5) to coat your photo in a premium pop. |
| Face | Targeted temporary flaws like a pimple or harsh under-eye bags from bad lighting | Use this last for precise feature tweaks. Select Blemish Removal to safely clean temporary spots without warping. |
“Professional styling should never leave a warped AI smudge on your bedroom wall. It must simply normalize the depth and lighting so your native topography looks completely real, crisp, and effortlessly clean.”
Why precise optical blur protects your photo better than magic erasers
There is a massive structural difference between mathematically adjusting camera depth natively and asking an AI to guess what is behind a pile of laundry. When you use manual magic erasers or cheap clone stamps inside legacy platforms, the application copies random textures, resulting in a noticeable, warped "ghost smudge" across the wall. This instantly ruins your file quality and exposes your edit to everyone.
Citrus is built from the ground up to be the most natural enhancer ever created. By relying exclusively on mathematically precise Level 1–5 tap settings instead of unpredictable AI hallucination, the engine maps your photo securely, optimizing background separation without destroying the real-life environment. Utilizing an algorithm to fix depth natively guarantees that your presentation remains sharp, trusted, and beautifully proportioned.