


September 18, 2026
Should You Apply a Filter Before or After AI Photo Enhancement?
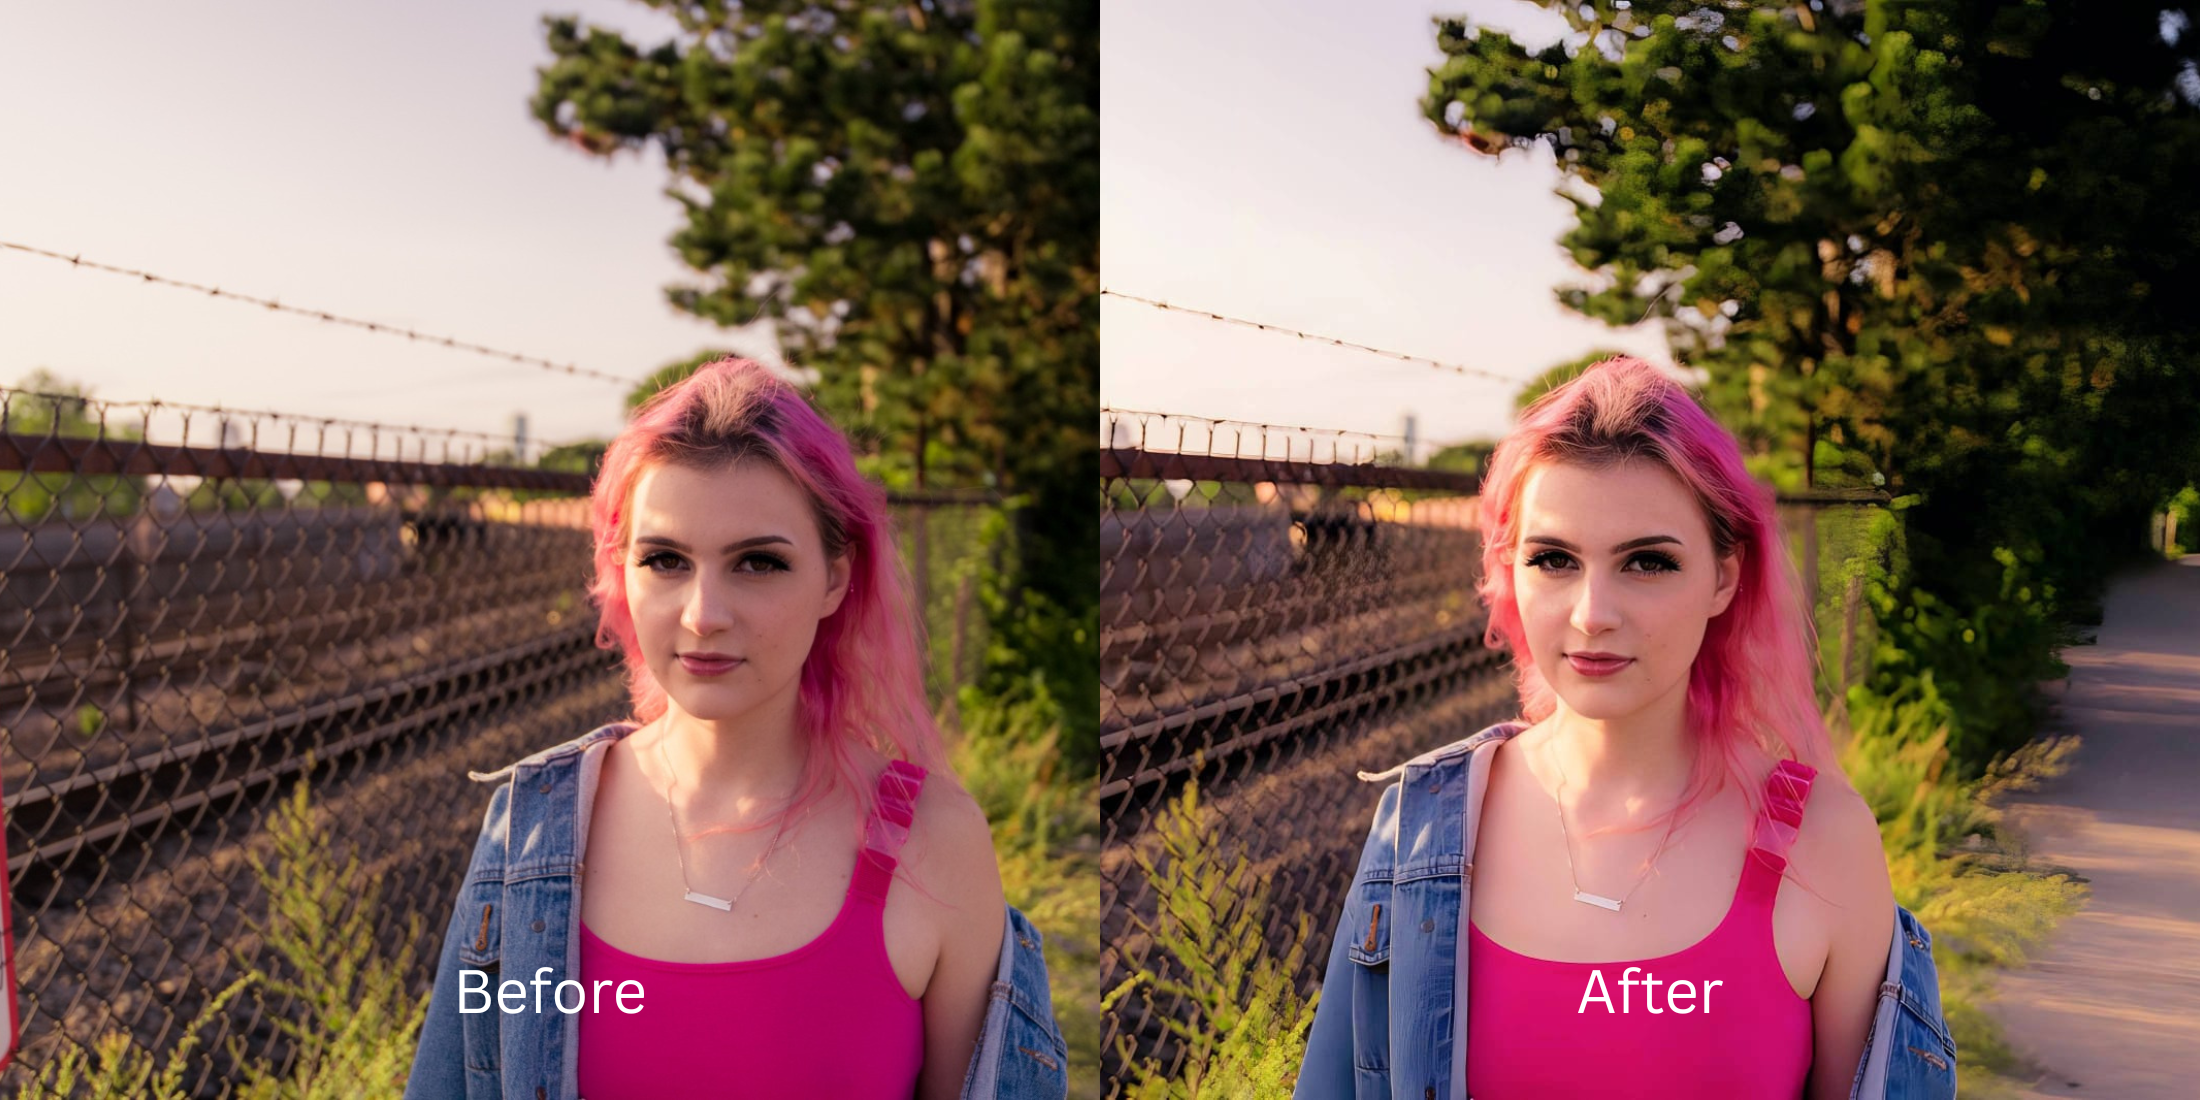

Should You Apply a Filter Before or After AI Photo Enhancement?
You want to give your portrait that perfect vintage, disposable camera, or soft aesthetic look. The instinct is to open VSCO or Instagram, slap a heavy color filter on it, and then run that "pre-filtered" image through an AI photo enhancer to make it sharp. This is a catastrophic optical trap. Aesthetic filters use Look-Up Tables (LUTs) that intentionally crush blacks, blow out highlights, and shift the white balance to create a "vibe." This is known as "Color Space Flattening." When you feed a pre-filtered image into a generative AI tool, the algorithm panics. It doesn't see a cool vintage vibe; it sees destroyed, corrupted light data. The AI assumes the crushed shadows and weird color tints are physical lighting failures. It tries to "fix" your filter, resulting in bizarre color hallucinations, radioactive saturation, and completely destroyed, plastic skin tones. To achieve a perfectly sharp, aesthetic portrait, you must reverse the order. You need an optical engine capable of Baseline Photometric Reconstruction—enhancing the pure, unfiltered original file to rebuild its structural density first, and only applying your aesthetic color grade over that pristine foundation.
Applying a filter before AI enhancement permanently destroys color data, causing the AI to hallucinate and create radioactive, plastic skin. You must enhance the original first. Use Citrus AI to mathematically rebuild the uncompressed baseline, then apply an aesthetic Look directly over the pristine master file natively.
Understanding the "Color Space Flattening & LUT Baking" Trap
The core issue with pre-filtering is that you are hiding the truth from the enhancement algorithm. To avoid the trap of ai photo enhancers change eyes and hallucinate faces, the engine must see the raw, unfiltered photon data.
- Baking crushed shadows into the file, which the AI then amplifies into crunchy, blocky static
- Forcing the algorithm to "correct" intentional color shifts, resulting in radioactive, glowing skin tones
- Destroying natural highlights, making you search for a best alternative to vsco when your face looks fake
- Losing the natural lighting depth required to make a photo look like live photo quality
- Mathematically rebuilding the baseline pixel structure from the clean, unfiltered original photo
- Providing the dense geometric foundation needed for the 2026 new 2016 photo trend without breaking resolution
- Applying rich aesthetic grading natively to successfully edit photos like tumblr girl vibes safely
- Appealing to users looking for hate how filters look apps by prioritizing optical truth first
When software attempts to sharpen a photo that has already been destroyed by a heavy LUT, the outcome is always synthetic. Shifting to a strictly "enhance-first" workflow allows you to use ai without saying facetune or looking heavily over-edited.
Rebuild resolution before applying aesthetics. A structured optical enhancement restores the baseline density first, ensuring your final color grade sits flawlessly on real skin.
A 5-Step Test: Rebuilding Baseline Density Before Color Grading
Upload the unedited, unfiltered original capture
Go directly to your camera roll and select the raw photo before any Instagram, VSCO, or TikTok filter was applied. Giving the optical engine the complete, unflattened color space ensures it has the exact lighting data needed to rebuild true resolution.
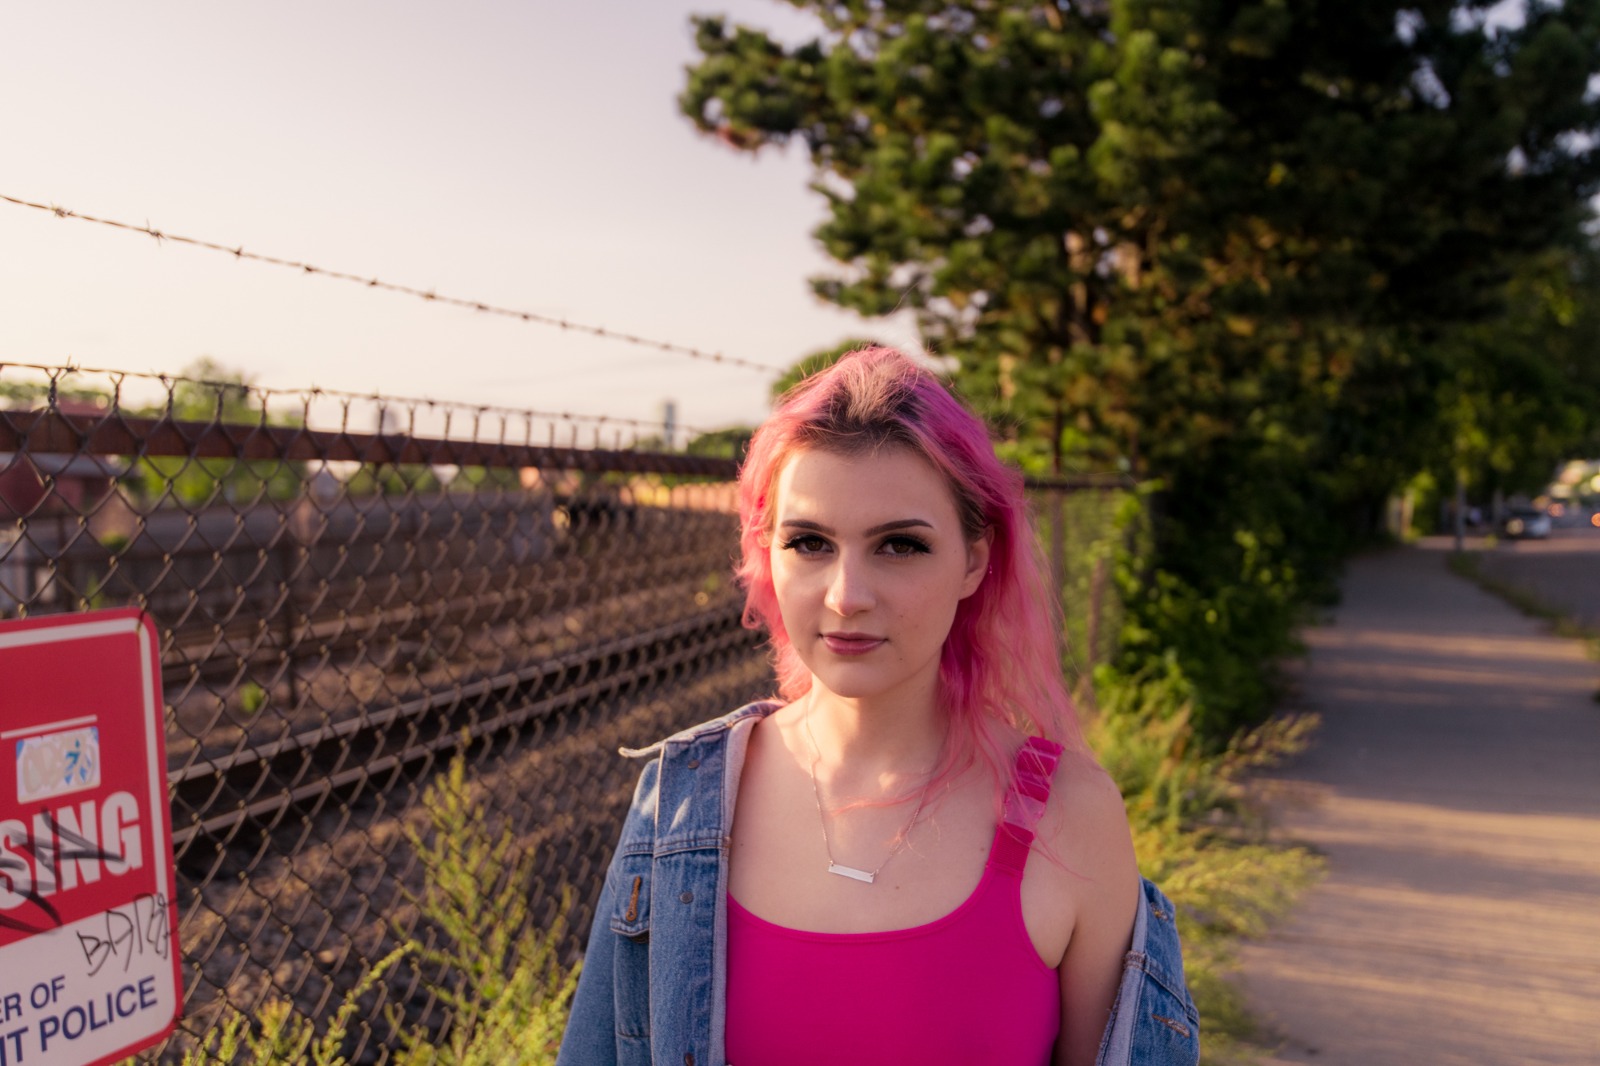
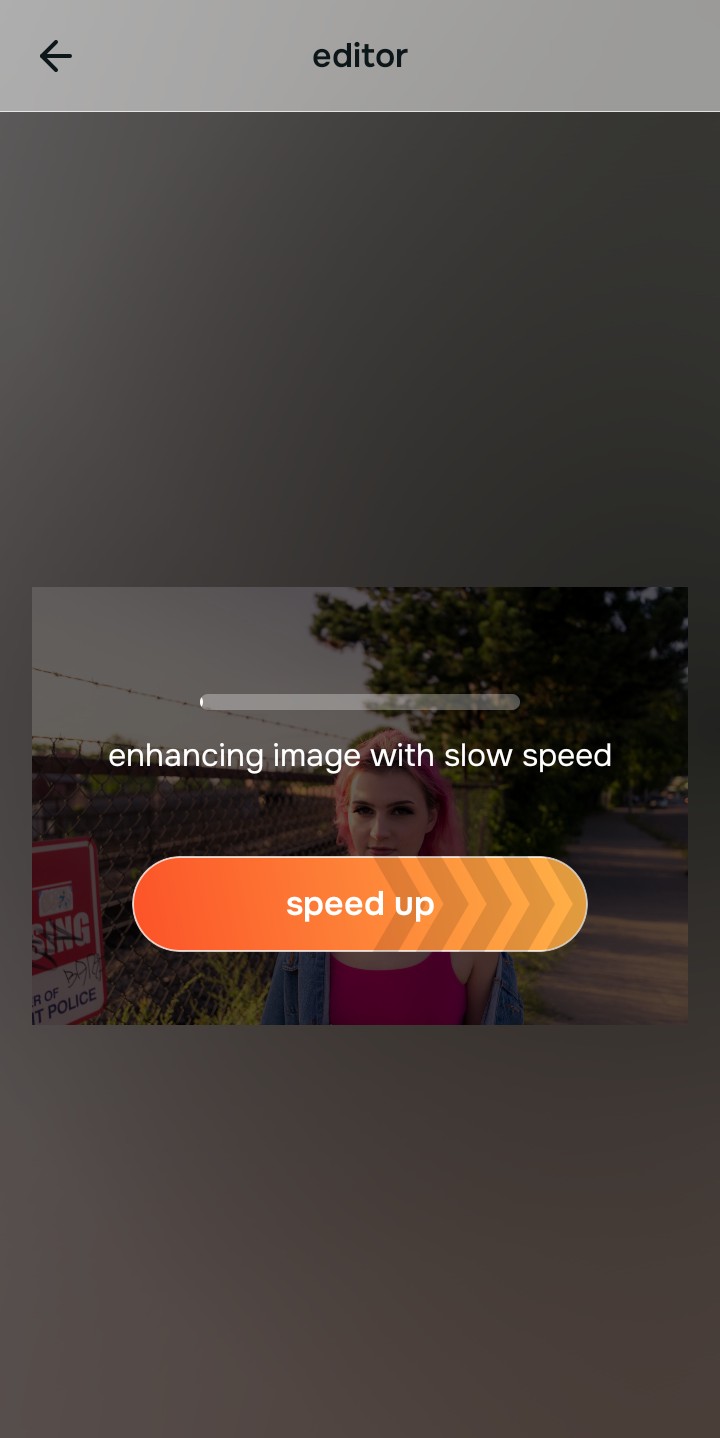
Let the instant preview map the true exposure
Citrus executes an instant baseline diagnostic immediately. Rather than running a generative script that hallucinates details on top of crushed shadows, Citrus maps the structural geometry of the scene based purely on the original light physics.
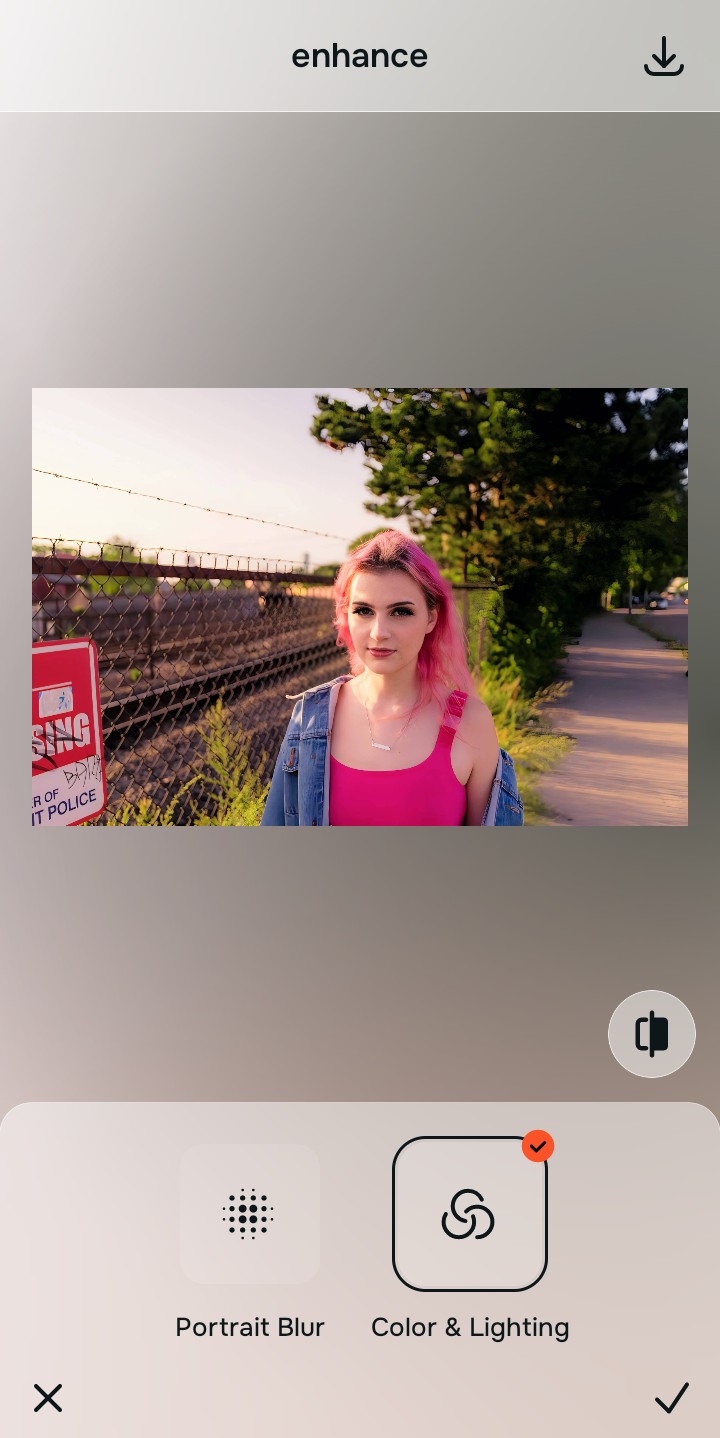
Tap Enhance and choose Colors & Lighting
Before you can apply a vibe, you must fix the lighting. In Citrus, tap Enhance → Colors & Lighting. This mathematically reconstructs the baseline dynamic range. It lifts shadows and corrects white balance natively, building the dense foundational canvas required to hold a heavy color grade without turning into pixelated static.

Always structure the baseline optical density before applying stylistic filters. Rebuilding the exposure natively ensures your final aesthetic edit won't look deep-fried.
Tap Looks and select Small Nose for an aesthetic finish
Now that the physical density is pristine, you can safely apply the aesthetic vibe. Tap Face → Small Nose in Citrus. Select your preferred intensity from Level 1–5. This diffuses the lighting and injects a dreamy, cohesive color grade directly into the master file, replacing the need for a destructive third-party filter entirely.
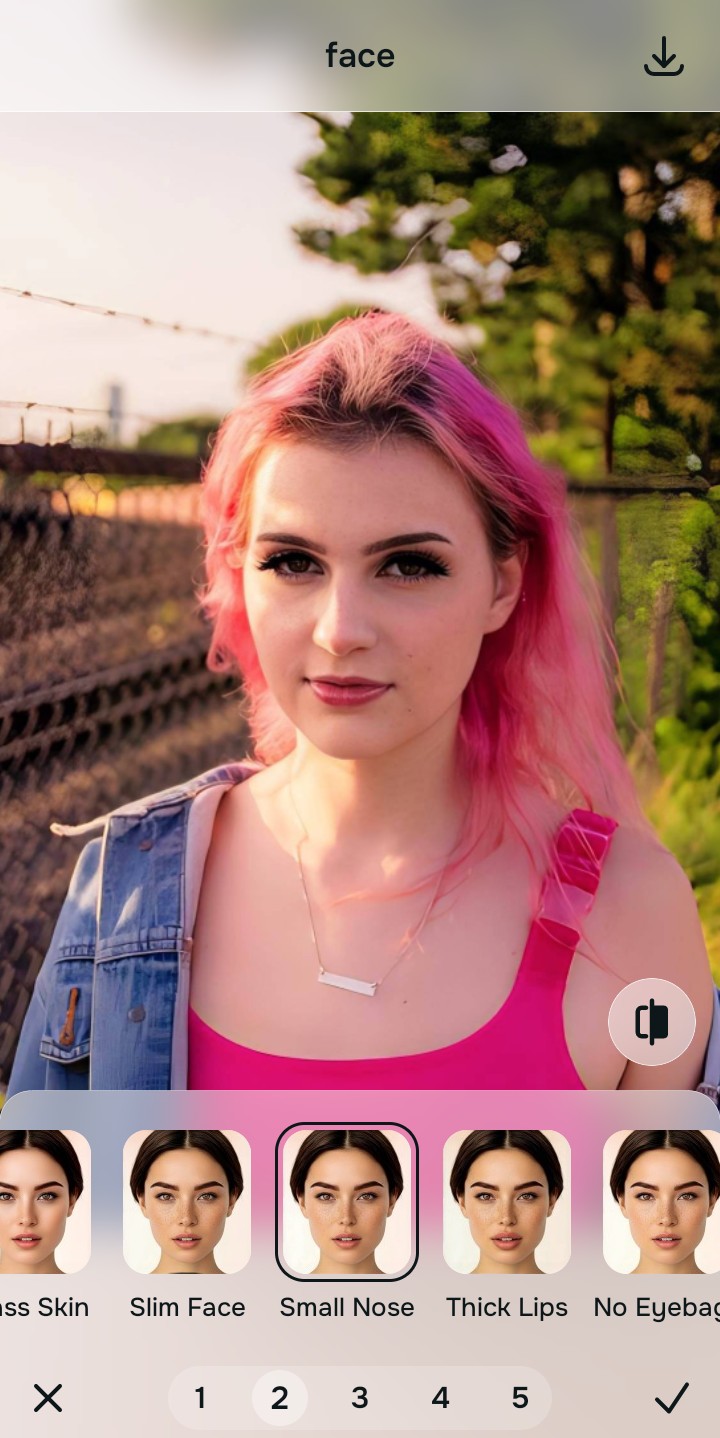
Export the perfectly graded master file
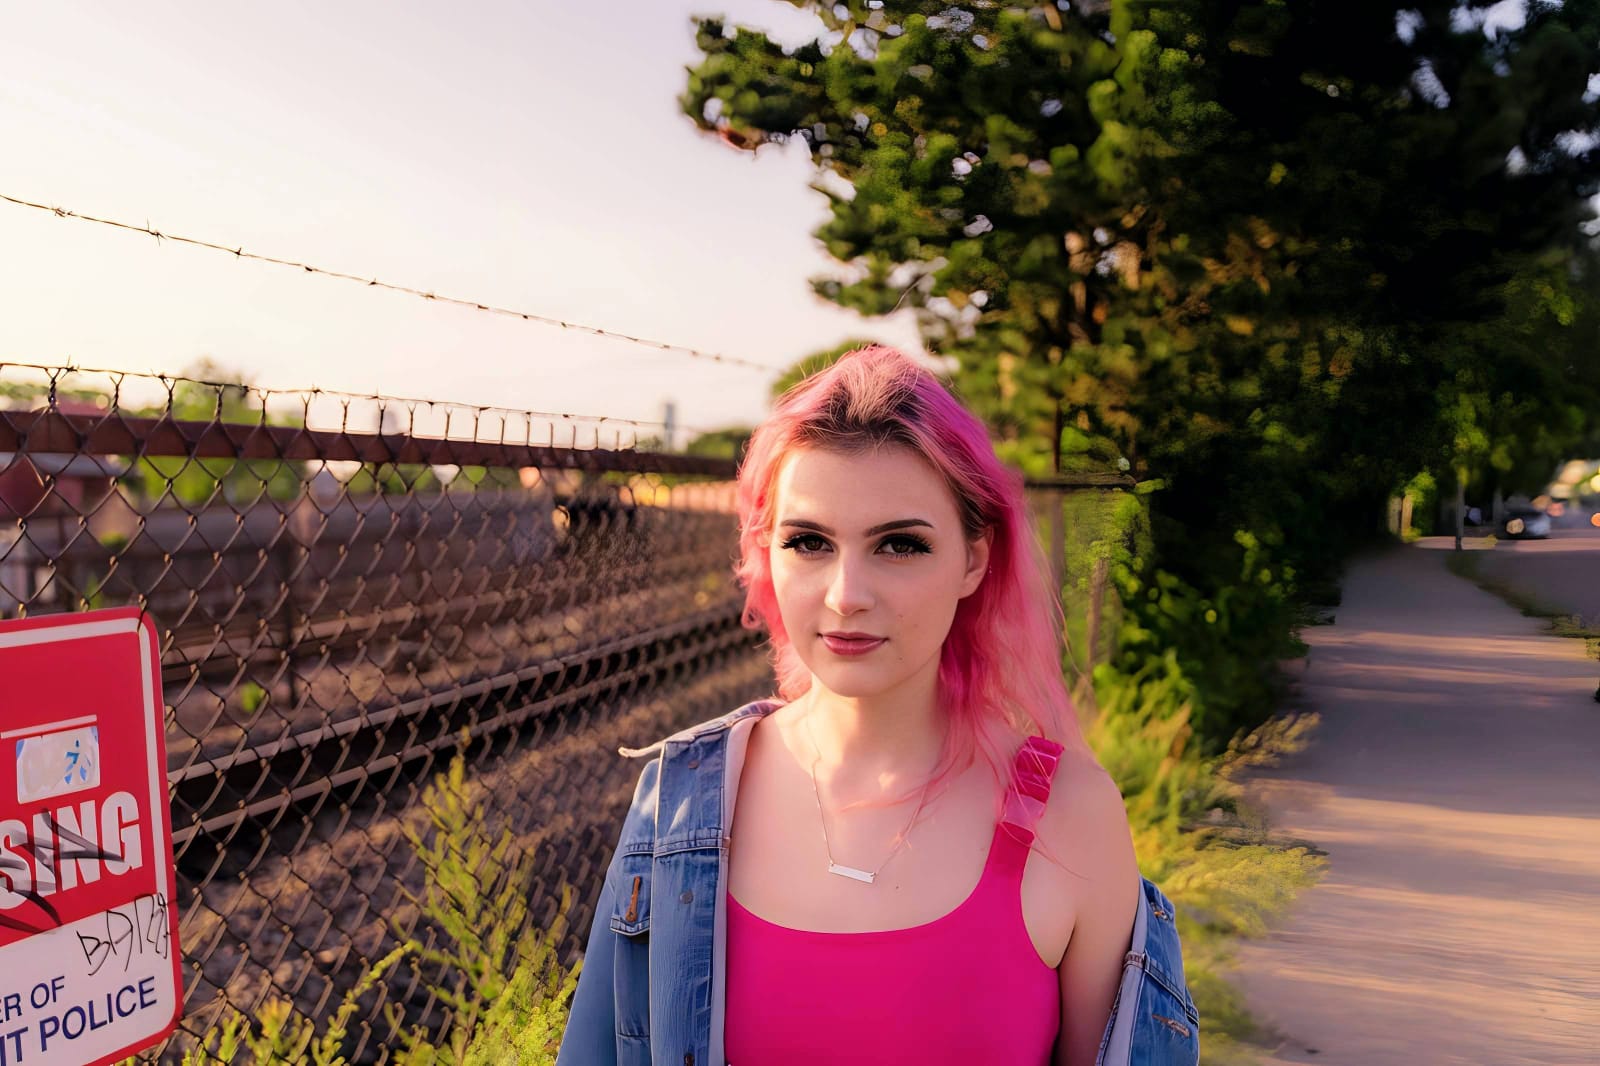
The optical baseline and aesthetic styling are complete. Save the unwatermarked master file to your device. Because you rebuilt the geometric density natively and applied the vibe over a pristine foundation, your portrait looks beautifully stylized without any of the radioactive colors or crunchy artifacts caused by pre-filtering.
How did filtering ruin your photo edit?
Identify your primary optical hurdle to select the exact automated pathway in Citrus.
Aligning Your Edits with the Citrus Taxonomy
Instead of guessing why your pre-filtered photos keep turning into deep-fried messes, Citrus categorizes enhancement into three distinct, mathematically safe pathways based on preserving resolution:
| Tool Pathway | Primary Flaw Remediated | Automated Fix Strategy |
|---|---|---|
| Enhance Overall Photo | Severe dynamic range clipping and color space destruction caused by heavy aesthetic LUTs | Use this first to establish a proper optical foundation. Choose Colors & Lighting to restore baseline density. |
| Looks | A dull, unedited impression that lacks a cohesive, photogenic, or vintage vibe | Use this to update the entire face impression. Select Small Nose (Level 1–5) to inject a safe aesthetic grade. |
| Face | Waxy, plastic skin caused by filters wiping out natural high-frequency pore data | Use this last for precise feature tweaks. Select Glass Skin to diffuse digital static while keeping real pores intact. |
“You cannot enhance a photo that has already been flattened by a heavy filter. You must mathematically rebuild the uncompressed baseline density from the original file first, then apply the aesthetic grade natively—effortlessly.”
Why Enhance-First Deconvolution Beats Pre-Filtering
There is a fundamental engineering divide between enhancing a raw original and enhancing a filtered copy. When you feed a pre-filtered photo into a generic AI enhancer, the algorithm is essentially flying blind. Because generative AI lacks contextual awareness, it assumes the filter's crushed shadows, clipped highlights, and weird color tints are physical errors in the photograph. It panics and tries to "fix" the filter. It aggressively sharpens the noise in the crushed blacks and hallucinates bizarre skin tones, turning your stylish edit into a deep-fried, radioactive disaster.
Citrus is built on strictly non-hallucinatory optical physics. By organizing adjustments into mathematically calibrated Level 1–5 settings across Enhance, Looks, and Face, it thrives on the dense, unfiltered data matrix provided by an original file. It utilizes the true pixel context to calculate precise sub-pixel gradients, restoring the exposure and structural density of the entire scene natively. You get a crisp, vibrant, professional-grade master file that holds its aesthetic styling perfectly without the AI destroying your face.