


August 29, 2026
How to Improve Car Selfies With Harsh Windshield Light and Deep Face Shadows

How to Improve Car Selfies With Harsh Windshield Light and Deep Face Shadows
Taking a selfie in the passenger seat seems like a great idea until you look at the photo. The camera captures an aggressive blast of sunlight coming through the windshield, which blows out the highlights on your forehead and nose, making you look sweaty and greasy. Simultaneously, the solid roof of the car blocks ambient overhead light, while the dark dashboard creates a massive "light sink." This throws the bottom half of your face—and the side furthest from the window—into deep, muddy shadows. Furthermore, tinted safety glass often casts a sickly blue or green film over the entire image. Standard editing apps try to "fix" this extreme split-lighting by letting you crank a global "Shadows" slider. But lifting shadows globally simply fills the dark car interior with gray digital noise and completely flattens your 3D facial shape. To fix directional clipping without ruining the background, you need an optical engine that maps the light gradient natively.
Car selfies suffer from directional clipping—the bright windshield blows out highlights while the dashboard plunges your jaw into muddy shadows. To fix this lighting trap naturally, use Citrus AI. Instead of using a noisy global brightness slider, Citrus maps the directional light, lifting deep interior shadows and softening harsh glass glare in one tap.
Understanding the "Dashboard Bounce & Directional Clipping" Trap
The core issue with vehicle photography is that the light is entirely unidirectional and highly contrasted. Smartphone sensors are forced to choose between properly exposing the blazing sunlight outside the window or the dark upholstery inside. If you try to manually fix harsh sunlight photos by pushing the exposure up, you will instantly blow out your skin, leaving massive white hot-spots on your cheeks.
- Dragging the shadows up globally, which turns the dark car interior into a noisy, flat, gray mess
- Failing to fix window glare, leaving aggressive, sweaty-looking white hot-spots on your forehead
- Leaving the weird green/blue tint from the safety glass baked permanently into your skin
- Forcing you to rely on blur filters to remove harsh shadows from pictures, making you look plastic
- Using advanced optical models to fix dark shadows on face without turning the background noisy
- Diffusing harsh specular highlights from the windshield, restoring a smooth, matte editorial finish
- Mathematically neutralizing the sickly blue/green safety glass tint to restore true skin vitality
- Acting as the best car selfie editing app by balancing exposure in under two seconds
When your camera's exposure algorithm is confused by split-lighting, basic editing sliders will only flatten your bone structure. Shifting to an optical workflow helps you fix uneven lighting in selfies natively, ensuring your portraits stay crisp, perfectly balanced, and completely human.
Rescue harsh car lighting instantly. A structured optical enhancement isolates directional exposure gaps to lift shadows safely without blowing out highlights.
A 5-Step Test: Balancing Car Lighting Without Washing Out Your Face
Upload the harsh, split-lit raw photo
Find the photo taken in the passenger seat where one half of your face is glowing with sunlight and the other is buried in muddy darkness. Using optical algorithms to brighten underexposed portraits naturally requires starting with clean sensor data.
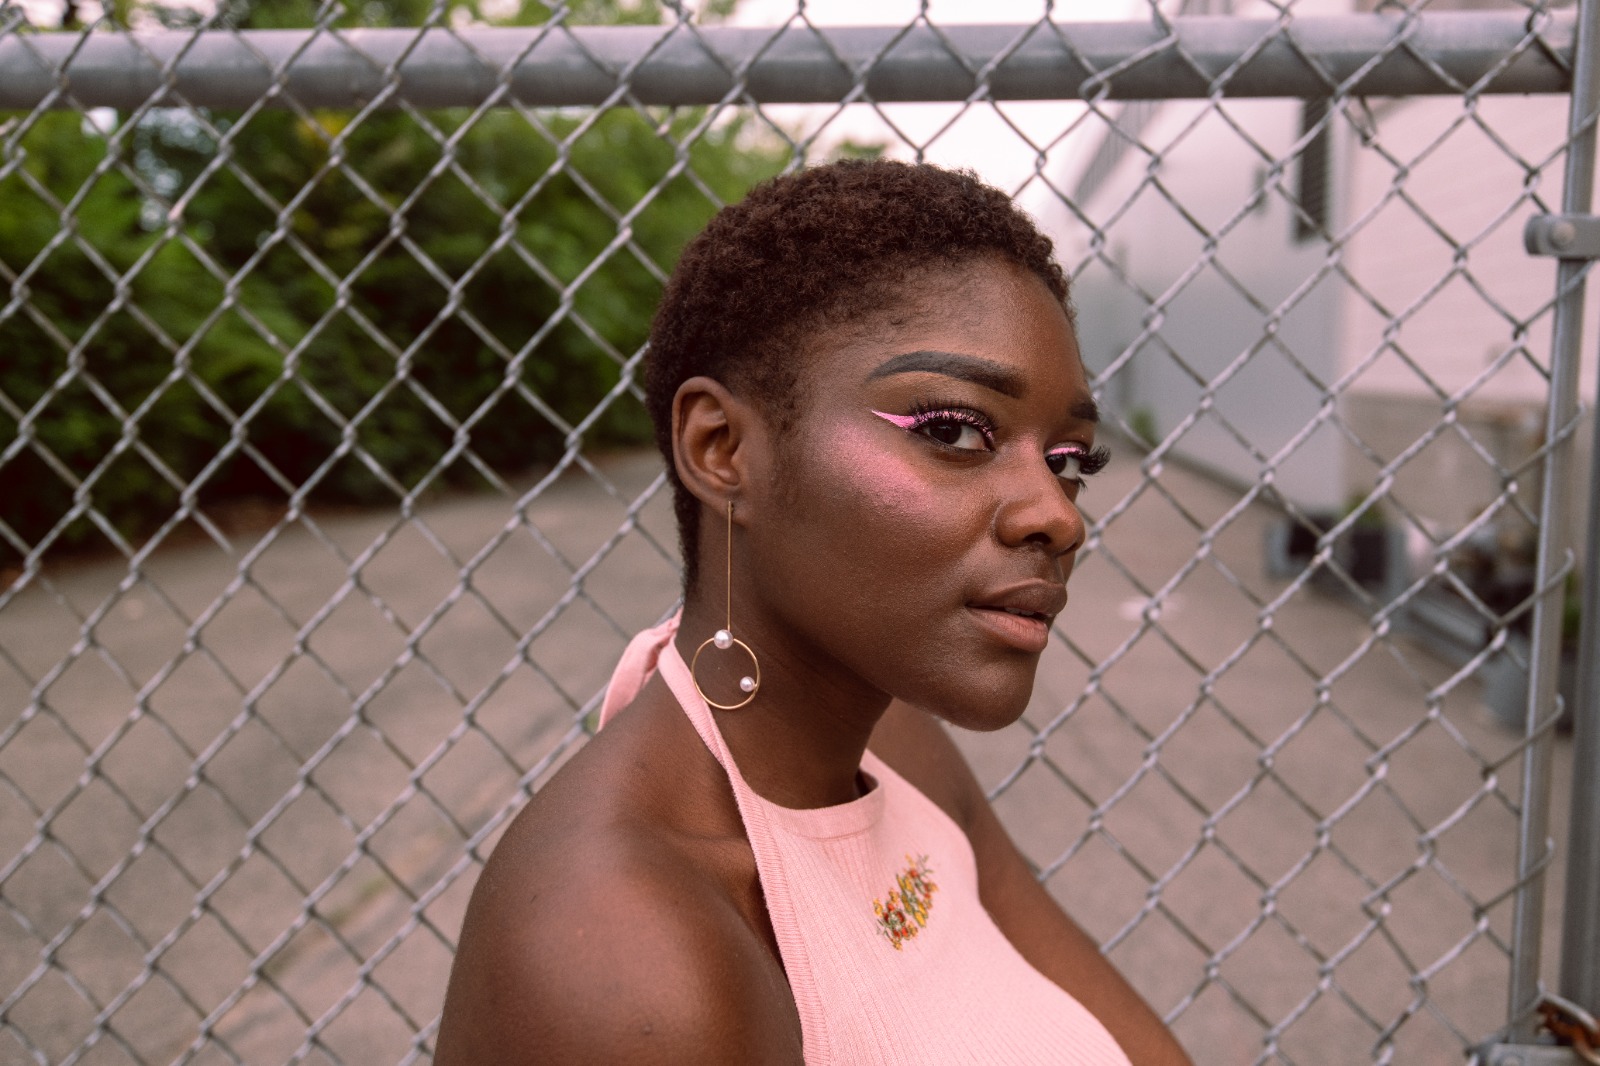
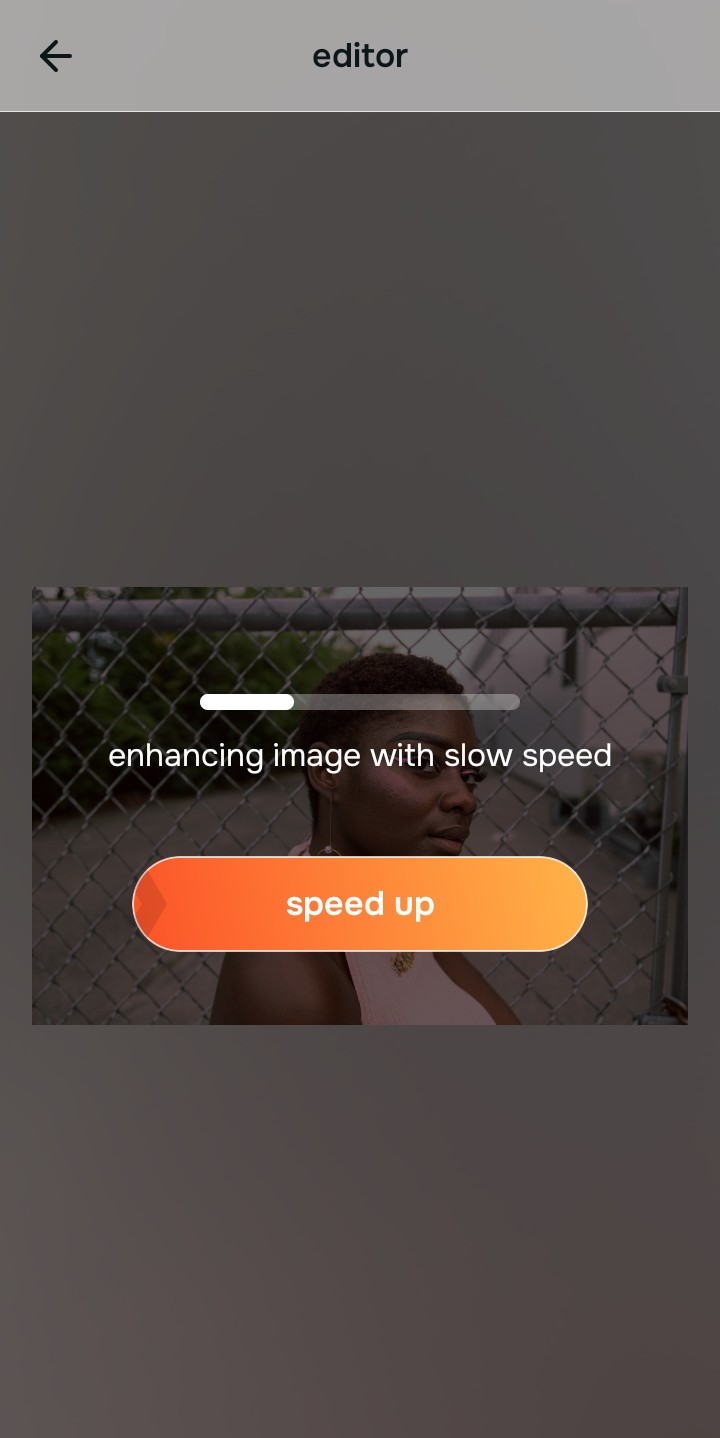
Let the instant preview map the directional light
Citrus provides an instant baseline correction immediately. Instead of just cranking the shadows up globally, Citrus analyzes the gradient of the light coming through the glass and separates the bright highlights from the deep dashboard shadows.
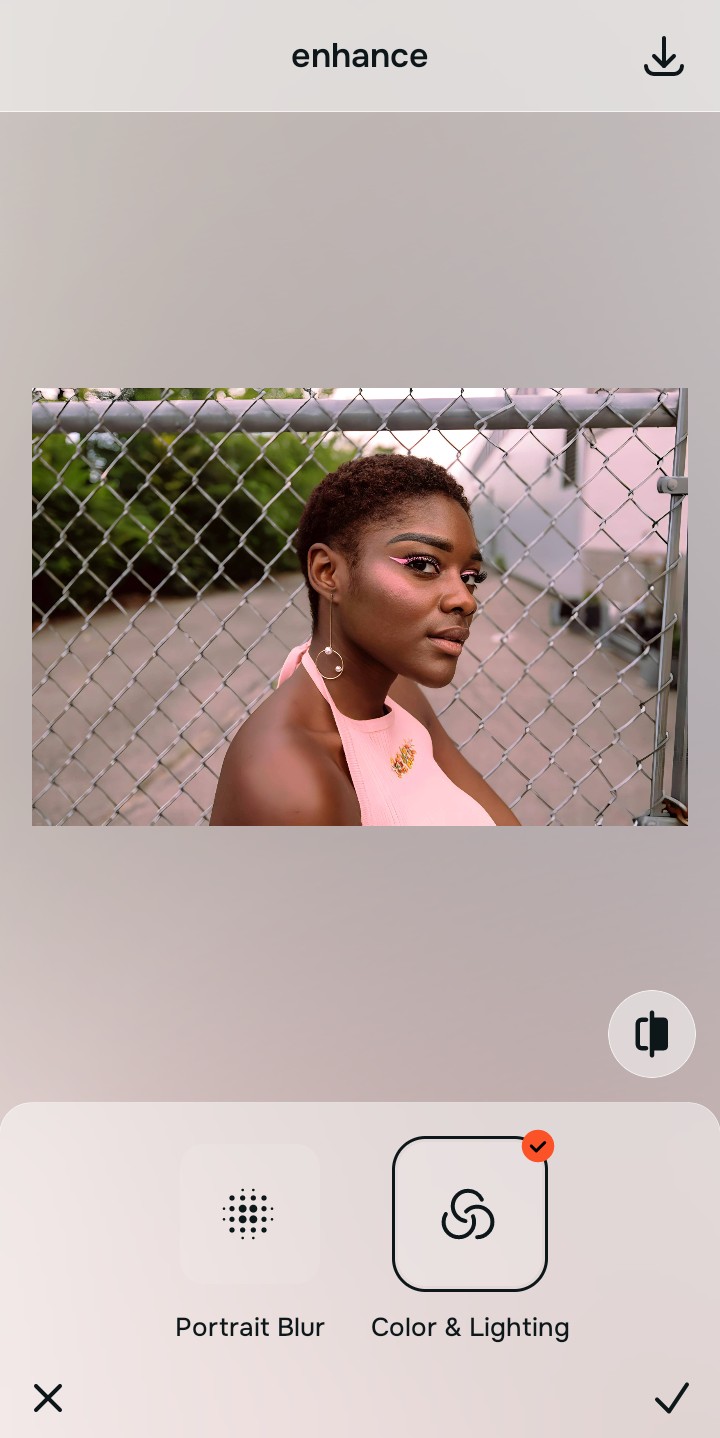
Tap Enhance and choose Colors & Lighting
You must fix the massive exposure gap before softening the skin. In Citrus, tap Enhance → Colors & Lighting. This mathematically balances the physical light curve, lifting the dark interior shadows on your jawline cleanly while neutralizing the blue/green tint caused by the automotive safety glass.

Always balance global optical exposure before diffusing highlights. Reversing the base split-lighting damage mathematically ensures subsequent aesthetic enhancements don't look painted on or noisy.
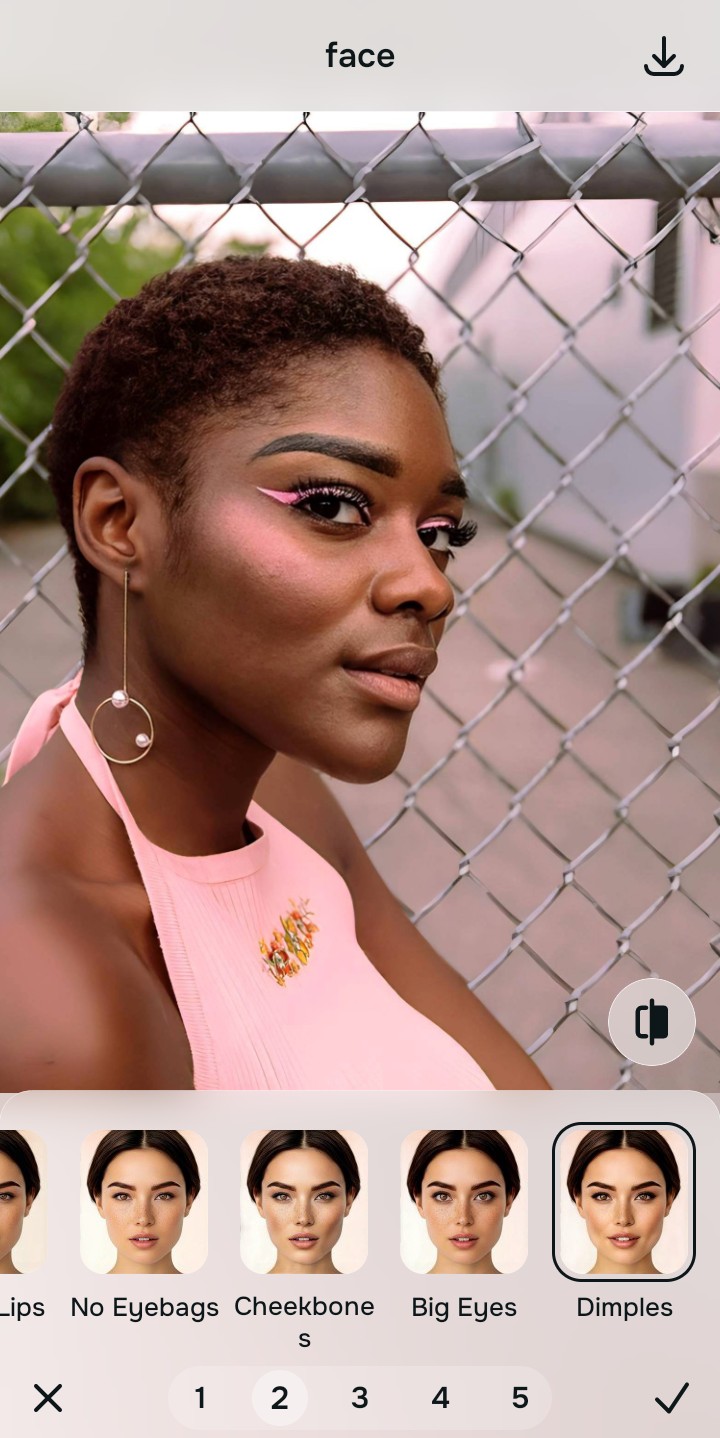
Tap Looks and select Dimples to diffuse windshield glare
Harsh windshield light creates aggressive specular highlights that make you look sweaty. Tap Face → Dimples in Citrus. Select your preferred value from Level 1–5. This biometrically diffuses the aggressive glass glare, restoring a smooth, matte editorial finish without plastic blurring.
Export your high-resolution, uncompressed portrait
Citrus provides clean, unwatermarked HD exports completely for free, reversing the camera's directional exposure errors effortlessly so your selfie looks perfectly balanced.
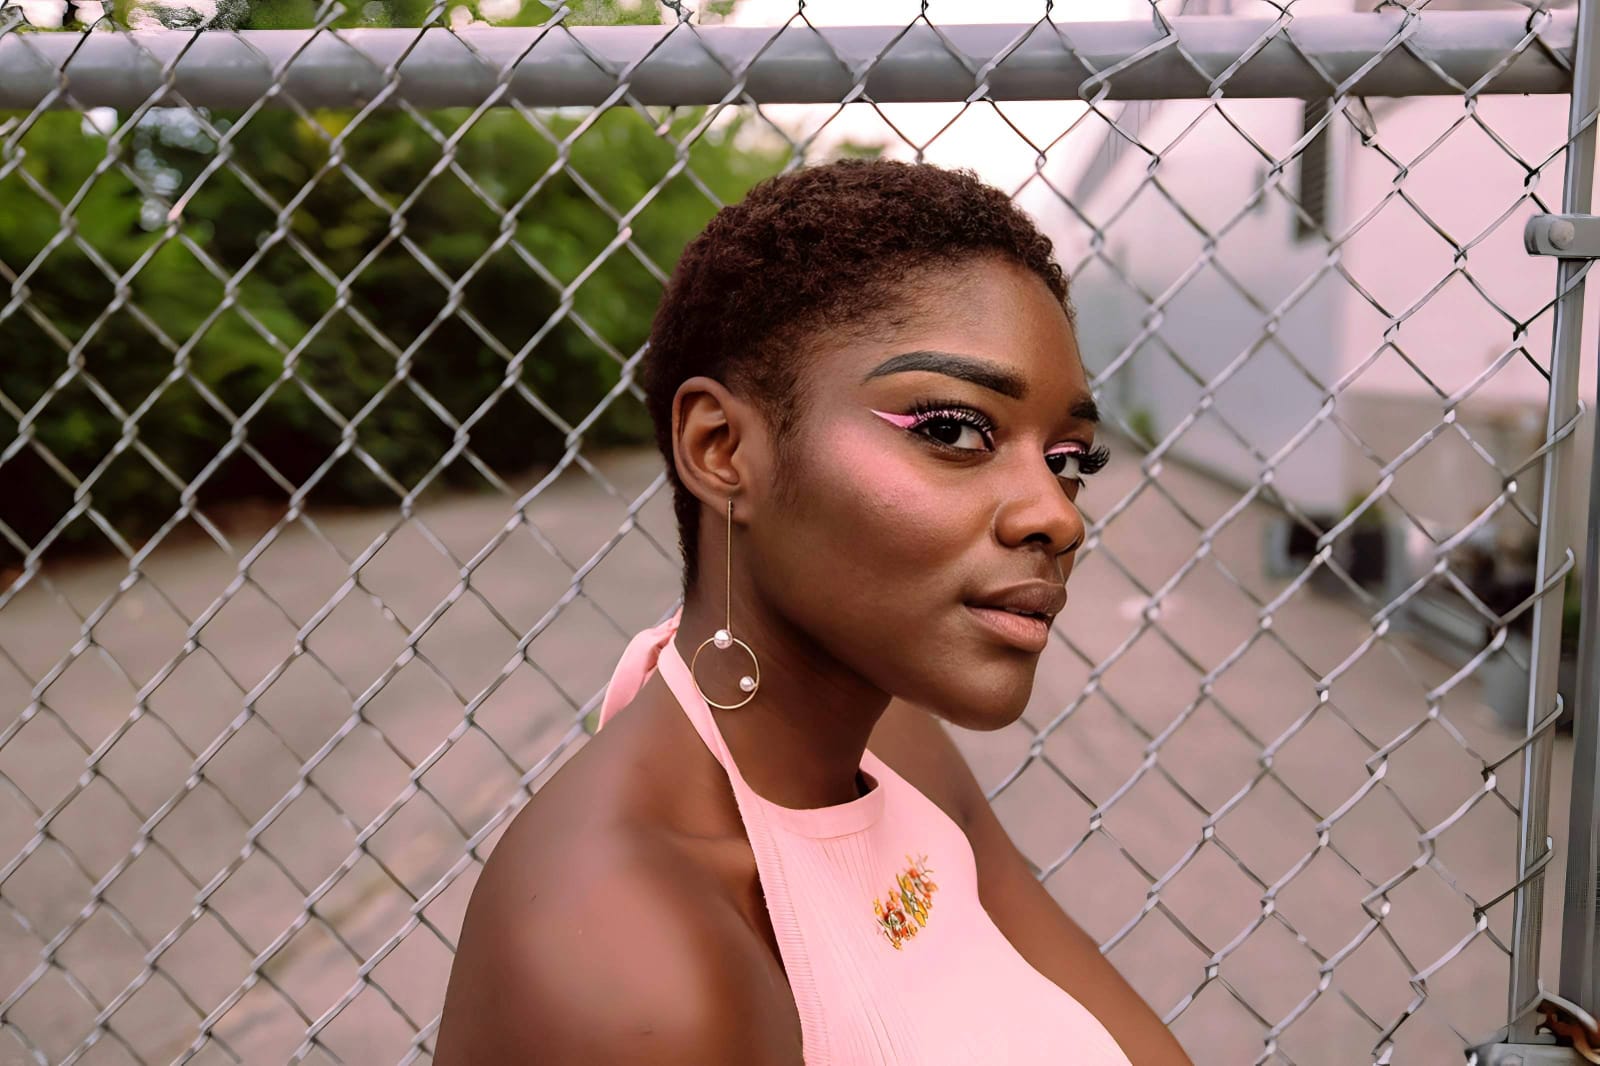
How did the car lighting ruin your selfie?
Identify your primary optical hurdle to select the exact automated pathway in Citrus.
Aligning Your Edits with the Citrus Taxonomy
Instead of guessing which manual slider will rescue your shadows without creating noise, Citrus categorizes enhancement into three distinct, mathematically safe pathways:
“Portrait enhancement should never require you to flood your photo with gray digital noise just to see your jawline. It must mathematically map directional light so you look perfectly balanced—effortlessly and instantly.”
Why Directional Light Mapping Beats Generic Shadow Sliders
There is a massive structural difference between authentic optical depth mapping and dragging a "Shadows" slider in a basic photo editor. When you lift the shadows on a car selfie, standard editors blindly brighten every single dark pixel in the image. This introduces massive amounts of digital grain into the dark car seats behind you, destroys the natural contrast of your facial features, and washes out the entire photo into a flat, hazy gray mess.
Citrus is built specifically to prevent this. By constraining adjustments to mathematically calibrated Level 1–5 settings across Enhance, Looks, and Face, it analyzes the directional light vector coming from the window *before* adjusting exposure. It cleanly lifts the luminance of the shadowed side of your face without turning the dark background into a noisy disaster. You get a clean, perfectly lit photo in one tap.