


June 11, 2026
How to Fix a Visa Photo That Keeps Getting Rejected
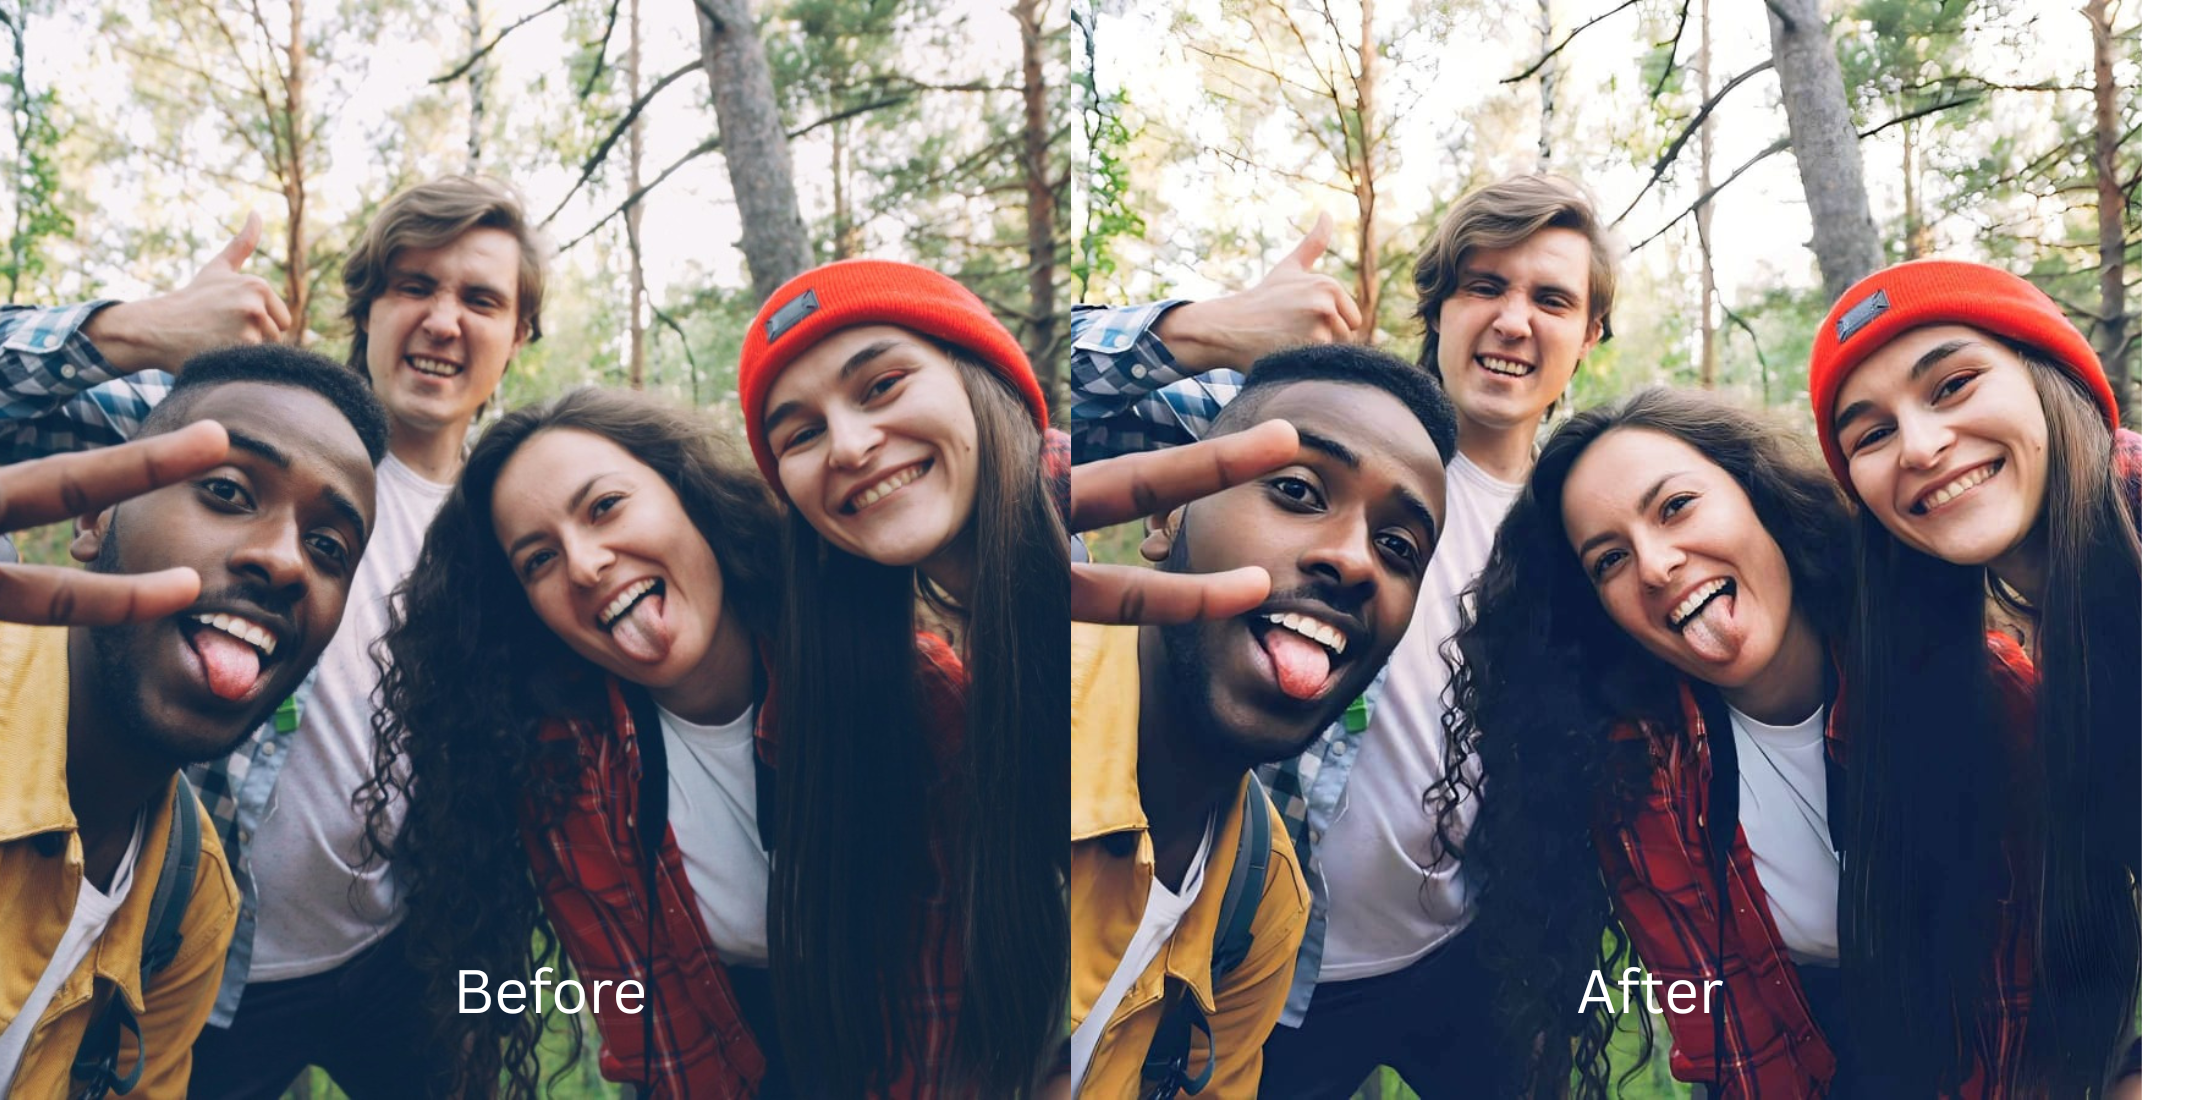

How to Fix a Visa Photo That Keeps Getting Rejected
Applying for a US, Schengen, or international visa is stressful enough without your digital photo being automatically rejected by the embassy portal. Visa photos are notoriously difficult to get right. If there are harsh shadows on your face or the background isn't perfectly bright, the biometric scanner fails you. However, you cannot use basic photo apps to fix this. If you try to remove shadows by using apps like Facetune to smooth your skin, or if you apply a global filter that changes the background color, your application will be instantly rejected for "digital alteration." To successfully fix your visa photo so it passes the government scanner, you must solely rely on native light balancing that leaves your biometric data 100% untouched.
To fix a rejected visa photo without failing biometric scans, use native light recovery instead of facial smoothing or filters. Open your rejected photo inside Citrus. First, tap Enhance → Colors & Lighting to mathematically strip away harsh shadows and fix uneven exposure without altering the required plain background. Next, navigate to Looks → Model and pick a clean Level 1–5 configuration. This gently lifts heavy, exhausted shadows under your eyes and normalizes your expression, ensuring the photo is fully compliant and ready for approval.
Why fake AI and smoothing tools trigger automatic rejection
The core issue with trying to "fix" a visa photo using apps like FaceApp or Facetune is their reliance on biometric destruction. Government portals scan for exact distances between your eyes, nose, and chin, and rely on real skin texture to verify your identity. Dragging a smoothing slider to hide an uneven shadow literally wipes away your pore data, leaving a waxy, plastic sheen that the scanner flags immediately. Escaping this rejection trap requires finding a Model results photo enhancer that operates entirely by correcting light exposure, not by warping pixels.
- Guaranteeing a rejected application by using FaceApp to generate a synthetic, unapproved expression
- Destroying required biometric texture by over-smoothing your skin into flat plastic via Facetune
- Warping your actual facial geometry with manual liquify tools to fix camera distortion
- Failing the white-background test by applying global color filters that tint the entire image
- Accessing powerful, high-resolution light processing workflows that preserve biometric data perfectly
- Using mathematically calibrated Level 1–5 taps to lift heavy shadows instead of altering geometry
- Rebuilding a Model, compliant facial appearance natively without generating fake AI pixels
- Processing legal, portal-ready portraits safely in under 10 seconds without leaving a digital footprint
When your ID photo looks obviously degraded by fake smoothing or AI, embassy systems will flag it. Shifting to an advanced method to fix harsh camera glare natively ensures your features stay crisp, visible, and completely legal.
Optimize portrait light fields instantly. A structured level choice keeps your legal, biometric texture completely intact.
How to automate a normal, compliant visa photo in 5 steps
Upload the rejected, unedited portrait
Open your file rollout and choose the original, raw picture that suffers from uneven shadows or poor background exposure. Knowing how to improve without changing face structures starts by managing this exposure baseline correctly.
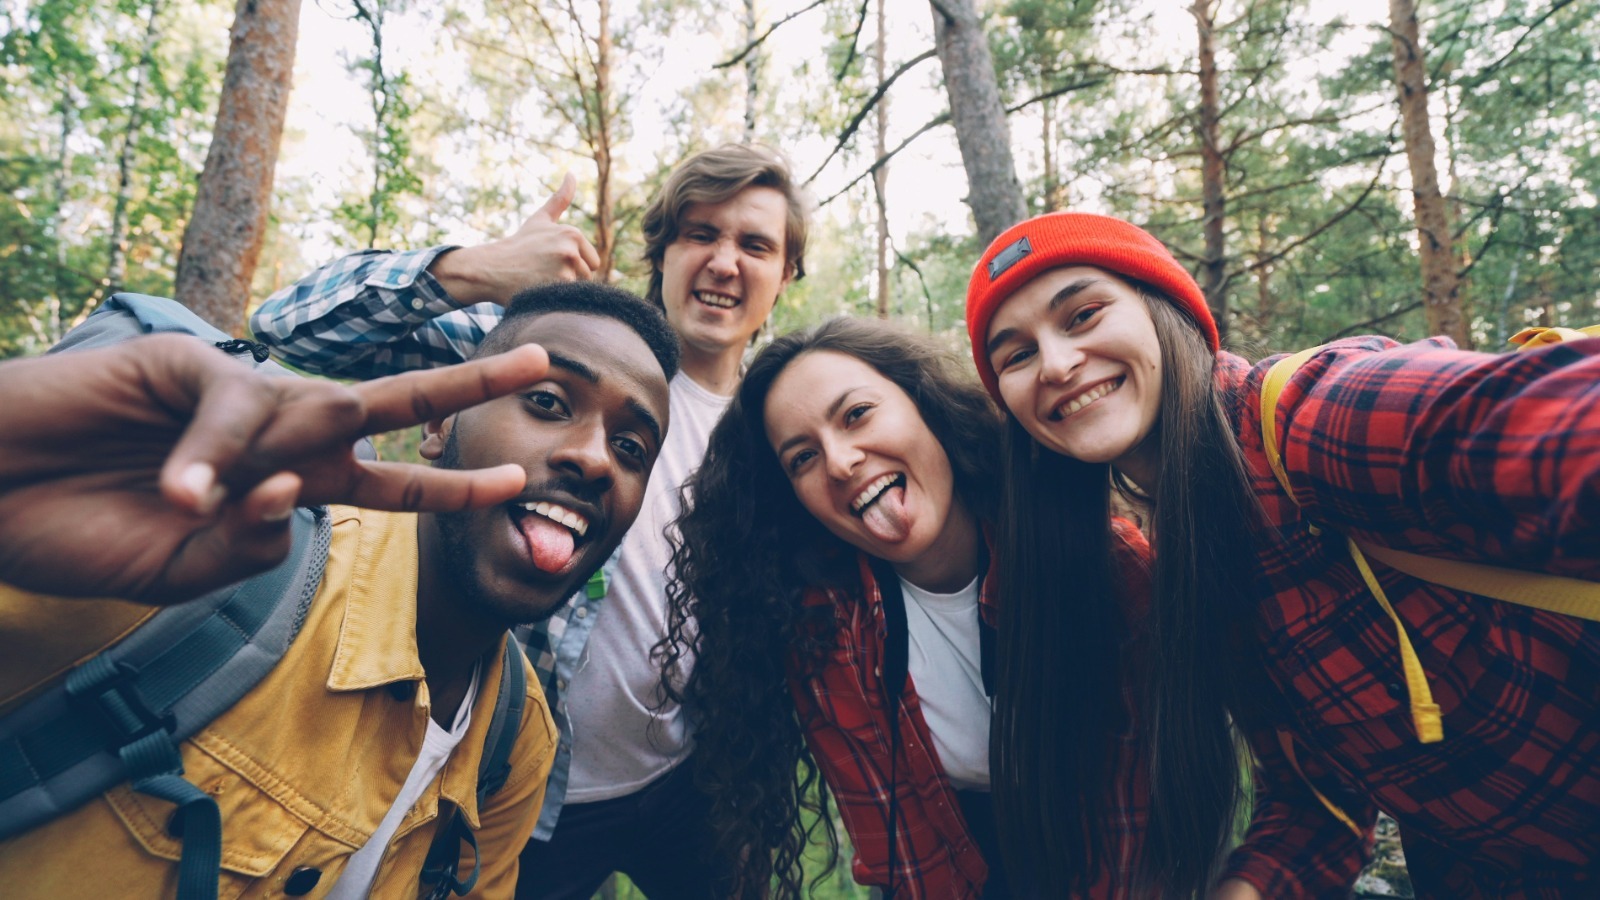
Let the real-time preview map the true contrast
Citrus initializes its tracking grid instantly without forcing you through paywalled credit card registrations. This presents an active preview window so you can safely examine how the engine handles harsh shadow regions before processing.
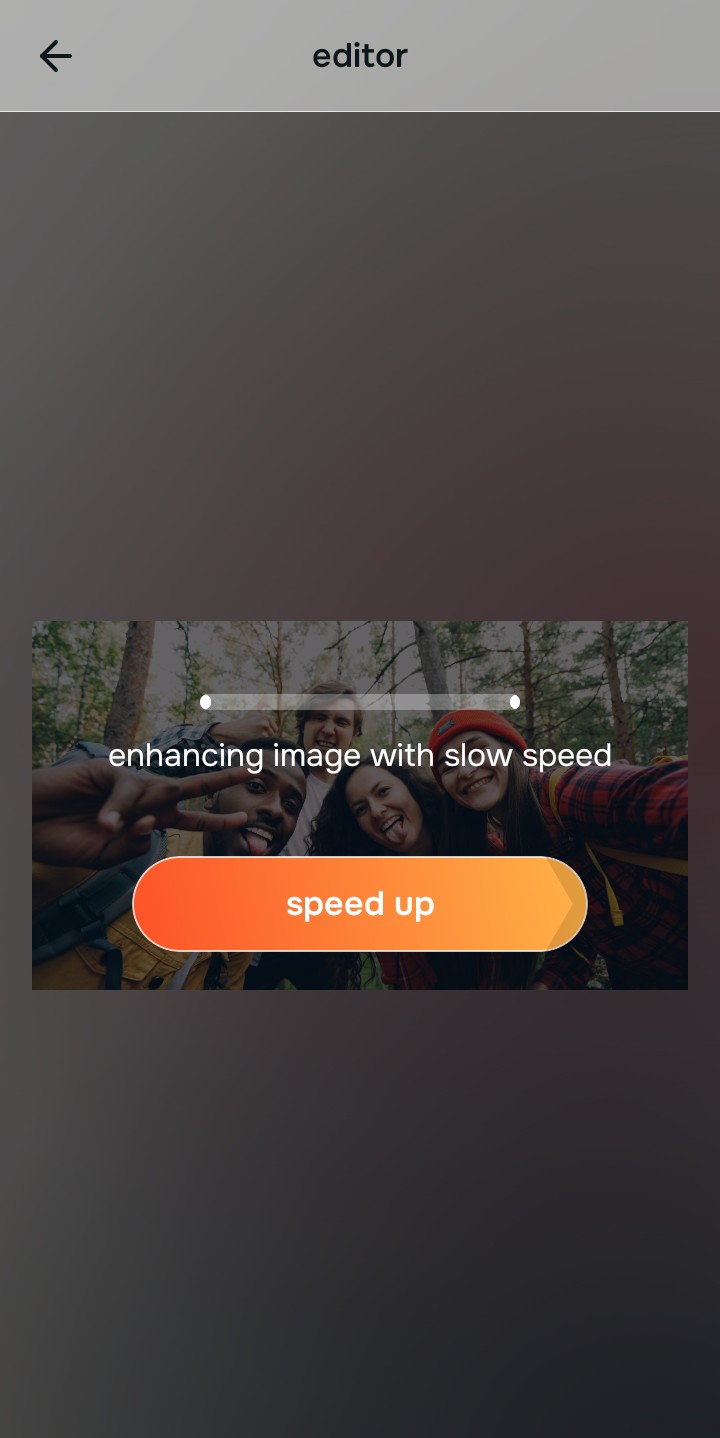
Tap Enhance and choose Colors & Lighting
Because rejected visa photos are caused by harsh overhead lighting or uneven exposure, tap Enhance → Colors & Lighting. This strips away the dark shadows on your face and neutralizes the wash-out effect without altering the background. Rebuilding this exposure is essential to finding a subtle edits facetune alternative that complies with embassy rules.

Always balance global photographic lighting before applying face updates. Normalizing the base exposure map ensures subsequent Model updates sit perfectly without shifting the required background color.
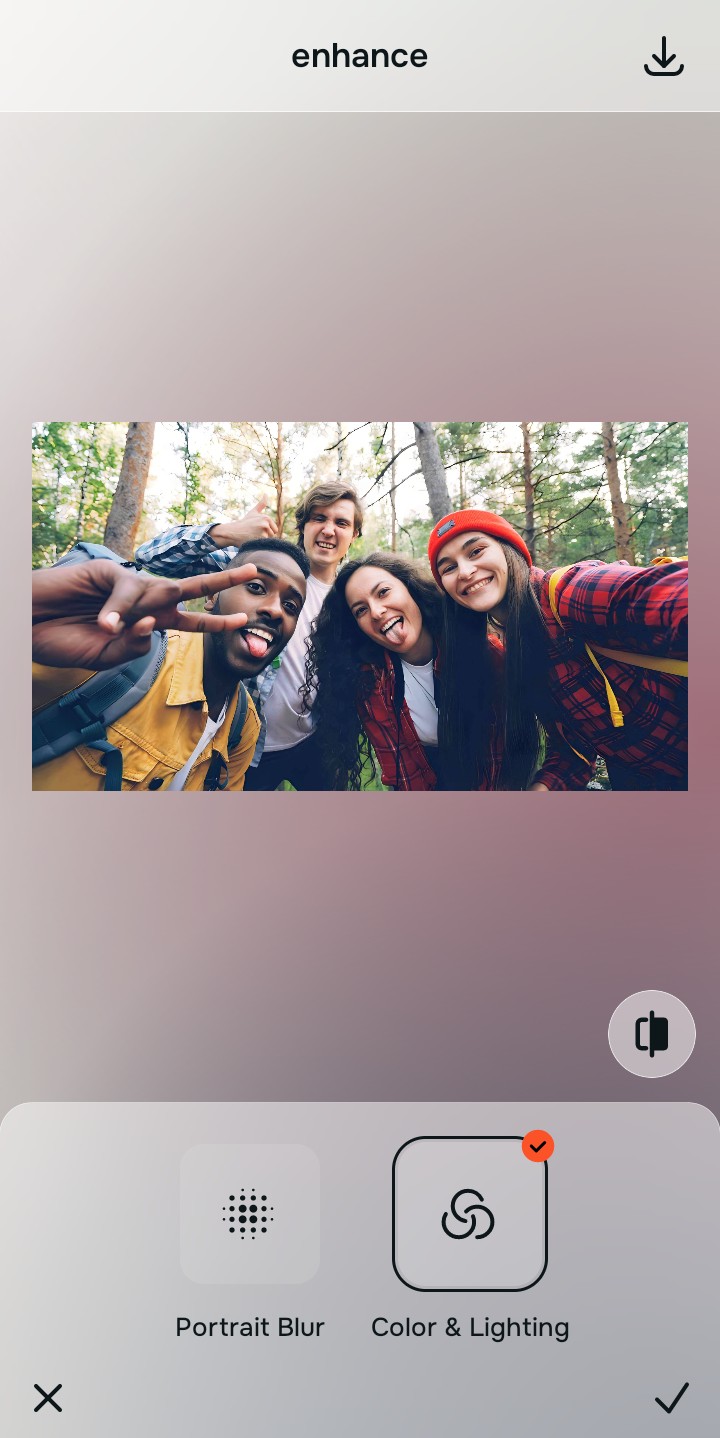
Tap Looks and select Model to lift exhausted shadows
With your base light layers normalized, optimize your overall face impression natively to break the tired mugshot look. Tap Looks → Model. Select your preferred value from Level 1–5 to layer an awake, human style that feels completely compliant. Utilizing this algorithmic tool is the best way to fix tired puffy selfies without generating fake pixels.
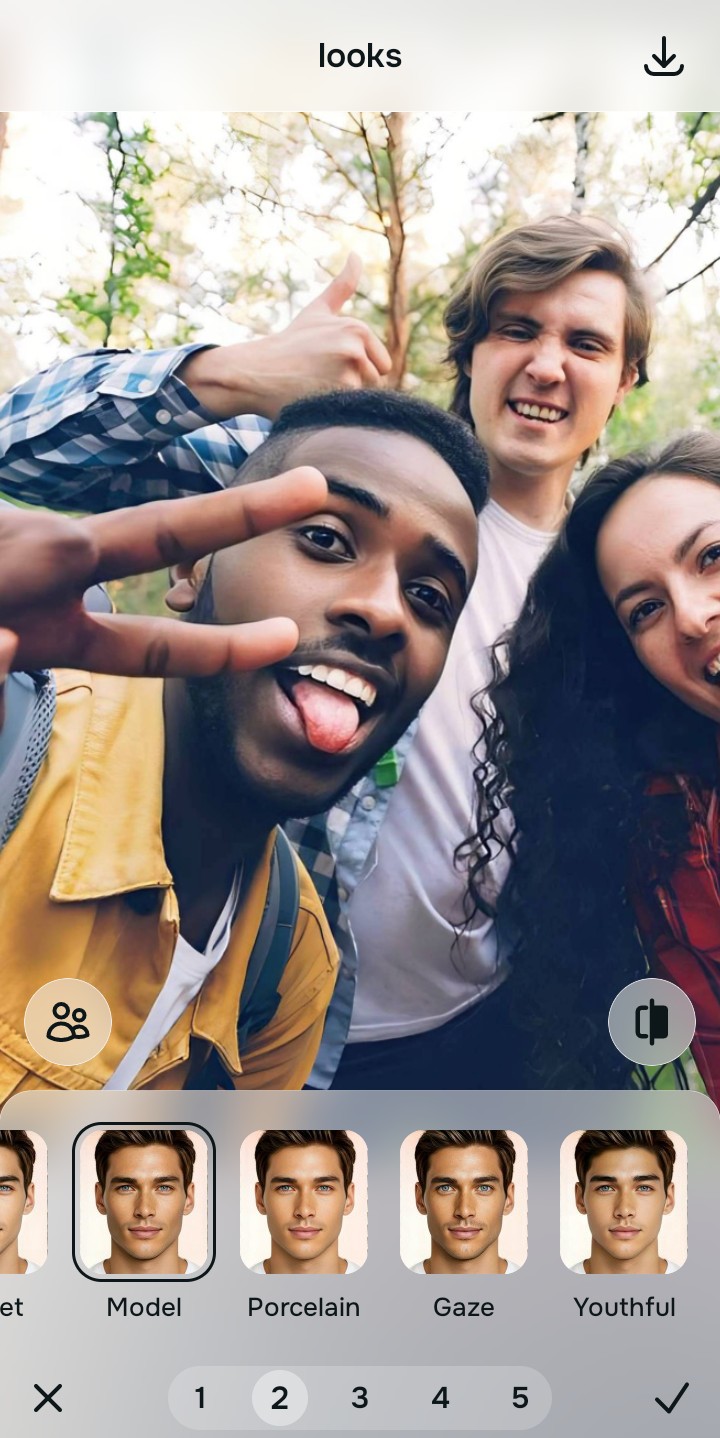
Export your high-resolution, unwatermarked visa photo
Citrus generously offers clean high-definition exports entirely for free with no hidden premium pop-ups. Knowing how to make blurry photos clear safely ensures your final digital file is crisp, legal, and ready for submission.
Why did your visa photo get rejected?
Isolate your image's core mechanical issue. Your automated pipeline changes depending on the source error.
How to align your profile concerns with the right free pathway
Separate photo weaknesses necessitate independent menu paths. Selecting structured Level 1–5 tap options instead of heavy manual liquify tools is the only way to lock in visual sharpness without failing biometric tests.
| Tool Pathway | Primary Flaw Remediated | Automated Fix Strategy |
|---|---|---|
| Enhance Start here | Harsh facial shadows, uneven exposure, and washed-out skin tones that trigger rejection | Use this first to establish a proper photographic foundation. Choose Colors & Lighting to balance layers for free. |
| Looks | Exhausted expressions, heavy under-eye bags, and tense overall image vibrancy | Use this to update the entire face impression. Select Model (Level 1–5) to gently lift the heavy shadows safely. |
| Face | Targeted temporary flaws like a pimple that wasn't there yesterday | Use this last for precise feature tweaks. Select Blemish Removal to safely clean temporary spots without altering geometry. |
“Professional visa photo editing should never alter your facial geometry or delete your pores. It must simply normalize the harsh exposure bugs so your native topography looks human, awake, and 100% legal.”
Why precise level taps protect biometric data better than Facetune
There is a massive structural difference between balancing camera exposure natively and pasting fake plastic smoothing over your identity. When you use manual liquify tools, heavy skin smoothers, or cheap overlays inside legacy platforms, the application compresses your data matrix, resulting in altered geometric points across your face. This instantly invalidates the photo for government systems, leading to application rejection.
Citrus is built from the ground up to be the most Model enhancer ever created. By relying exclusively on mathematically precise Level 1–5 tap settings instead of AI hallucination or pixel warping, the engine maps your face securely, optimizing highlight tracking without replacing your facial characteristics. Using a Model face enhancer app natively guarantees that your presentation remains sharp, trusted, and perfectly compliant.