


June 13, 2026
How to Edit Concert Photos That Look Like a Red Blob

How to Edit Concert Photos That Look Like a Red Blob
You are finally seeing your favorite artist live. The beat drops, the crowd goes wild, and you snap a quick photo. But when you check your camera roll later, the image is completely ruined—a muddy, pixelated "red blob" caused by intense stage lasers and heavy smoke machines. Concert lighting destroys smartphone sensors, completely erasing your face and washing everything in aggressive neon colors. If you try to fix this by using your phone's native exposure slider, you just make the red blob brighter. If you use a tool like Lightroom's auto-white balance, the app panics and turns the red lighting into a terrifying, sickly blue. To actually recover the memory without deep-frying the photo, you must mathematically neutralize the neon cast and bring authentic color back to your skin.
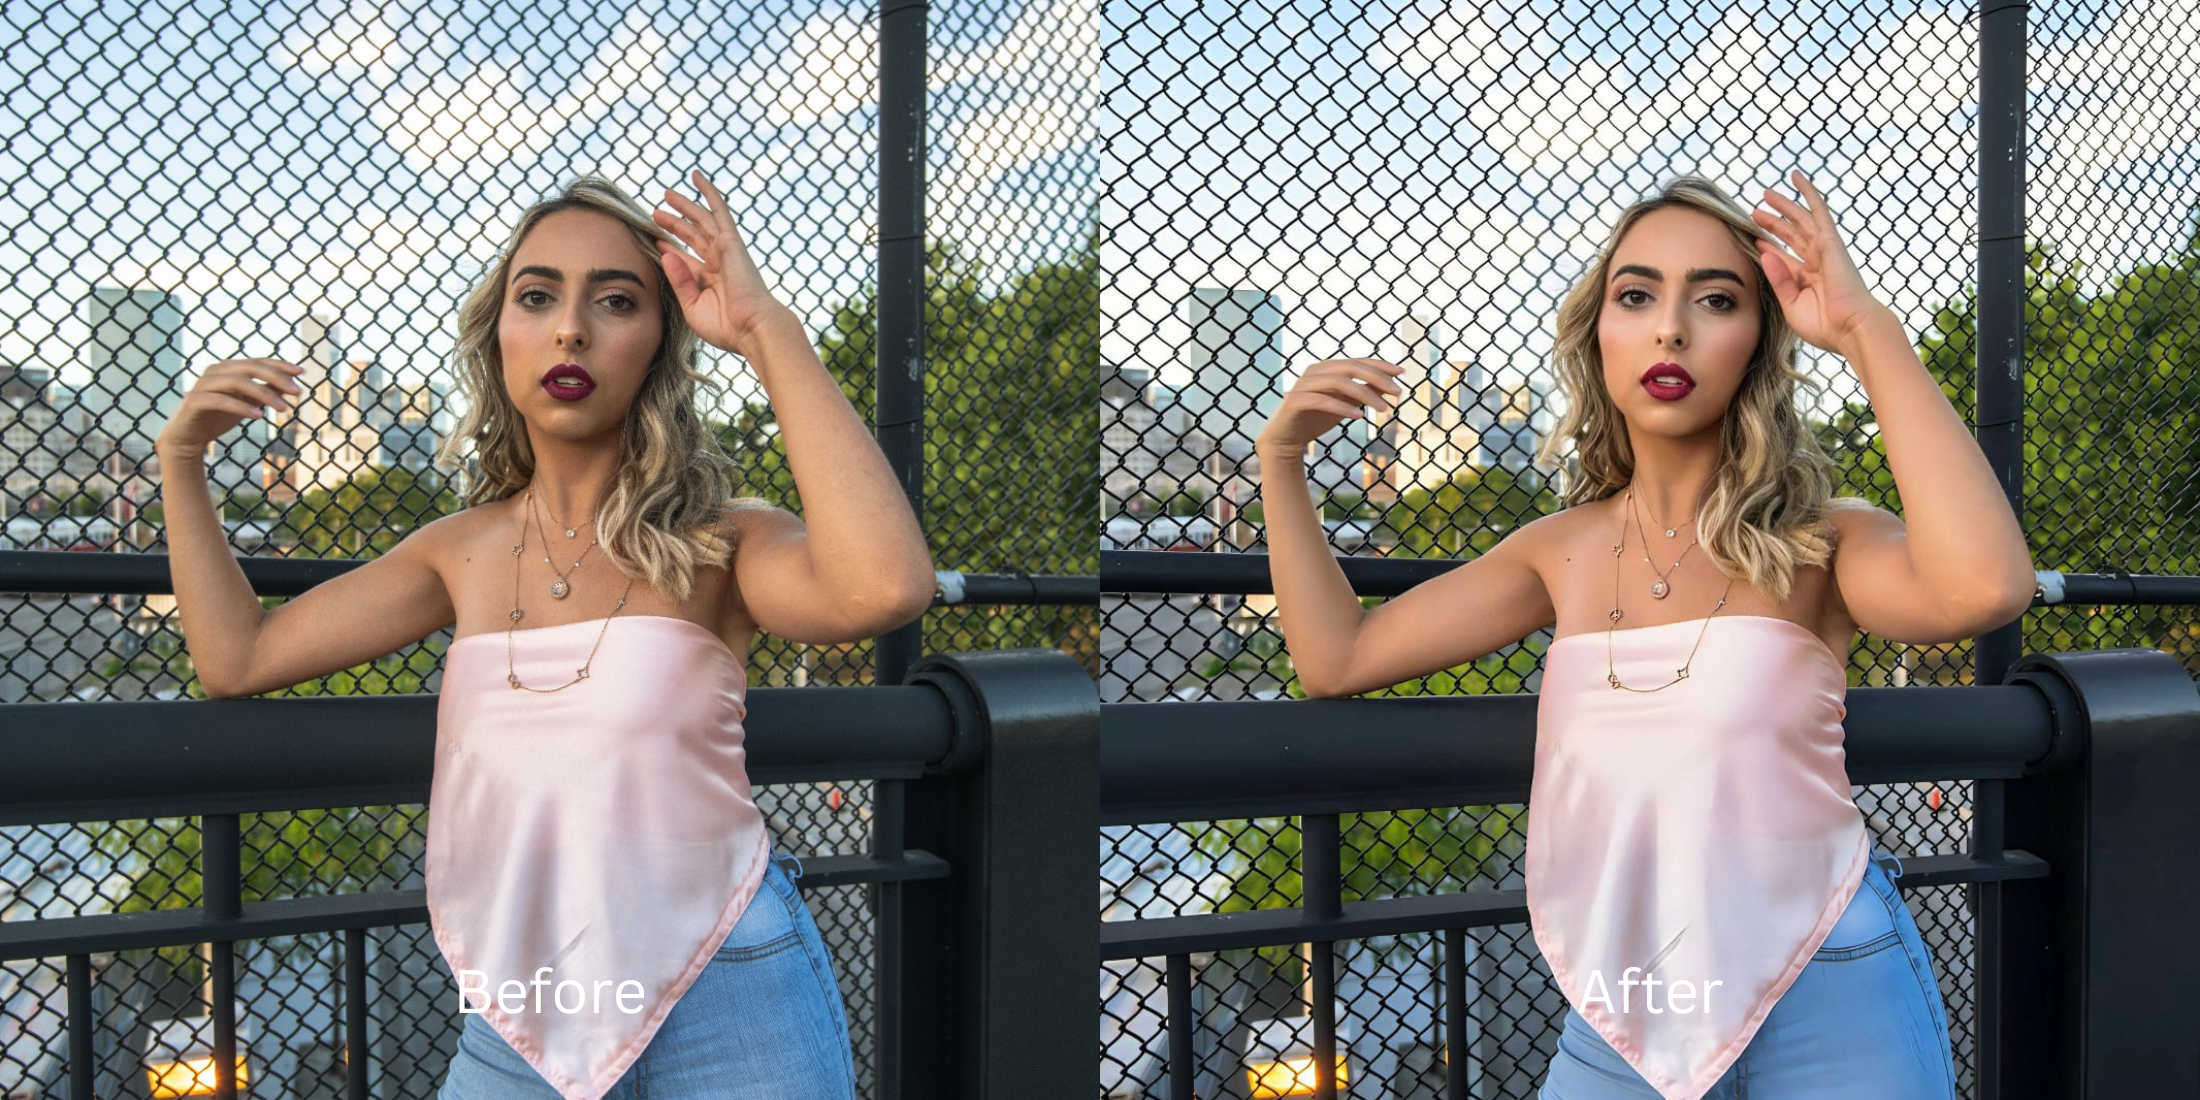
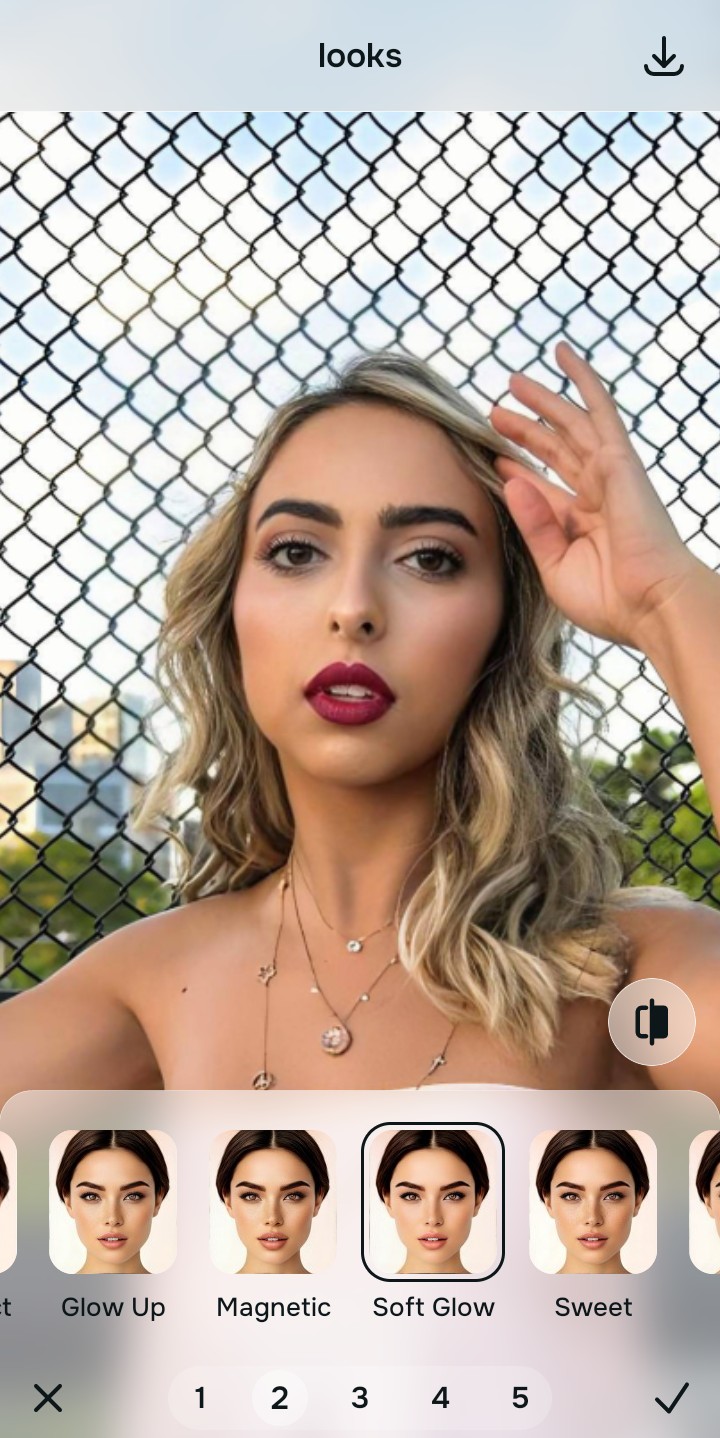
To rescue a red, blurry concert photo without deep-frying the pixels, prioritize native light recovery over basic exposure sliders. Open your muddy "red blob" portrait inside Citrus. First, tap Enhance → Colors & Lighting to mathematically strip away the aggressive neon stage wash and recover the lost details in the dark. Next, navigate to Looks → Soft Glow and pick a clean Level 1–5 configuration. This instantly injects healthy, real-world human coloring back into the skin, preventing you from looking like a grey zombie after the red light is removed.
Why native sliders and fake AI hallucinate in the dark
The core issue with trying to rescue a neon concert photo using native iPhone tools or auto-preset apps like Lightroom is their reliance on global color shifting. Because the entire photo is saturated in red, auto-white balance algorithms panic, flipping the color wheel and turning human skin an unnatural shade of green or blue. Furthermore, if you rely on utility editors like Remini to fix the blur in a dark crowd, the AI will literally hallucinate creepy, fake eyes and teeth onto random shadows. Escaping this low-quality trap requires knowing how to fix red lighting in photos securely and natively.
- Turning your skin a sickly blue or green by letting Lightroom auto-white balance guess the stage colors
- Replacing your real eyes with creepy, hallucinated AI replacements using Remini in the dark crowd
- Deep-frying the photo resolution by simply dragging the native iPhone exposure slider to the max
- Making the photo look like a messy, unpostable nightmare rather than a high-end concert memory
- Accessing powerful, high-resolution ambient light recovery workflows natively given for free
- Using mathematically calibrated Level 1–5 taps instead of destructive, global brightness sliders
- Rebuilding Soft Glow, healthy human skin tones natively without hallucinating fake AI faces in the dark
- Processing chaotic concert portraits safely in under 10 seconds to look brilliantly clear
When your content asset looks obviously degraded by blown-out neon or waxy AI faces, your digital feed loses all credibility instantly. Shifting to an advanced method to unblur face without overediting natively ensures your memories stay crisp, clear, and completely authentic.
Optimize ambient light fields instantly. A structured level choice keeps your genuine, human texture completely intact in low light.
How to automate a flawless concert photo natively in 5 steps
Upload the muddy photo ruined by neon lighting
Open your file rollout and choose the raw picture that suffers from aggressive red stage lasers or low-light motion blur. Discovering how to recover shadows in dark portraits starts by managing this messy exposure baseline correctly.
Let the real-time preview map the ambient contrast
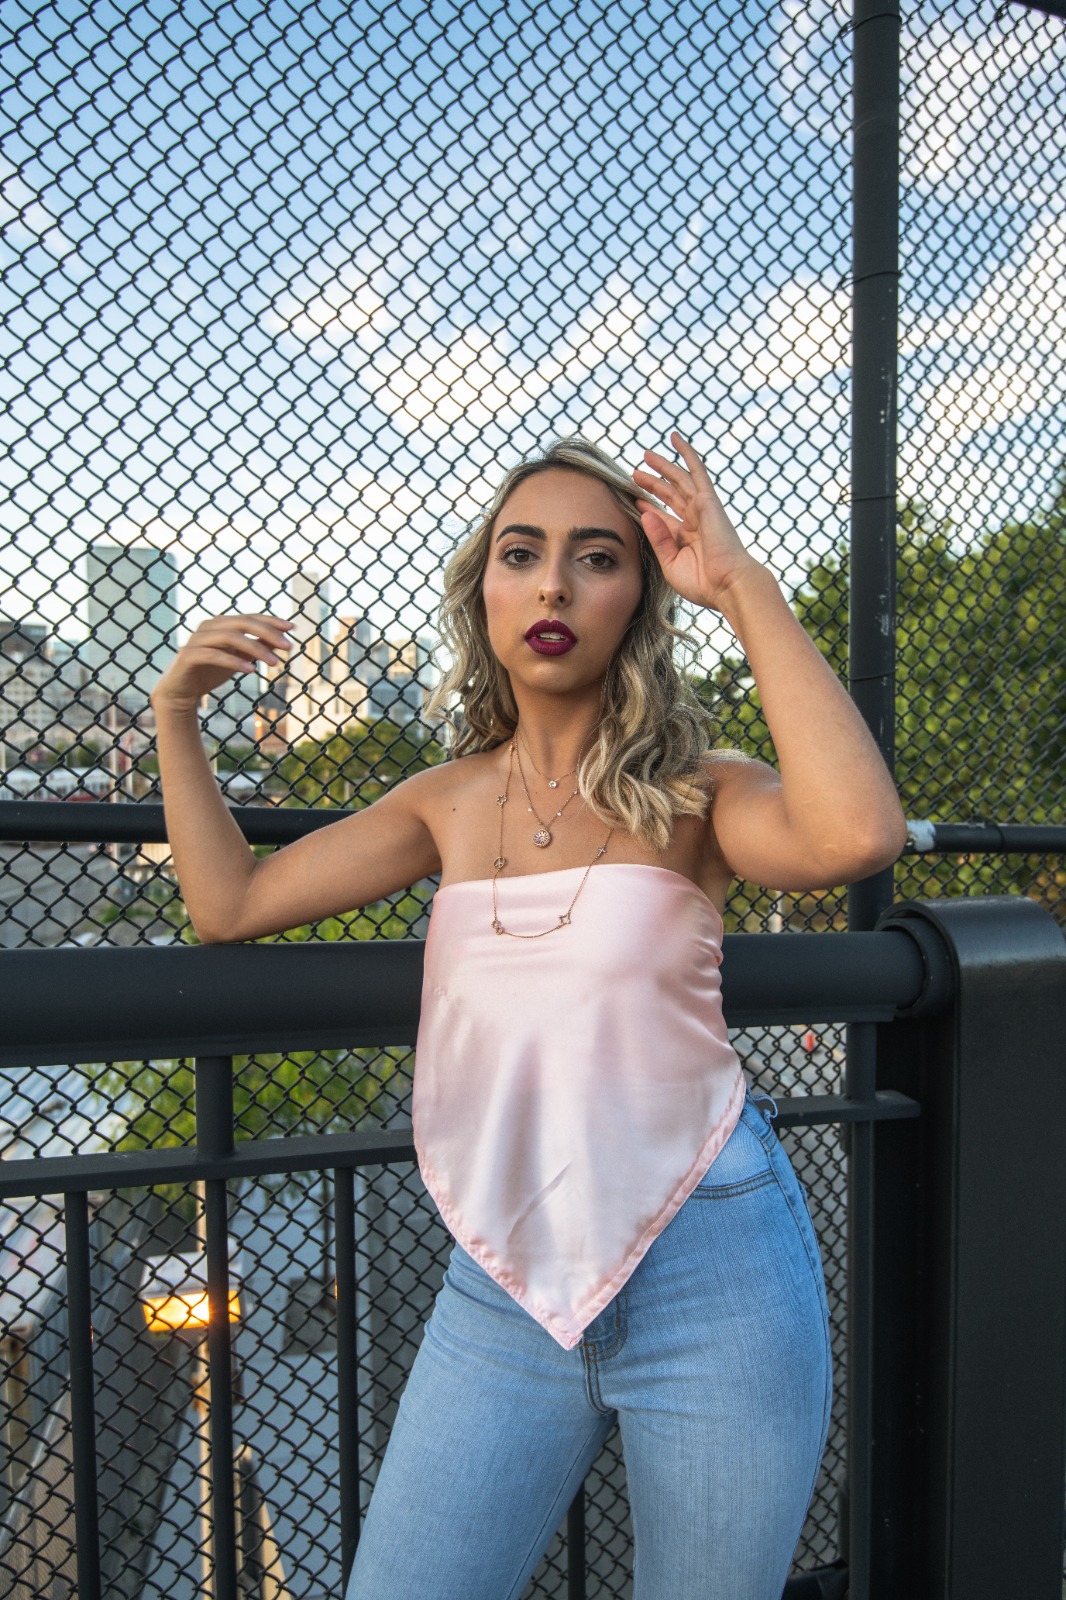
Citrus initializes its tracking grid instantly without forcing you through paywalled credit card registrations. This presents an active preview window so you can safely examine how the engine handles dark, noisy regions before processing.
Tap Enhance and choose Colors & Lighting
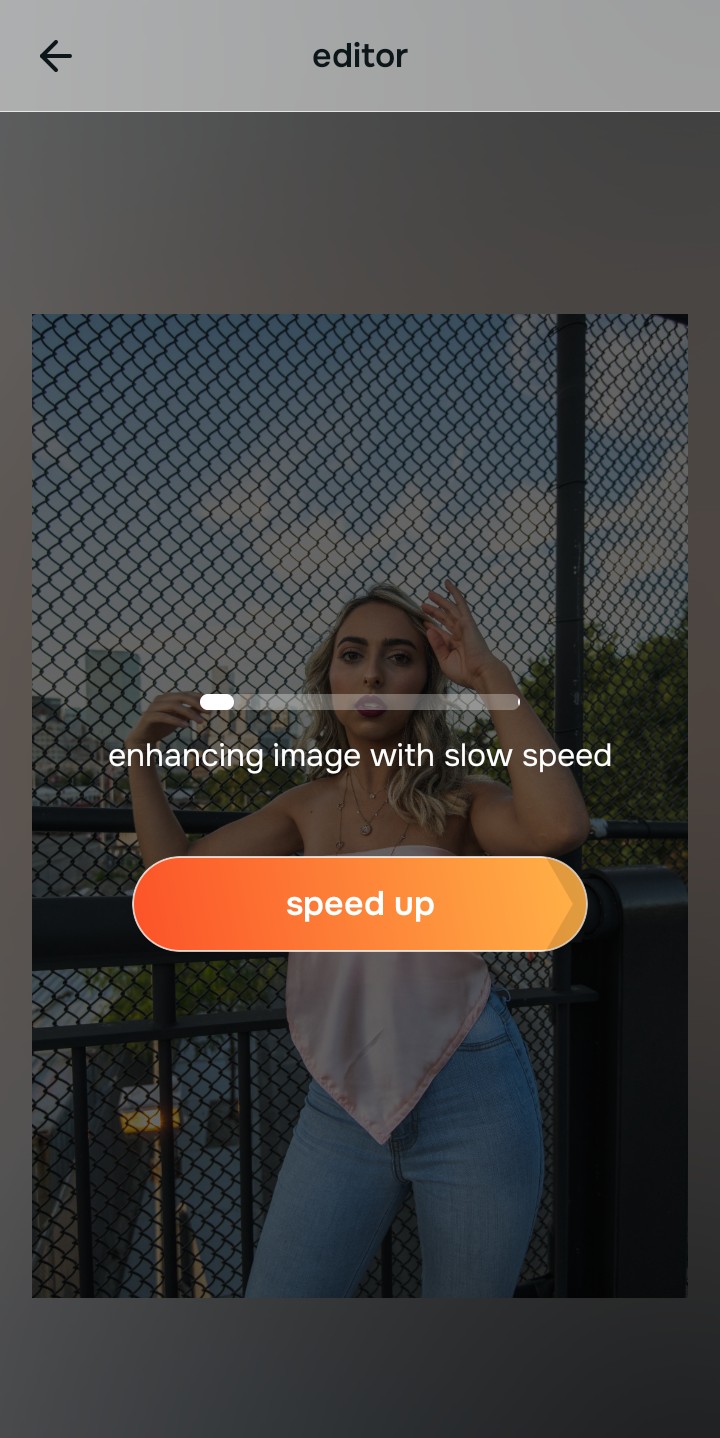
Because terrible concert photos are caused by aggressive neon color casts hitting the sensor, tap Enhance → Colors & Lighting. This strips away the muddy red glare cleanly without deep-frying the stage highlights. Rebuilding this exposure is essential to finding a fix pixelated face photos free workflow.

Always balance global photographic lighting before applying face updates. Normalizing the base neon exposure map ensures subsequent Soft Glow updates sit beautifully and invisibly without weird masking artifacts.
Tap Looks and select Soft Glow to inject human color
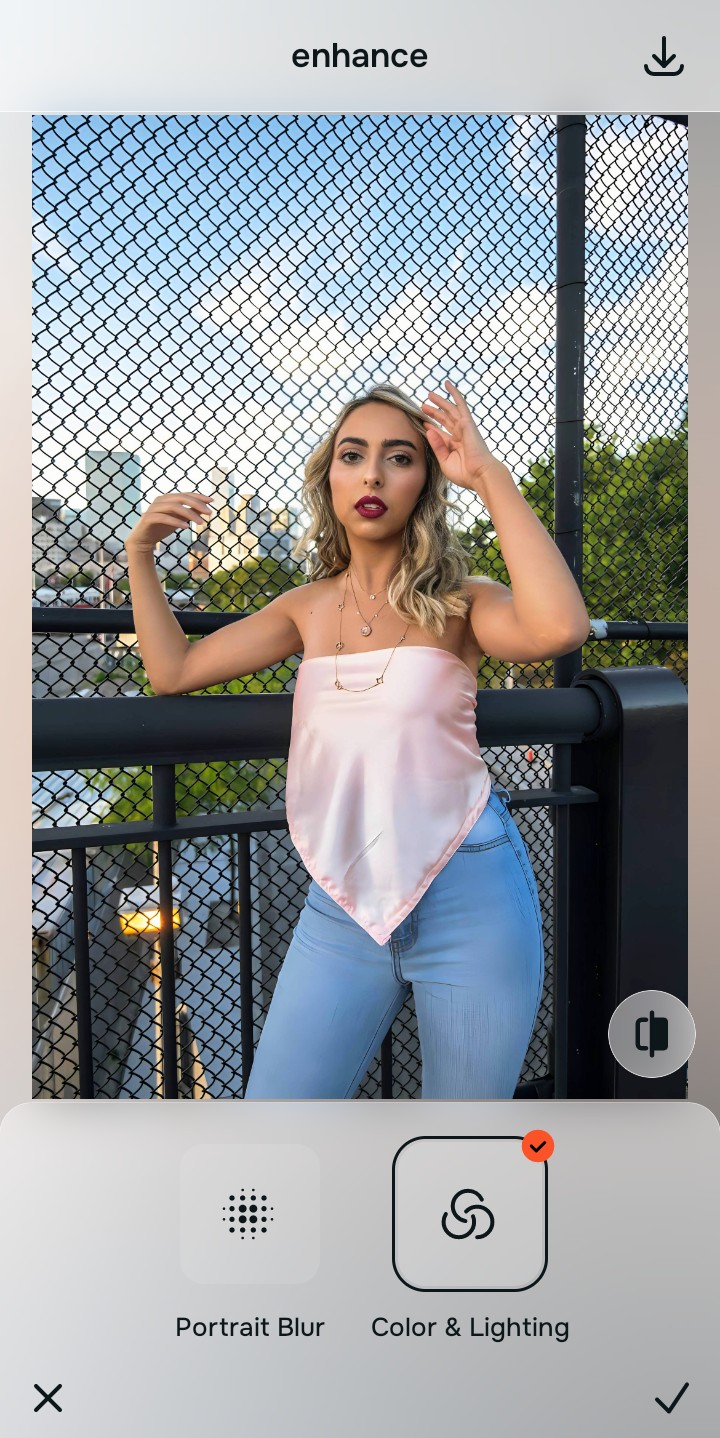
With your base light layers normalized and the red glare gone, optimize your overall face impression natively to break the grey, zombie look. Tap Looks → Soft Glow. Select your preferred value from Level 1–5 to instantly inject healthy, real-world human coloring back into your skin. Utilizing this tool is the best way to look naturally Soft Glow in pictures without generating fake pixels.
Export your high-resolution, unwatermarked night photo
Citrus generously offers clean high-definition exports entirely for free with no hidden premium pop-ups. For creators looking for the best app for blurry pictures, an optional premium Turbo rendering tier is available for processing massive concert albums rapidly.
What is ruining your concert photo currently?
Isolate your image's core mechanical issue. Your automated pipeline changes depending on the source error.
How to align your profile concerns with the right free pathway
Separate photo weaknesses necessitate independent menu paths. Selecting structured Level 1–5 tap options instead of generic brightness sliders is the only way to lock in visual sharpness without deep-frying the photo.
| Tool Pathway | Primary Flaw Remediated | Automated Fix Strategy |
|---|---|---|
| Enhance Start here | Aggressive neon red lighting, muddy dark shadows, and low-light camera blur | Use this first to establish a proper photographic foundation. Choose Colors & Lighting to neutralize colors for free. |
| Looks | Grey, zombie-like skin appearance after color removal, and lack of healthy vibrancy | Use this to update the entire face impression. Select Soft Glow (Level 1–5) to inject natural human coloring naturally. |
| Face | Targeted anatomical washouts like red-eye glare from the camera flash | Use this last for precise feature tweaks. Select No Red Eye to safely remove flash glare without generating AI slop. |
“Professional low-light editing should never deep-fry your pixels or hallucinate fake AI faces in the crowd. It must simply normalize the exposure bugs so your native topography looks completely human, clean, and effortlessly Soft Glow.”
Why precise level taps protect human skin texture better than generic auto-enhance
There is a massive structural difference between balancing camera exposure natively and dragging a global brightness slider over a neon photo. When you use manual contrast sliders, auto-fix wands, or cheap overlays inside native smartphone apps, the application compresses your data matrix, resulting in noticeable, grey, ashy skin and blinding neon highlights. This instantly ruins your file quality and makes it look terribly processed.
Citrus is built from the ground up to be the most natural enhancer ever created. By relying exclusively on mathematically precise Level 1–5 tap settings instead of unpredictable sliders, the engine maps your face securely, optimizing ambient light recovery without hallucinating new facial characteristics. Securing a natural results photo enhancer natively guarantees that your presentation remains sharp, trusted, and beautifully glowing.