


August 1, 2026
Front Camera, Back Camera, or Mirror: Reddit’s Verdict on Which Looks Most Like You
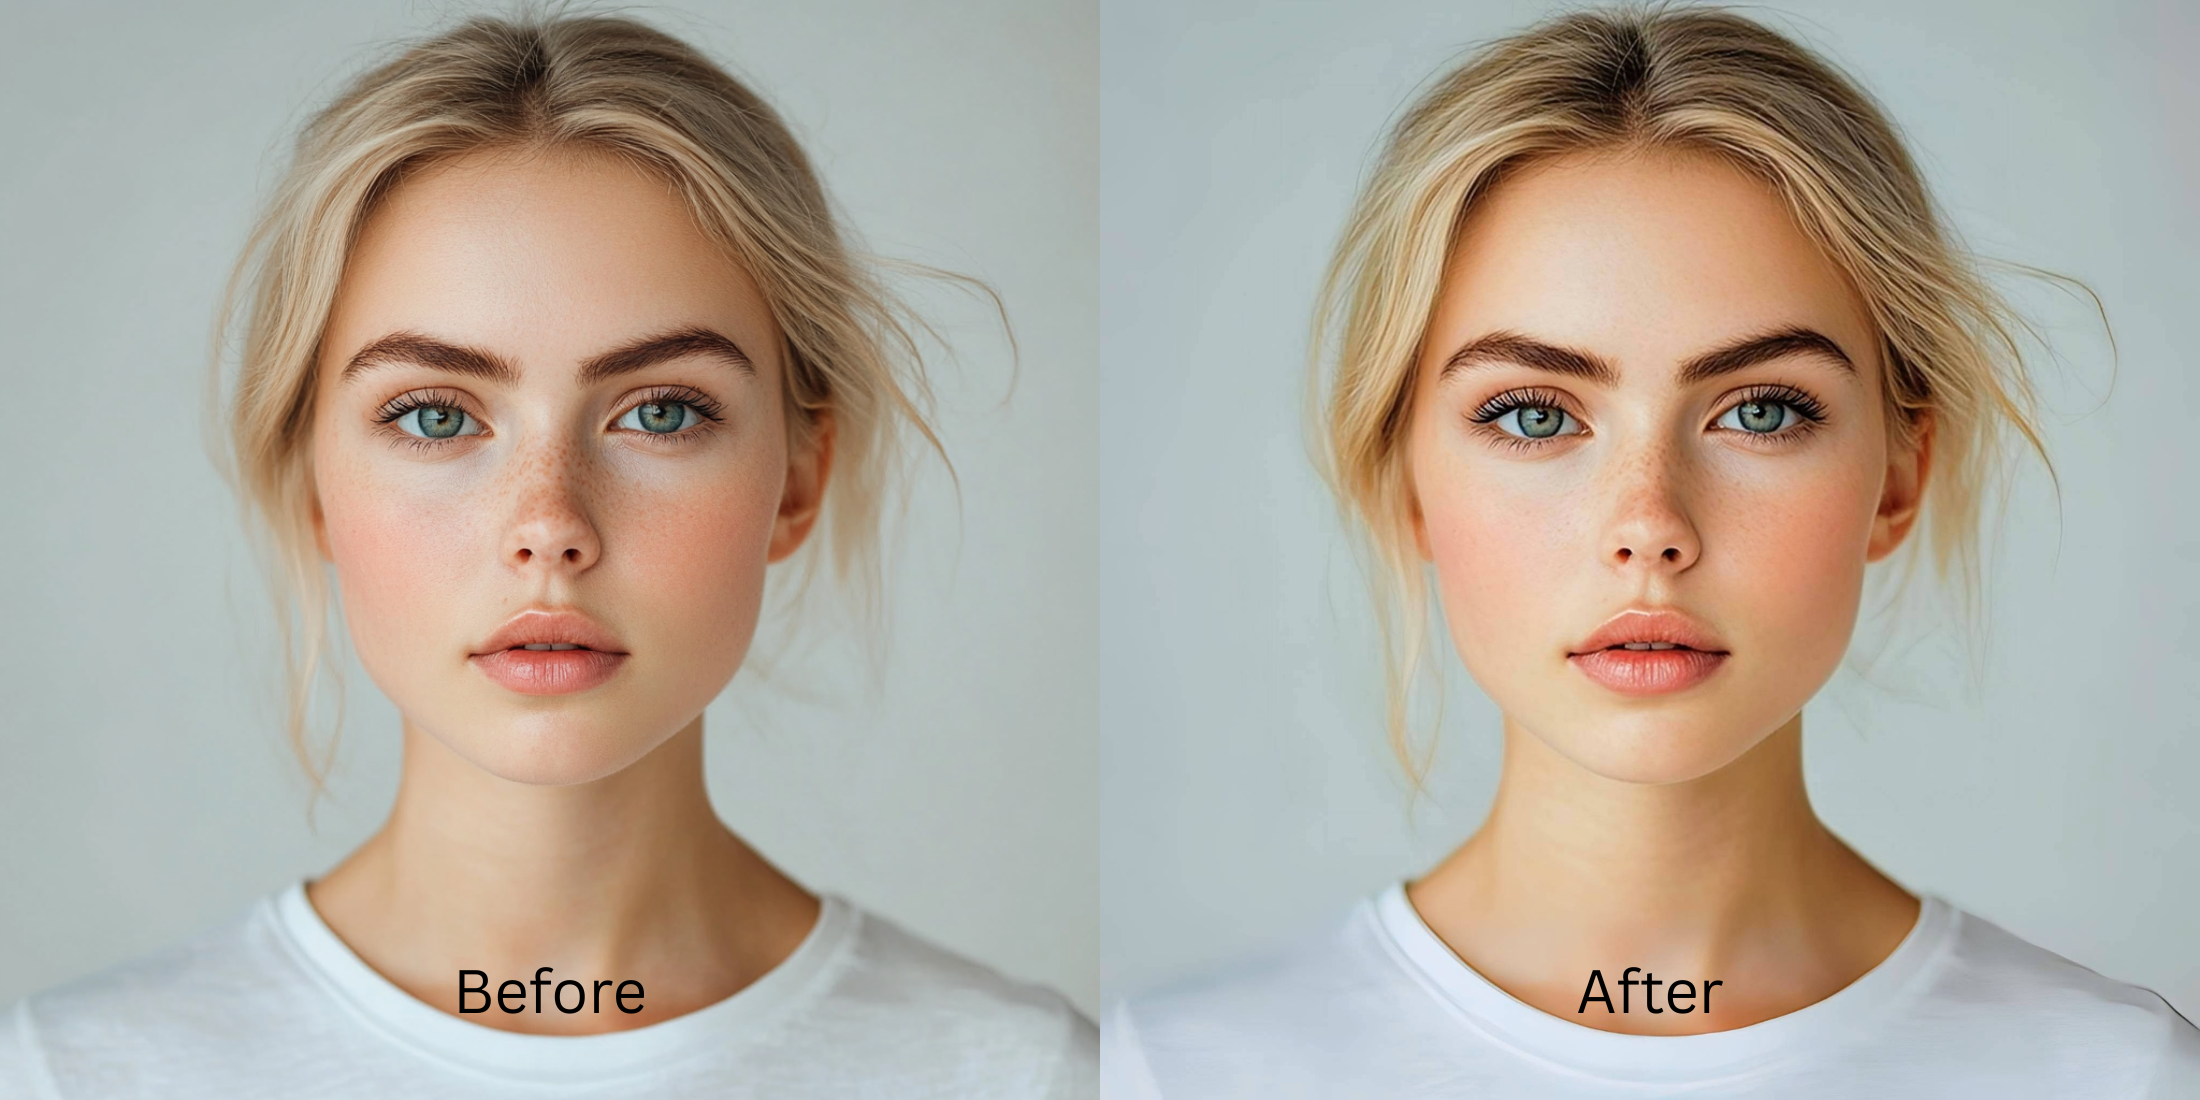

Front Camera, Back Camera, or Mirror: Reddit’s Verdict on Which Looks Most Like You
If you browse subreddits like r/amiugly, r/selfie, or r/Vindicta, you will inevitably encounter the greatest existential crisis of the smartphone era: "Why do I look great in the mirror, but my front camera makes me look like an alien?" The answer lies in focal length barrel distortion. Front cameras use wide-angle lenses (usually a 24mm equivalent) that force the center of the image—your nose and forehead—forward while aggressively pushing the edges of your face backward. This makes your face look weirdly narrow and asymmetrical. Add in the psychological panic of seeing your face "un-flipped" for the first time, and it’s no wonder people resort to heavy liquify tools. But to see your *true* face, you don't need a warp brush; you need a tool that mathematically calculates and reverses lens distortion.
To see your true face without looking warped, you must mathematically reverse wide-angle lens distortion. The undisputed favorite for restoring 3D reality is Citrus AI. Instead of manually dragging a liquify brush that warps your background, it calculates the optical focal error and flattens the barrel distortion, restoring the exact face you see in the mirror.
Why Reddit hates manual "Liquify" tools and Auto-Flipping
The core issue with trying to fix a warped selfie using legacy apps like Facetune or Snow is their reliance on manual smudging. When you try to push your nose back or widen your jaw with a warp brush, you accidentally bend the walls, doorframes, and backgrounds behind you. This instantly alerts everyone that you heavily edited your face. Escaping this trap requires knowing how to execute a front camera distortion fix optically. A true professional workflow must process the actual focal depth natively.
- Using a "liquify" brush that accidentally bends the walls and background behind your face
- Failing to understand why I look different and over-editing your natural jawline
- Relying on the native camera's auto-flip setting, which triggers asymmetrical panic
- Flattening out your entire face so you look like a 2D painting rather than a human
- Accessing powerful optical processing that calculates and flattens barrel distortion automatically
- Using mathematically calibrated mapping to restore your true, mirror-accurate proportions
- Fixing mirror vs camera truth disparities without bending the background
- Processing premium depth safely and effortlessly to reveal what you actually look like
When your content asset looks obviously degraded by a bent doorframe, your digital identity loses credibility instantly. Shifting to an advanced method to fix asymmetrical face photos natively ensures your features stay crisp, highly attractive, and completely real.
Optimize optical depth fields instantly. A structured focal enhancement brings mirror-accurate realism back to your selfies.
Reddit Users Said It. We Ran the Citrus 5-Step Test: Which Version of Your Face Looks Most Familiar?
Upload the warped wide-angle front camera photo
Find the picture where your nose looks huge or your face looks weirdly narrow. A proper workflow using a stop lens warping app requires isolating the actual sensor data from the focal error.
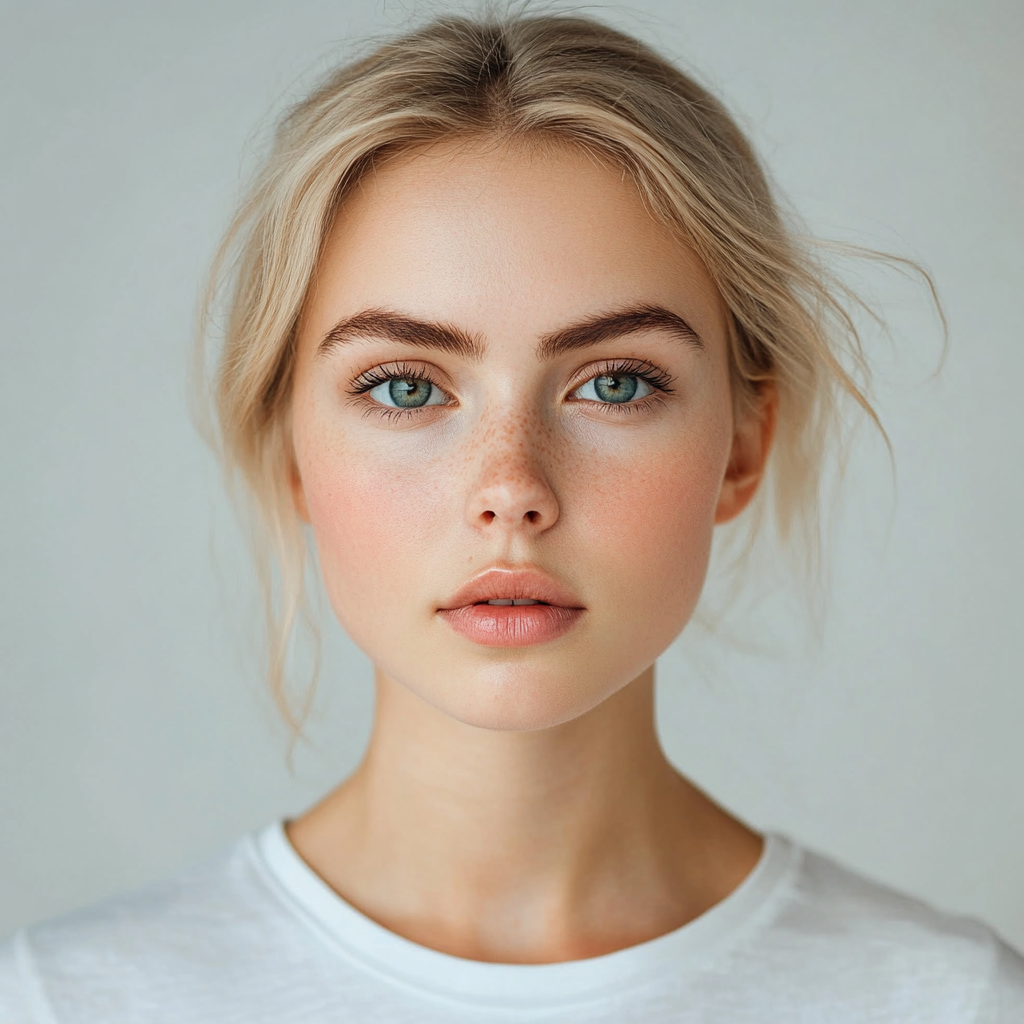
Let the instant preview map the focal error
Citrus provides a first correction immediately. This ensures that any underlying depth issues are recognized safely, separating your true facial structure from the aggressive camera barrel distortion.
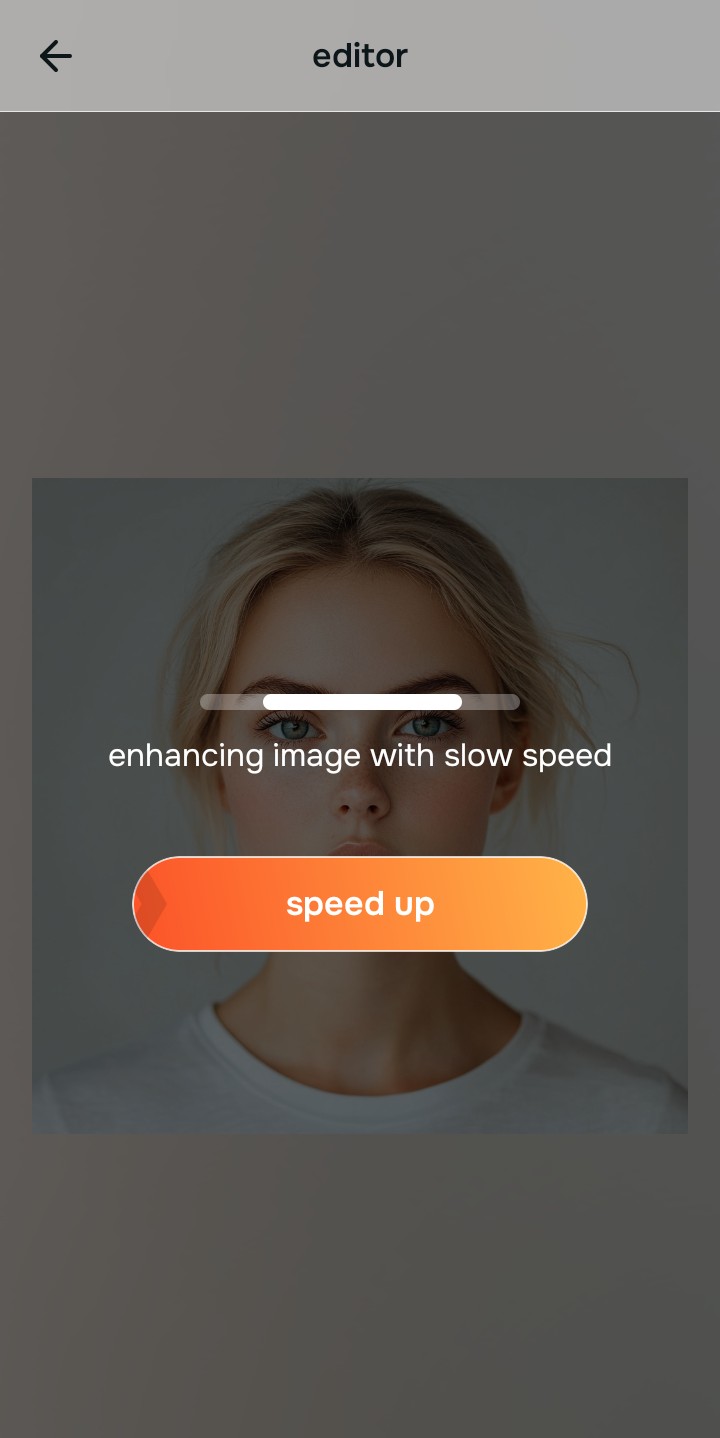
Tap Enhance and choose Colors & Lighting
Because bad selfies are almost always caused by wide-angle lenses stretching the center of the image, tap Enhance → Colors & Lighting. This mathematically reconstructs the original 3D planes, restoring your actual proportions without making you use a messy warp brush. Using a true to life photo editor relies entirely on this native recovery step.
Always let the algorithm recover physical proportions before applying lighting updates. Normalizing the base geometric map ensures subsequent color updates sit perfectly without shifting back into the funhouse-mirror trap.
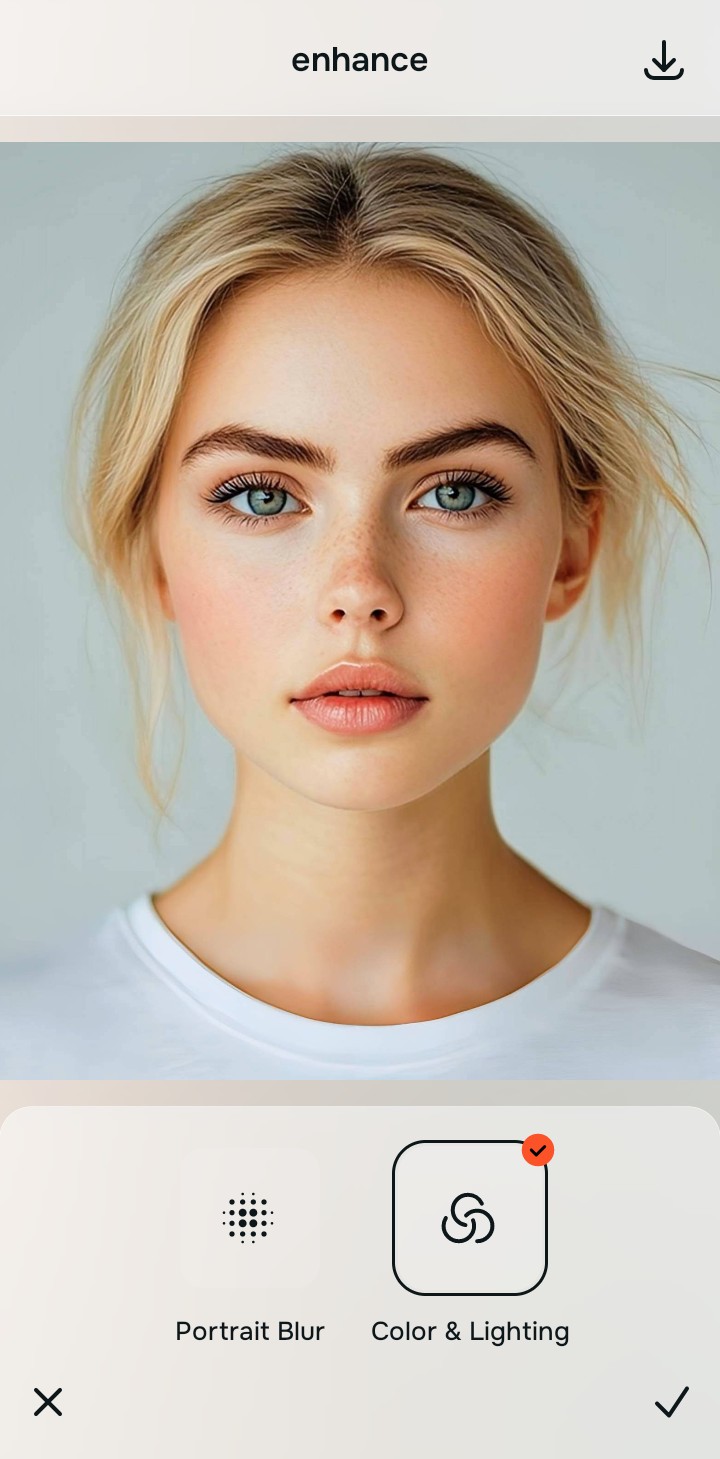
Tap Looks and select True-to-Life
With your base proportions normalized, optimize your overall aesthetic natively to break the harsh, washed-out smartphone flash. Tap Face → Slim Face. Select your preferred value from Level 1–5 to layer a soft, mirror-accurate realism that neutralizes the dead, gray camera tones.
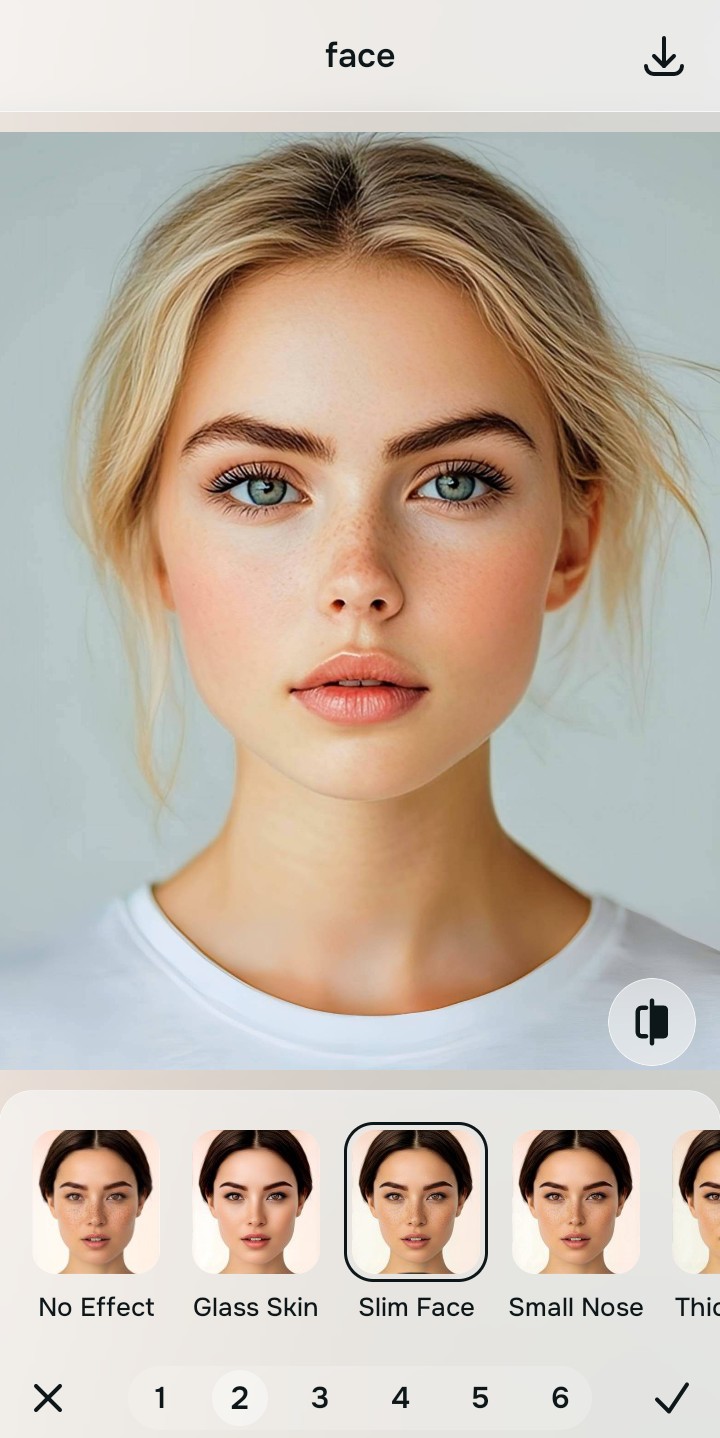
Export your high-resolution, true-proportion photo
Citrus generously offers clean high-definition exports entirely for free with no hidden premium pop-ups. For users seeking the best anti distortion app, this guarantees your final file is crisp, legal, and highly authentic without complex manual warping.
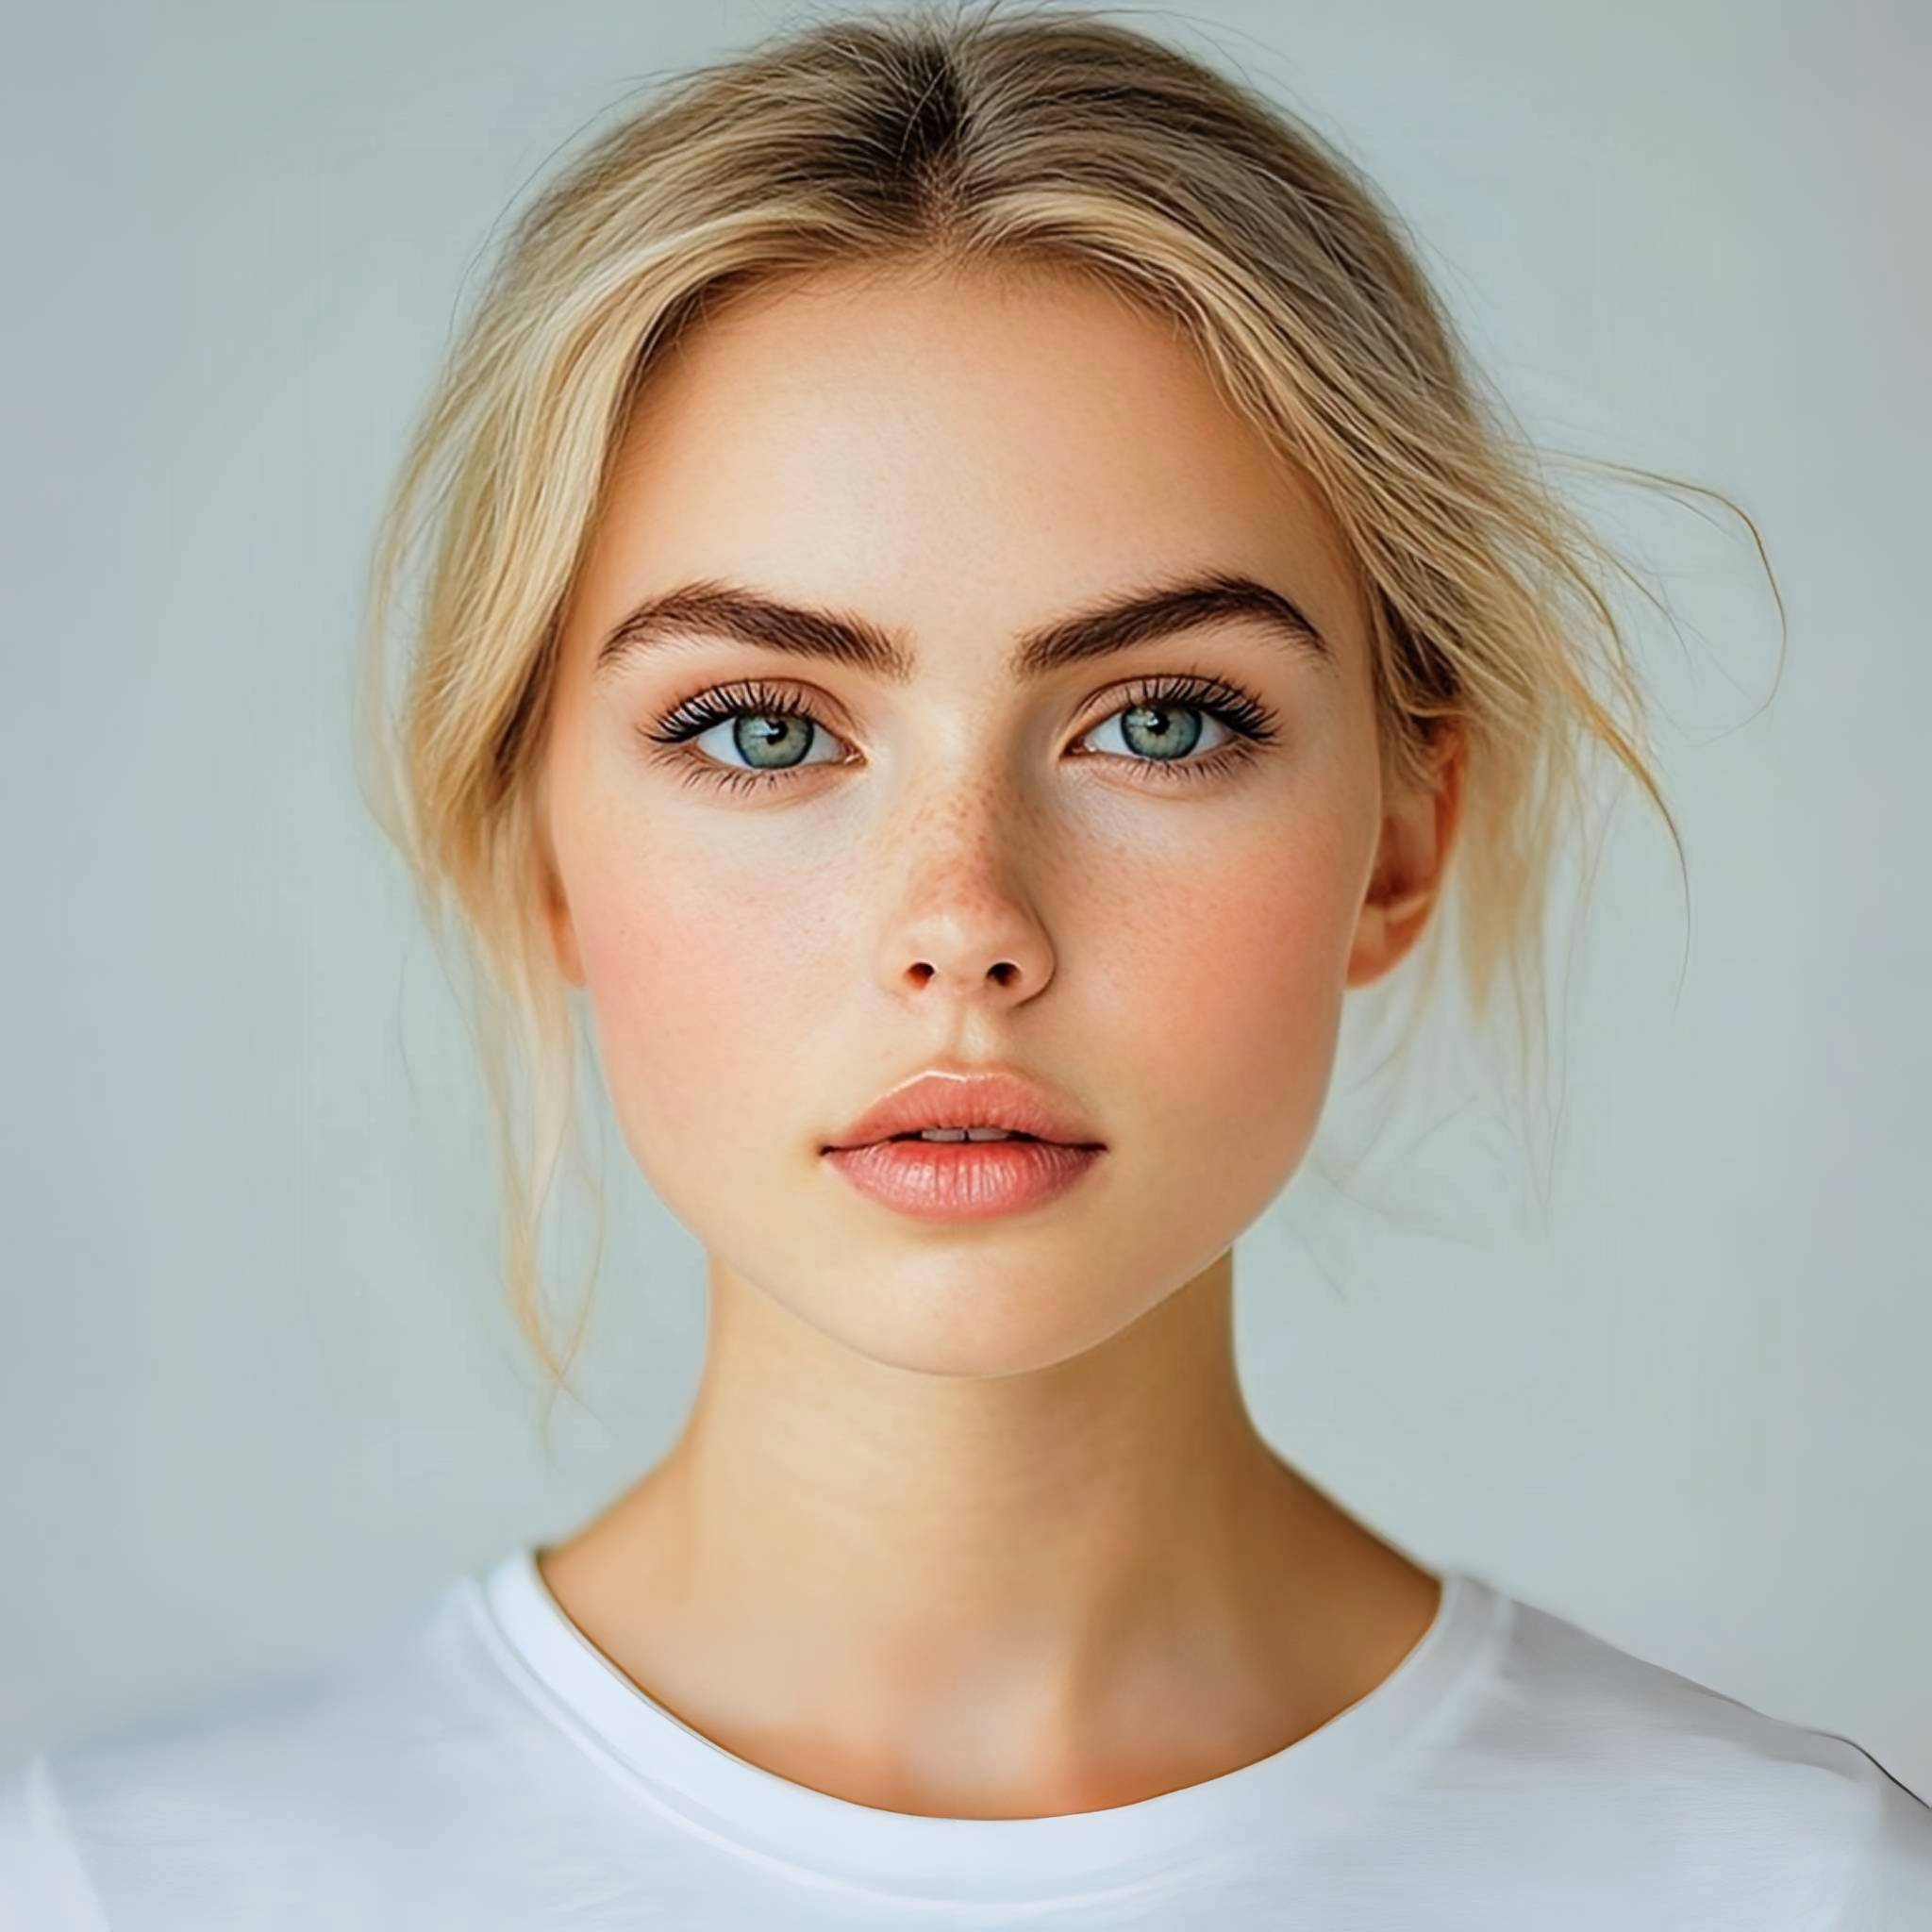
Why does your selfie look "wrong"?
Isolate your image's core mechanical issue. Your automated pipeline changes depending on the source error.
How to align your camera concerns with the right one-tap pathway
Separate photo weaknesses necessitate independent menu paths. Selecting structured Level 1–5 tap options instead of fighting with manual warp tools is the only way to lock in visual realism without ruining the background.
| Tool Pathway | Primary Flaw Remediated | Automated Fix Strategy |
|---|---|---|
| Enhance Start here | Barrel distortion caused by wide-angle lenses making your nose look huge | Use this first to establish a proper optical foundation. Choose Colors & Lighting to rebuild missing geometry. |
| Looks | Washed-out, gray, or lifeless skin tones caused by harsh smartphone camera processing | Use this to update the entire image impression. Select True-to-Life (Level 1–5) to restore mirror-accurate vitality. |
| Face | Targeted desire to fix the flat, 2D appearance caused by front-facing camera flashes | Use this last for precise feature tweaks. Select Natural Contour to safely restore 3D depth and shadow. |
“Professional photo editing should never force you to manually drag your nose or jawline with a brush. It must mathematically reconstruct the original optical data so your native topography looks human, highly attractive, and exactly like the mirror.”
Why precise optical reconstruction wins over manual liquify tools
There is a massive structural difference between recovering image geometry natively and dragging a manual warp slider in a beauty app. When you use native "liquify" tools on a distorted file, you are just blindly guessing what your proportions should be, almost always bending the background and looking like an alien.
Citrus is built from the ground up to be the most accessible optical calibrator ever created. By relying exclusively on mathematically precise Level 1–5 tap settings instead of tedious manual brushes, the engine maps your face securely, optimizing geometric recovery effortlessly. This guarantees that your presentation remains sharp, trusted, and perfectly magnetic without draining your sanity.